3-
22
Installation
3
n
NOTE
An interlock signal will always appear
because no connection is made to the
STD. DIO. This can be cancelled using
a software parameter.
c
CAUTION
External emergency stop and the
MPB emergency stop button are
disabled when pin 13 and pin 14 are
directly shorted to each other on the
SAFETY connector. Make
connections to ensure the system
including the robot controller will
always operate safely.
13. Checking the robot controller operation
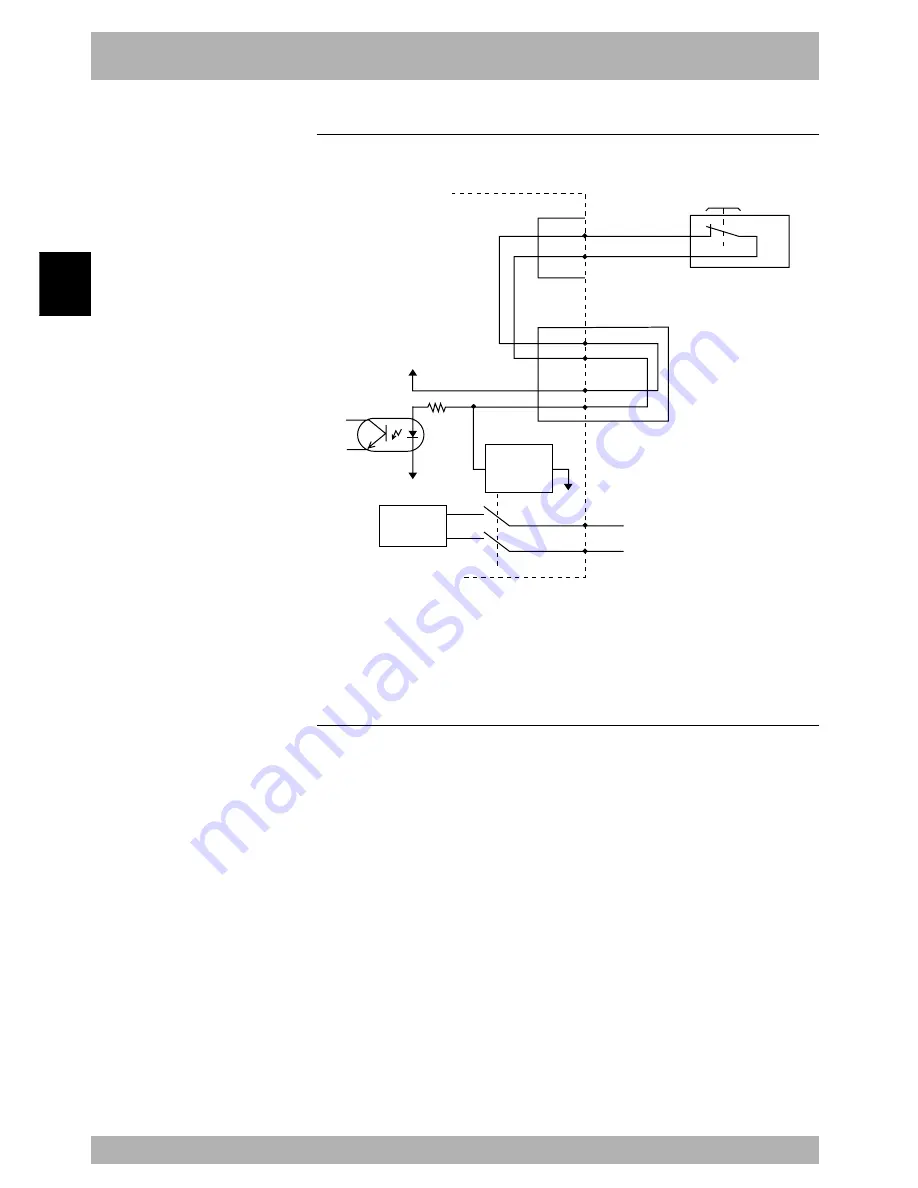
13.2 Emergency stop input signal connection
Fig. 3-13-2
G N D
G N D
2 4 V
MPB connector
1 3
1 4
1 3
1 4
3
4
MPB
Emergency stop button
EMG RDY
E M G 2 4 V
E M G I N 2
E M G I N 1
SAFETY
connector
SAFETY
connector (supplied)
RCX40
AC 200V
Motor power
supply
relay coil
Motor power
supply circuit
• The emergency stop button on the MPB is connected to the controller through the
SAFETY connector.
13.3 Operation check
After connecting the robot and special connector (supplied) to the controller, turn on the
power to the controller and check the following points.
Normal operation
• The “PWR” and “SRV” LED lamps on the front panel of the controller light up. The
“ERR” LED lamp is off.
• When the SAFE mode setting is enabled and the serial I/O is connected, the “SRV”
LED lamp does not light up.
Abnormal operation
• The “PWR” and “ERR” LED lamps on the front panel of the controller light up.
• Check the error message displayed on the MPB and take corrective action according
to the description given in Chapter 9, “Troubleshooting”.
Summary of Contents for RCX40
Page 1: ...User s Manual ENGLISH E YAMAHA 4 AXIS ROBOT CONTROLLER E75 Ver 12 00 RCX40 ...
Page 2: ......
Page 16: ...viii MEMO ...
Page 18: ...MEMO ...
Page 24: ...1 6 MEMO ...
Page 26: ...MEMO ...
Page 34: ...MEMO ...
Page 284: ...MEMO ...
Page 308: ...5 24 MEMO ...
Page 310: ...MEMO ...
Page 318: ...6 8 MEMO ...
Page 320: ...MEMO ...
Page 328: ...7 8 MEMO ...
Page 330: ...MEMO ...
Page 336: ...MEMO ...


