4-
44
Operation
4
9. “AUTO” mode
3) Press the
F 1
(SET) key.
A “
B
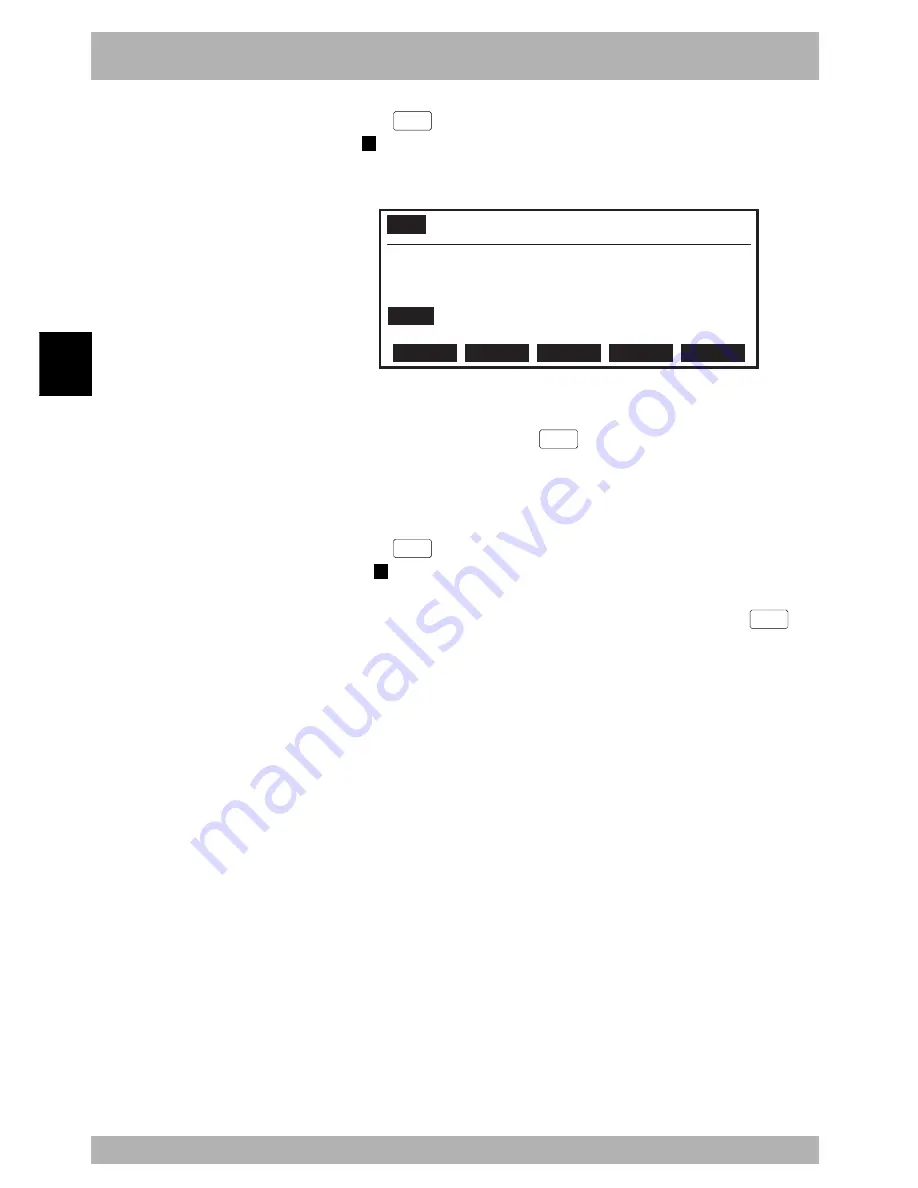
” mark appears to the left of the command statement and a break point is set
on that line.
Fig. 4-9-30 Break point setting
AUTO
>BREAK [T1] 100% <TEST1 >
1 ’***** TEST1 PROGRAM *****
2 START *SUBTASK,T2
3 DO2(0)=0
4B
WAIT DI3(4,3,2)=3
5 MOVE P,P0
SET
CANCEL
SEARCH
9.9.2
Break point deletion
Break points can be deleted. Press the
F 3
(SEARCH) key as needed to find a break
point that was set.
[Procedure]
1) Use the cursor (
↑
/
↓
) keys to select the line number where the break point is set.
2) Press the
F 2
(CANCEL) key.
The “
B
” mark disappears and the break point is canceled.
3) To find the line number on which another break point was set, press the
F 3
(SEARCH) key.
This function makes it easier to find a break point you want to delete.
n
NOTE
• Up to 4 break points can be set in
one program. These 4 break points
cannot set in different programs.
However, when there is
“COMMON” program, 4 break
points can be set including the
main program. (For more
information on the COMMON
program, refer to the programming
manual.)
• If the program is compiled or
edited, all the break points are
deleted.
• Break points are ignored during
execution of STEP or NEXT.
However, break points set in sub-
routines are enabled when
executing NEXT.
Summary of Contents for RCX40
Page 1: ...User s Manual ENGLISH E YAMAHA 4 AXIS ROBOT CONTROLLER E75 Ver 12 00 RCX40 ...
Page 2: ......
Page 16: ...viii MEMO ...
Page 18: ...MEMO ...
Page 24: ...1 6 MEMO ...
Page 26: ...MEMO ...
Page 34: ...MEMO ...
Page 284: ...MEMO ...
Page 308: ...5 24 MEMO ...
Page 310: ...MEMO ...
Page 318: ...6 8 MEMO ...
Page 320: ...MEMO ...
Page 328: ...7 8 MEMO ...
Page 330: ...MEMO ...
Page 336: ...MEMO ...


