182
6 Troubleshooting
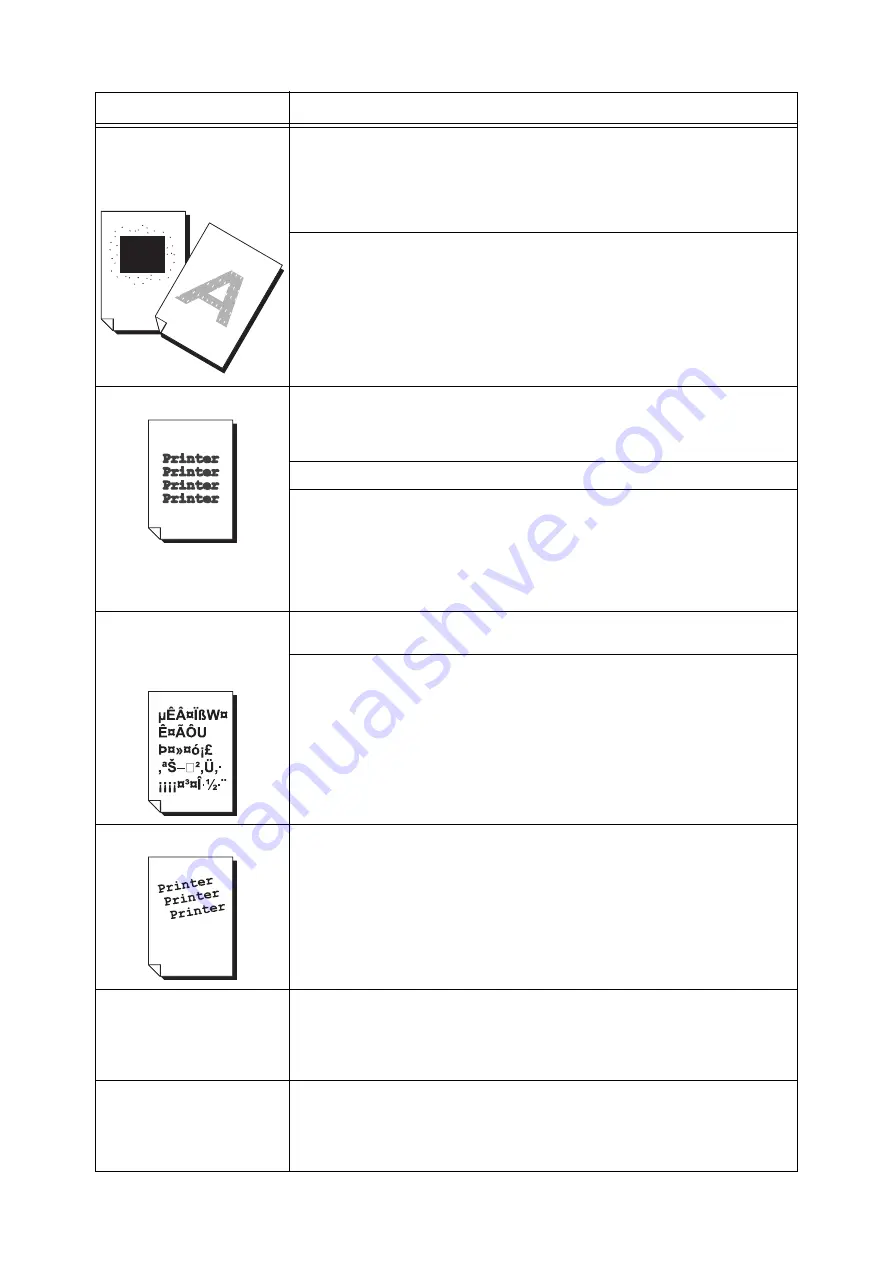
White patches appear on output.
Toner is scattered around
images.
Images are bluish.
The image transfer voltage (the [Voltage Offset] setting on the control panel) may not be
set properly.
Adjust the transfer voltage on the control panel.
Refer to
• “7.11 Adjusting the Image Transfer Voltage” (P. 262)
The paper type of the selected paper tray is not appropriate. Change the [Paper Type]
setting and try printing again. For example, if [Paper Type] is set to [Plain], try changing
it to [Bond] or [Recycled]. If it is set to [Heavyweight], try changing it to
[ExtraHeavyweight].
Text is smeared.
The paper is not appropriate for the printer. Load appropriate media.
Refer to
The paper is damp. Load fresh paper.
Condensation may have formed in the printer.
On the control panel, set the Sleep mode trigger time to more than one hour, and let the
printer stand with its power on. After about an hour, the heat inside the printer causes
the condensation to evaporate.
Refer to
• Sleep mode: “[Printer Settings]” (P. 154)
Text is garbled.
Printed output is not the same
as the original data displayed
on the computer screen.
The data was printed using a font that does not come standard with the printer. Check
the font used by the application. If using the PostScript, download fonts as necessary.
Is the printer set to substitute TrueType fonts with the built-in fonts?
Change the printing method of TrueType fonts under [Specify Font] on the [Advanced
Settings] tab of your print driver.
Refer to
• Online help for the print driver.
Images are skewed.
The paper guides are not adjusted properly. Adjust the paper guides properly.
Refer to
Color documents are printed in
monochrome.
Is [Black & White] selected for [Output Color] on the [Paper/Output] tab of the print driver?
Change the [Output Color] setting to [Color].
Refer to
• Online help for the print driver.
Print density or color
reproduction has deteriorated.
Print the Calibration Chart from the printer, compare it with the Color Sample that came
with the printer, and perform color calibration as necessary.
Refer to
• “7.10 Adjusting Tone Density” (P. 255)
Symptom
Cause/Remedy
Summary of Contents for DocuPrint C2255
Page 1: ...DocuPrint C2255 User Guide ...
Page 176: ...176 6 Troubleshooting 2 Remove the jammed paper 3 Gently close cover C ...
Page 210: ...210 7 Maintenance 12 Close the front cover ...
Page 266: ...266 7 Maintenance 7 Rotate the lever to the right to lock it 8 Close the front cover ...
Page 313: ...Index 313 WSD 26 129 X XeroxStdAccounting 147 XPS 113 XPS file 309 ...


