1.4 Setting the Network Environment
33
24. Enter the gateway address in the same way
you entered the IP address, and press the
<OK> button to confirm your entry.
25. The setup is now complete.
Press the <Menu> button to close the
menu.
The printer automatically restarts.
26. Print the [Configuration Report] to verify
your settings.
Setting an IP Address (IPv6)
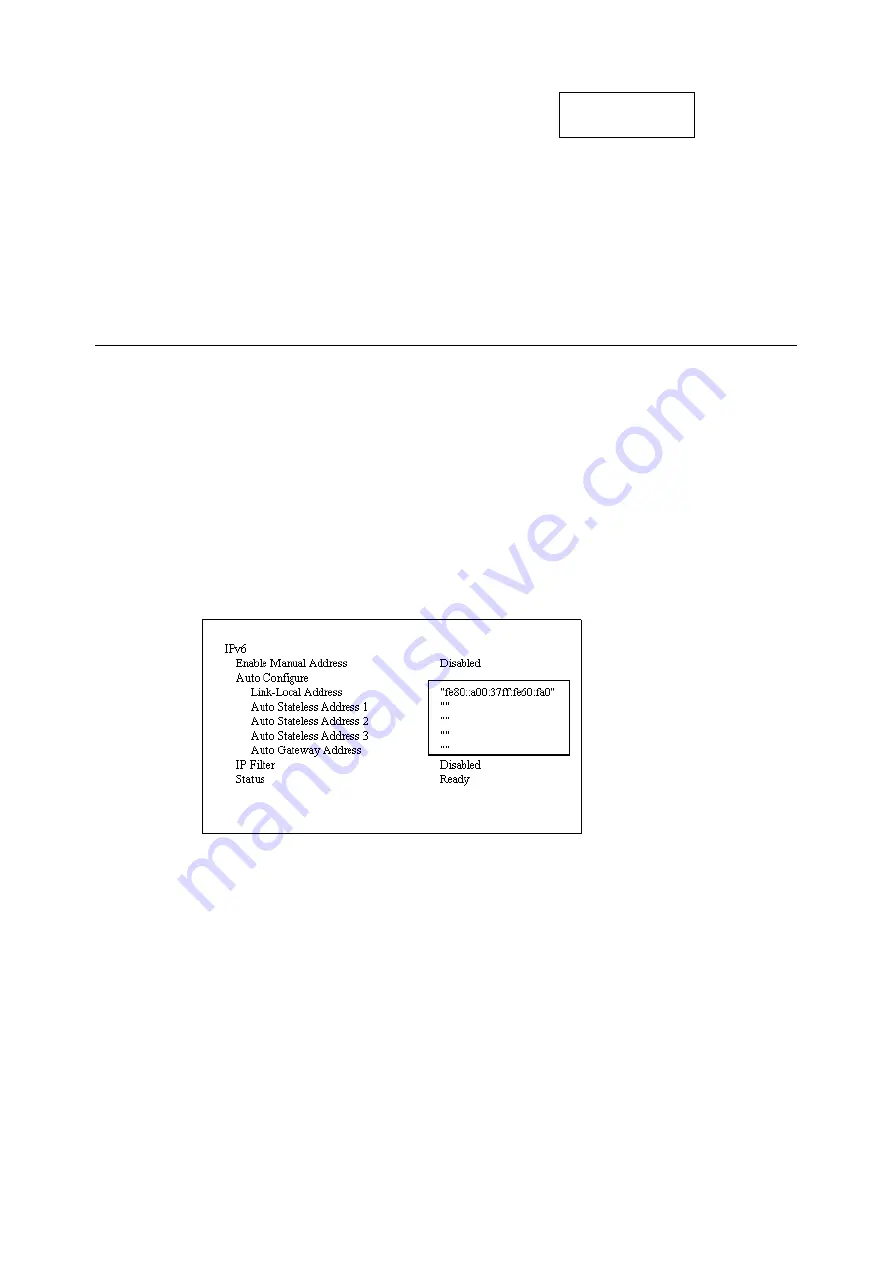
The printer can use an IPv6 address in an IPv6 network environment.
By default, the printer [IP Mode] is set to [Dual Stack] to automatically detect either IPv4 or
IPv6. If you connect the printer to an IPv6 network, an IPv6 address is automatically set.
Print the [Configuration Report] to verify the IPv6 address.
Note
• When setting the fixed IPv6 address on the printer, use CentreWare Internet Services to manually
configure the settings. Then print the [Configuration Report] to verify the automatically set address. Use
this address to access CentreWare Internet Services. Set the IPv6 address [Properties] tab >
[Connectivity] > [Protocols] > [TCP/IP]. For information about each setting, refer to the online help for
CentreWare Internet Services. For information about your network environment, consult with your
network administrator.
• For more information on CentreWare Internet Services, refer to “1.6 Configuring the Printer Using
CentreWare Internet Services” (P. 35).
Note
• For information on how to print the [Configuration Report], refer to “7.2 Printing Reports/Lists” (P. 219).
Gateway Address
•
192.168.001.254
Summary of Contents for DocuPrint C2255
Page 1: ...DocuPrint C2255 User Guide ...
Page 176: ...176 6 Troubleshooting 2 Remove the jammed paper 3 Gently close cover C ...
Page 210: ...210 7 Maintenance 12 Close the front cover ...
Page 266: ...266 7 Maintenance 7 Rotate the lever to the right to lock it 8 Close the front cover ...
Page 313: ...Index 313 WSD 26 129 X XeroxStdAccounting 147 XPS 113 XPS file 309 ...


