144
5 Control Panel Settings
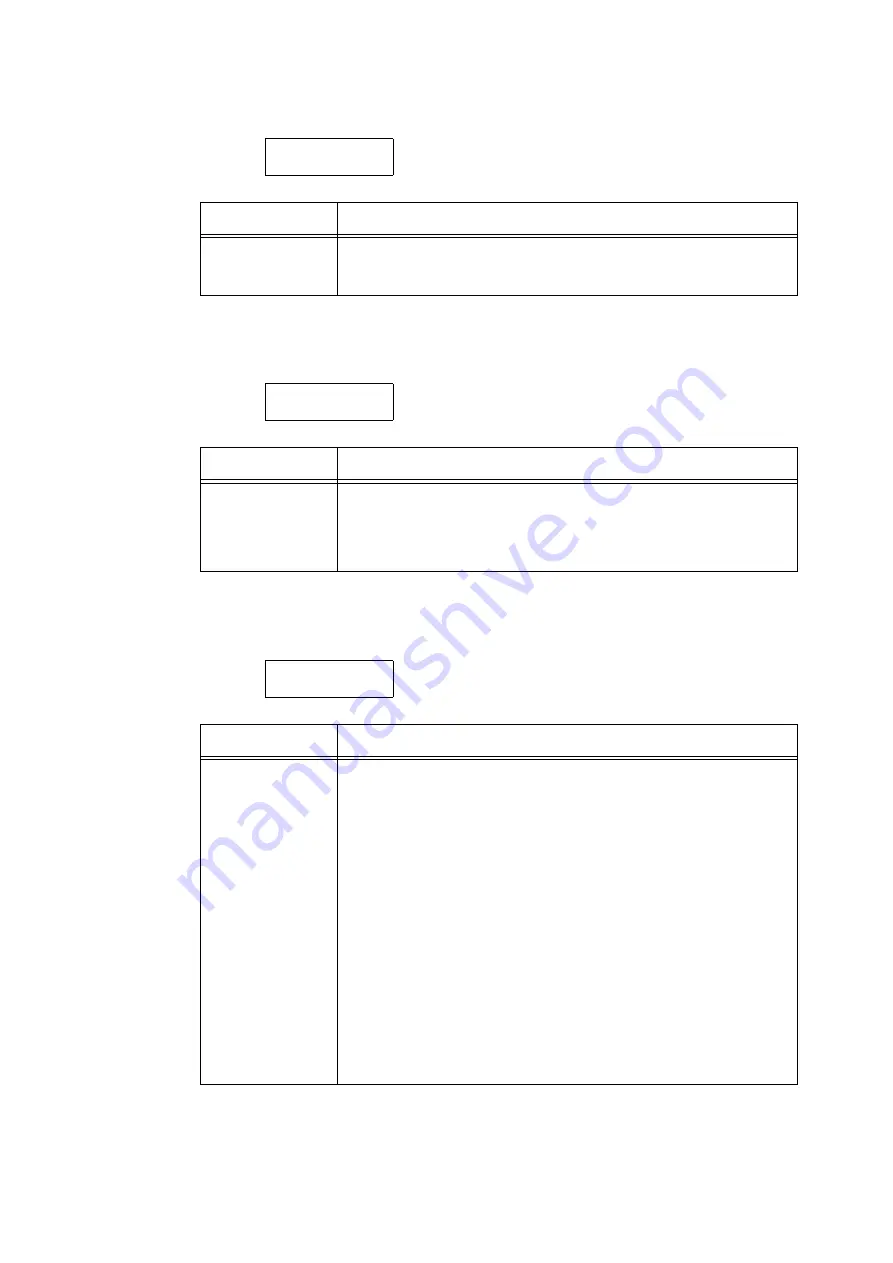
[Print Speed]
[Auto Color Select]
[Drum Life End]
* :
The page yield of each consumable varies depending on print requests, documents printed, and how
often the power is switched on/off. For more information, refer to “A.3 Life of Consumables and
Regular Replacement Parts” (P. 275).
System Settings
Print Speed
Setting
Description
Print Speed
Sets whether to set the initial print speed to Color or Black & White.
• [Color] (default)
• [Black & White]
System Settings
Auto Color Select
Setting
Description
Auto Color Select
Sets to auto detect feature for color printing.
• [Based on Document] (default)
Bases judgment on the document before printing.
• [Print in Color]
Prints everything in color.
System Settings
Drum Life End
Setting
Description
Drum Life End
A message indicating that the replacement life of a drum cartridge is
approaching appears approximately 1500 pages* before the replacement life
of the drum cartridge is reached. Approximately 800 pages* before the
replacement life is reached, a message indicating the drum cartridge needs to
be replaced soon appears. Select whether or not to cancel printing when the
drum cartridge has reached its replacement cycle.
Select whether or not to cancel printing when a drum cartridge has reached its
replacement cycle.
• [Cancel Print] (default)
After the drum cartridge replacement message appears, printing is disabled
until the drum cartridge is replaced with a new one.
• [Continue Print]
Even if a drum cartridge replacement life is reached, printing is not disabled
immediately. Printing can be continued for some time. Note, however, that
print quality might deteriorate or printer performance might be affected if
printing is continued beyond the replacement cycle. We recommend
replacing the drum cartridge. Also, if printing is continued without replacing
the drum cartridge, the printer judges that the drum cartridge has reached its
life when the preset number of sheets is printed, and printing is automatically
canceled to protect the printer.
Summary of Contents for DocuPrint C2255
Page 1: ...DocuPrint C2255 User Guide ...
Page 176: ...176 6 Troubleshooting 2 Remove the jammed paper 3 Gently close cover C ...
Page 210: ...210 7 Maintenance 12 Close the front cover ...
Page 266: ...266 7 Maintenance 7 Rotate the lever to the right to lock it 8 Close the front cover ...
Page 313: ...Index 313 WSD 26 129 X XeroxStdAccounting 147 XPS 113 XPS file 309 ...


