


262
7 Maintenance
7.11
Adjusting the Image Transfer Voltage
Frequent occurrence of the problems described below indicates that the image transfer
voltage may not be appropriate. When this happens, perform the procedure below to adjust
the voltage.
• White patches on images (reduce the voltage)
• Toner scattered around images (increase the voltage)
• Overall bluish images (increase the voltage)
The image transfer voltage can be adjusted for each paper type within the range of 1 to 16
in increments of 1. The initial default setting is 6.
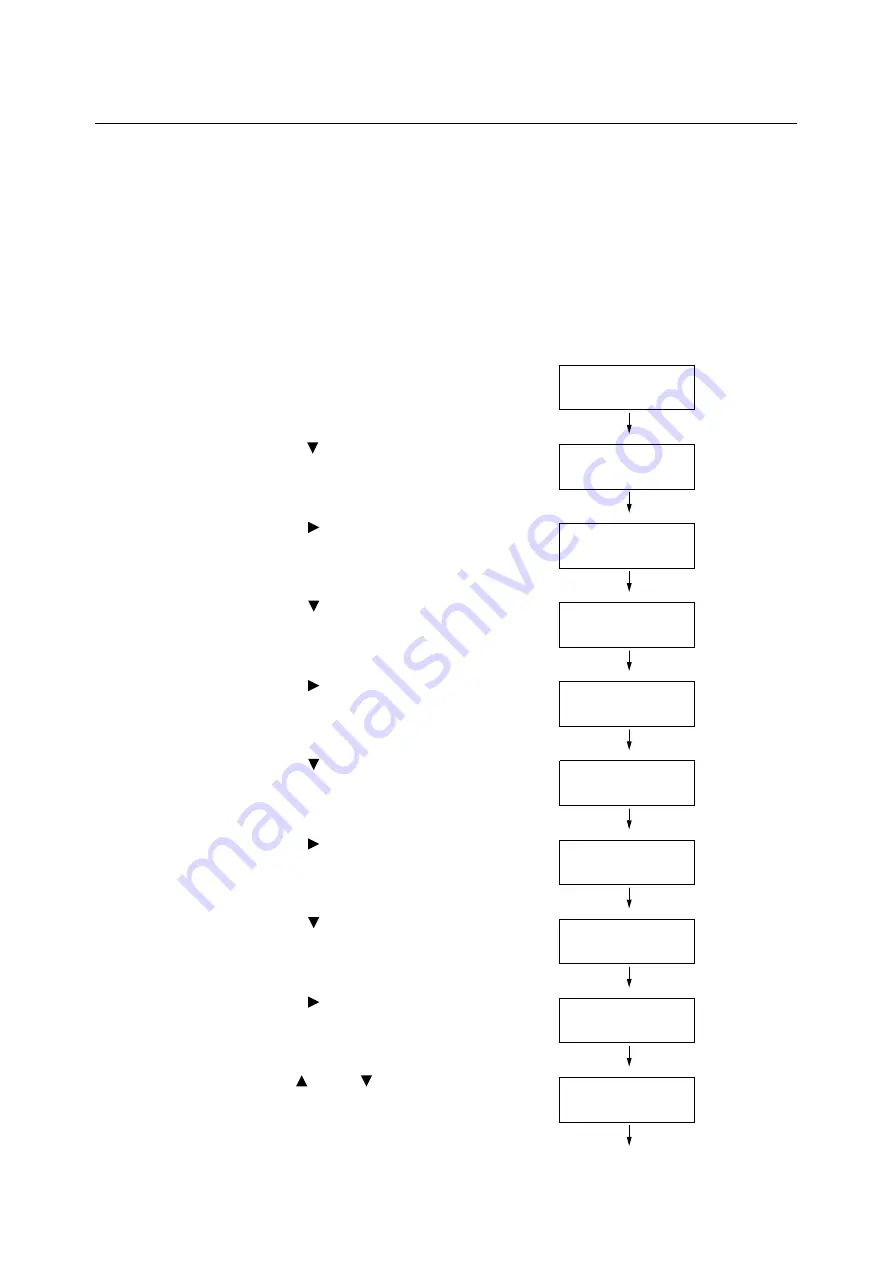
1.
Press the <Menu> button on the control
panel to display the menu screen.
2.
Press the < > button until [Admin Menu] is
displayed.
3.
Press the < > or <OK> button to select.
[Network/Port] is displayed.
4.
Press the < > button until [Image Quality]
is displayed.
5.
Press the < > or <OK> button to select.
[Adjust Gradation] is displayed.
6.
Press the < > button until [Voltage Offset]
is displayed.
7.
Press the < > or <OK> button to select.
A screen for setting the paper type is
displayed.
8.
Press the < > button until the desired
paper type is displayed. (Example:
Heavyweight)
9.
Press the < > or <OK> button to select.
The current setting appears.
10. Use the < > and < > buttons to enter the
new value. (Example:10)
Menu
LanguageEmulation
Menu
Admin Menu
Admin Menu
Network/Port
Admin Menu
Image Quality
Image Quality
Adjust Gradation
Image Quality
Voltage Offset
Voltage Offset
Plain
Voltage Offset
Heavyweight
Heavyweight
•
6
Heavyweight
10
Summary of Contents for DocuPrint C2255
Page 1: ...DocuPrint C2255 User Guide ...
Page 176: ...176 6 Troubleshooting 2 Remove the jammed paper 3 Gently close cover C ...
Page 210: ...210 7 Maintenance 12 Close the front cover ...
Page 266: ...266 7 Maintenance 7 Rotate the lever to the right to lock it 8 Close the front cover ...
Page 313: ...Index 313 WSD 26 129 X XeroxStdAccounting 147 XPS 113 XPS file 309 ...


