


STATUS AND PRINT TASKS
Set Tray Size task through windows
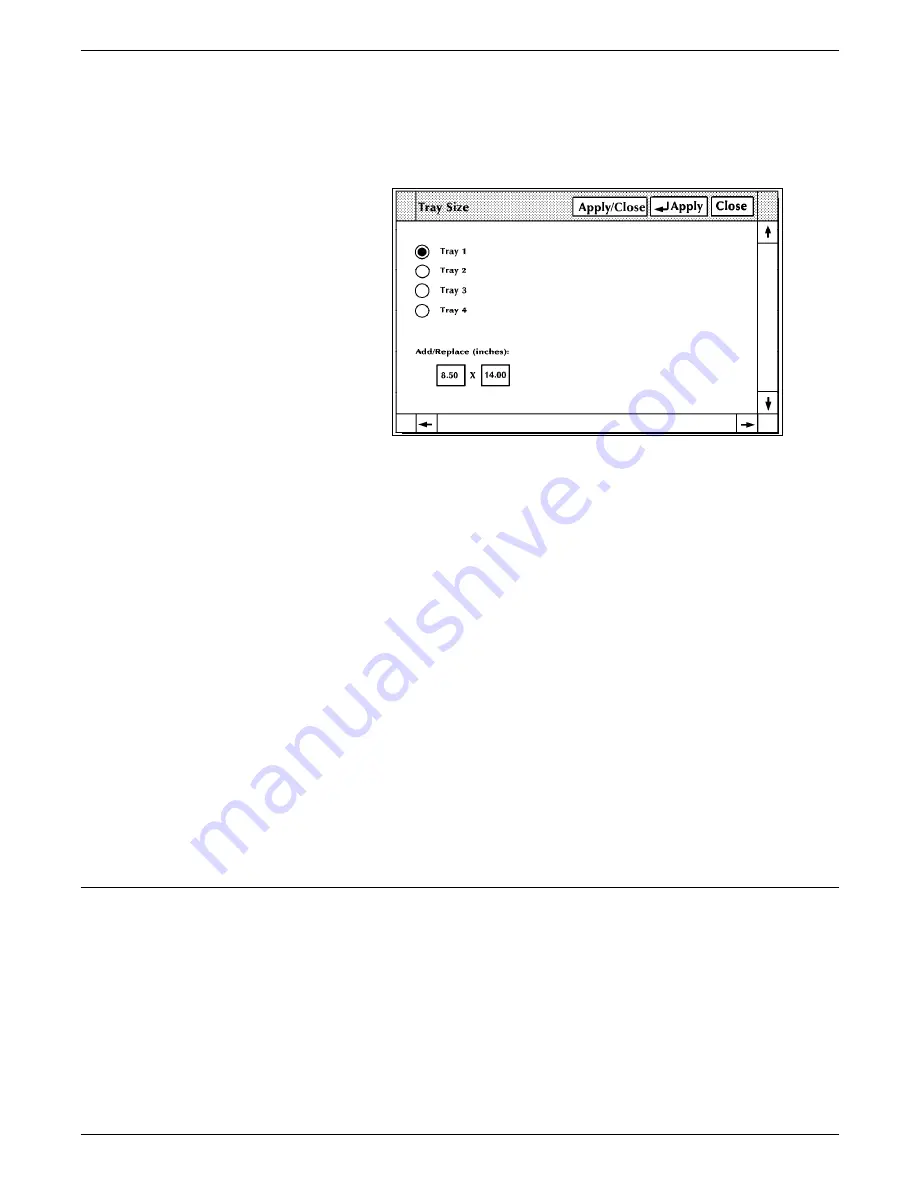
1. Select the “Tray Size” option from the Printer Status
window's header auxiliary menu to open the window.
Figure 9-12.
Tray Size window
2. Select the tray containing custom size paper.
3. Enter the paper dimensions in the Add/Replace input fields.
Note: If the selection of the Units window is inches, enter
the dimensions in inches; if it is millimeters, enter the
dimensions in millimeters. (Refer to the “Select units”
section of this chapter for additional information.)
4. Select the appropriate header button:
•
Apply/Close. Apply your selection and close the window.
•
Apply. Apply your selection.
•
Close. Close the window.
Set Tray Size task through
command line
Enter the following command:
SET TRAY n,w,l
n
The tray you want to modify.
w
The new width in millimeters.
l
The new length in millimeters.
Note: You cannot enter inches in command line mode.
Set container size
Use this task to change the maximum paper size allowed in a
container for custom print jobs.
•
The allowable paper size range is 7 by 10 inches/178 by 254
mm to 11.69 by 17 inches/297 by 432 mm.
•
Any subsequent pages after the first sheet must be within 25
mm on each dimension of the first sheet.
•
You must not set the container size larger than the actual
size of the container.
9-22
XEROX 4635 LASER PRINTING SYSTEM OPERATOR GUIDE


