T A L K S W I T C H I N S T A L L A T I O N
7
Alternatively, you can check the versions you are running once the system is connected by
following the three steps below.
Step 1 — Check current version
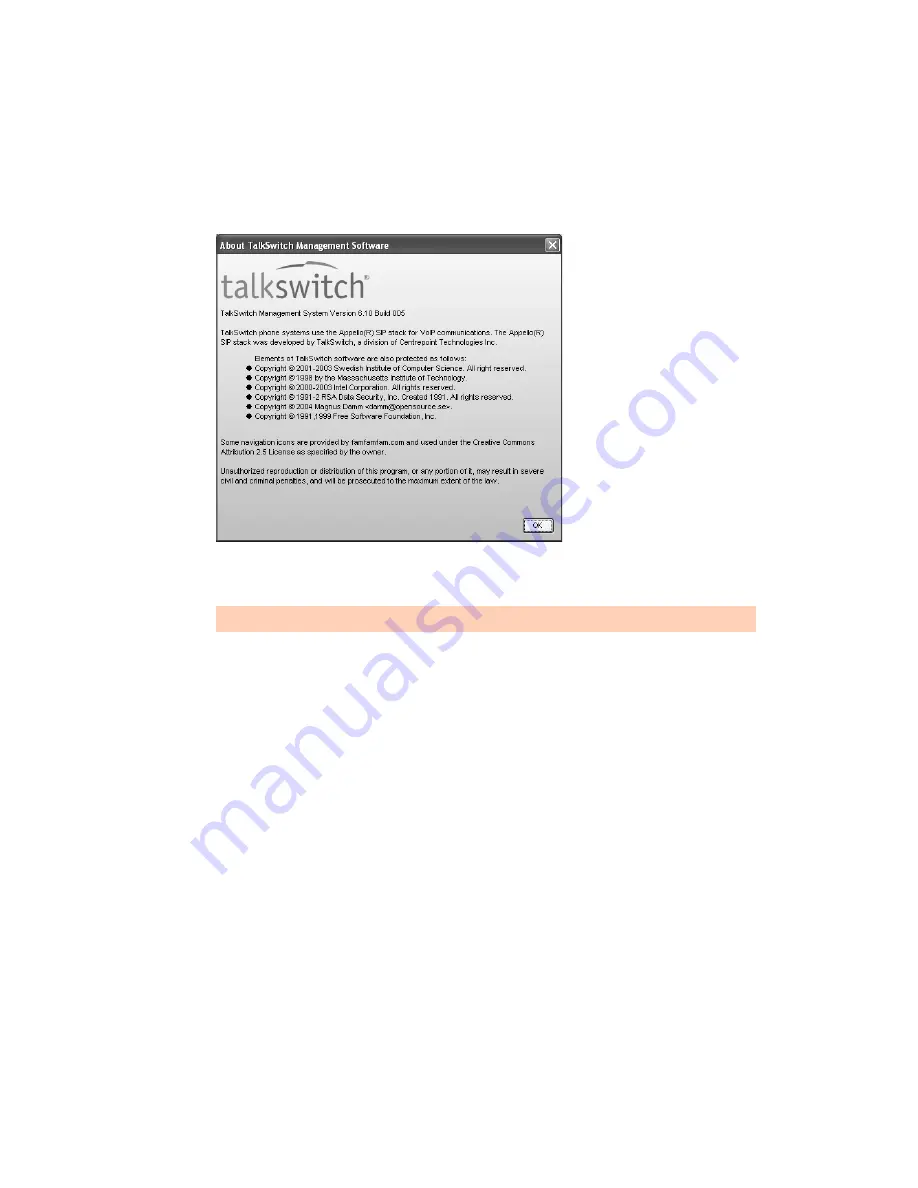
To identify the appropriate update file, you must determine your TalkSwitch software and
firmware versions. To find your TalkSwitch software version number, choose
Help > About
TalkSwitch Management Software
.
Write down the software number. Go to the support section of the TalkSwitch website at
http://
global.talkswitch.com
. The instructions help you select and download the appropriate upgrade.
Step 2 — Download new software and firmware
When you double-click on the appropriate version for downloading, a window displays, asks you
to enter a filename and select a folder for the download. We suggest leaving the filename as it is
and saving it to your PC in
C:\Program Files\TalkSwitch\TalkSwitch Configuration 6.11
.
Once the download is complete, begin your upgrade by double-clicking on the install file or
using the
Run
command on the Windows
Start
menu. A series of windows will guide you
through the installation process.
This process updates your TalkSwitch management software to a newer version. You still need to
update the firmware to take advantage of new features. The new firmware file is placed in the
TalkSwitch directory after running the install program.
Step 3 — Updating the firmware
The last step is to update the firmware. Make sure your TalkSwitch is connected to your PC.
1. Open the TalkSwitch management software.
2. Choose
Tools > Update Firmware
.
The instructions on our website take precedence over any instructions in this user guide.


