


11.
Press [Auth. Info].
12.
Press [Folder Authentication].
13.
Press [Specify Other Auth. Info].
When [Do not Specify] is selected, the SMB User Name and SMB Password that you have
specified in [Default User Name/Password (Send)] of File Transfer settings are applied.
14.
Press [Change] under "Login User Name".
15.
Enter the login user name of the destination computer, and then press [OK].
16.
Press [Change] under "Login Password".
17.
Enter the password of the destination computer, and then press [OK].
18.
Enter the password again to confirm, and then press [OK].
19.
Press [OK].
20.
Press [Exit].
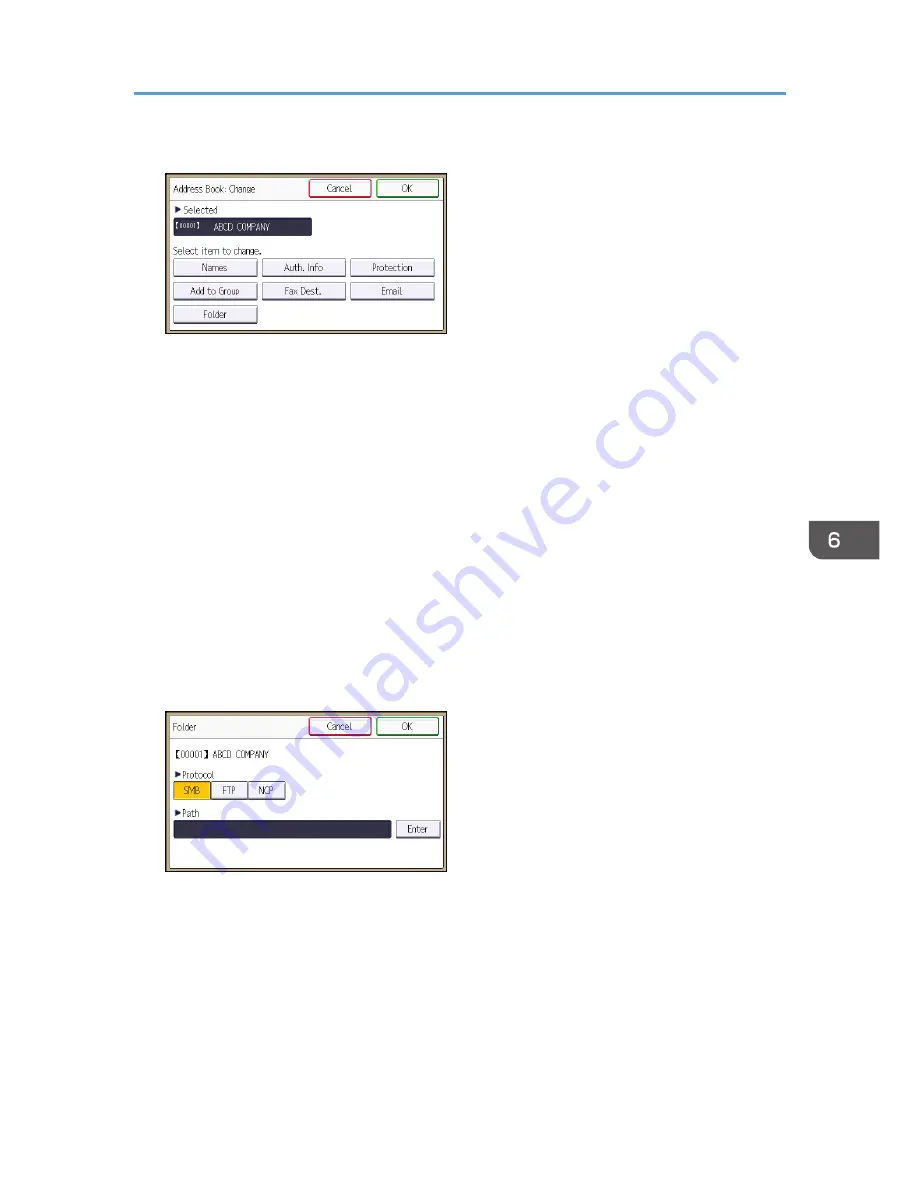
21.
Press [Folder].
22.
Check that [SMB] is selected.
23.
Press [Enter] under "Path".
24.
Press [Enter] or [Browse Network], and then specify the folder.
To specify a folder, you can either enter the path manually or locate the folder by browsing the
network.
25.
Press [Connection Test] to check the path is set correctly.
26.
Press [Exit].
If the connection test fails, check the settings, and then try again.
Basic Procedure for Using Scan to Folder
107
Summary of Contents for MP 401 spf
Page 2: ......
Page 7: ...INDEX 217 5...
Page 54: ...2 Getting Started 52...
Page 72: ...5 Place the originals and then press the Start key 3 Copy 70...
Page 76: ...3 Copy 74...
Page 92: ...4 Fax 90...
Page 104: ...5 Print 102...
Page 124: ...7 Document Server 122...
Page 128: ...8 Web Image Monitor 126...
Page 154: ...9 Adding Paper and Toner 152...
Page 218: ...11 Appendix 216...
Page 222: ...MEMO 220 EN GB EN US EN AU M161 7530...
Page 223: ...2013...
Page 224: ...M161 7530 AU EN US EN GB EN...