128
Note:
The Interval slide bar appears only when ‘Foreign object’ or ‘Missing
object’ is selected.
D.
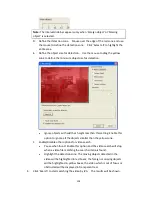
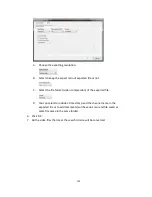
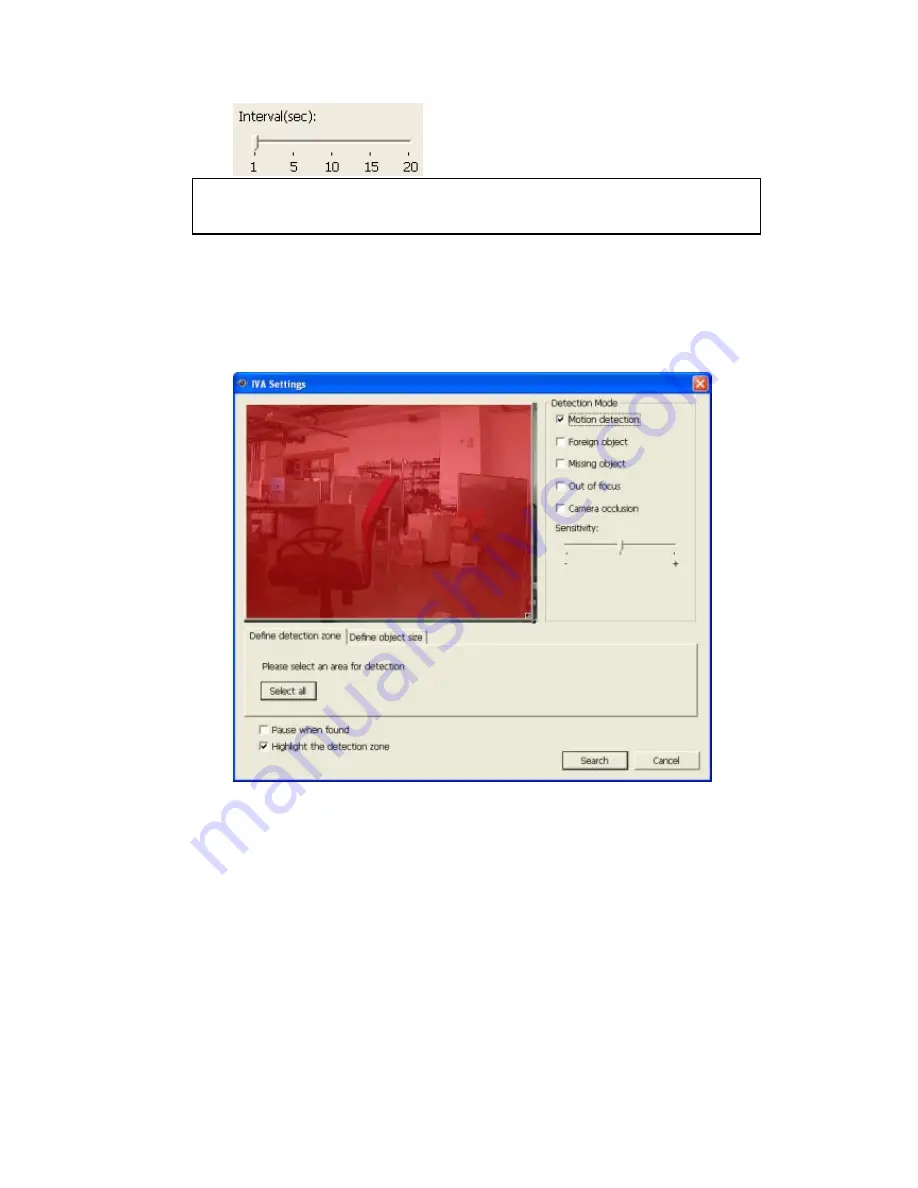
Define the detection zone. Mouse over the edge of the red zone and use
the mouse to define the detection zone. Click ‘Select all’ to highlight the
entire area.
E.
Define the object size for detection. Use the mouse to drag the yellow
zone to define the minimum object size for detection.
Ignore objects with width or height less than this setting: Enable this
option to ignore all the objects smaller than the yellow zone.
F.
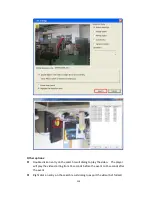
Enable/Disable other options for video search.
Pause when found: Enable this option and the video search will stop
when a video file matching the search criteria is found.
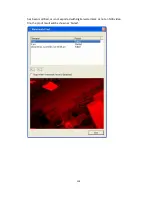
Highlight the detection zone: The moving objects detected in the
video will be highlighted in red boxes; the foreign or missing objects
will be highlighted in yellow boxes; the video which is out of focus or
obstructed will be displayed in transparent red.
4.
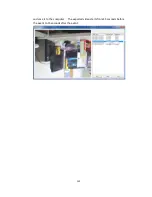
Click ‘Search’ to start searching the video by IVA. The results will be shown.
Summary of Contents for VIOSTOR
Page 47: ...47 ...
Page 49: ...49 ...
Page 90: ...90 ...
Page 114: ...114 ...
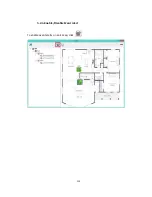
Page 115: ...115 5 2 6Enable Disable Event Alert To enable event alerts on an E map click ...
Page 122: ...122 zoom is enabled you can use your mouse wheel to use digital zoom function ...
Page 140: ...140 Note You cannot play recording files via double click here ...
Page 142: ...142 ...
Page 184: ...184 ...
Page 185: ...185 ...
Page 194: ...194 ...
Page 196: ...196 Step2 Enter the Product Authorization Key PAK code to activate the license ...
Page 217: ...217 10 Confirm the settings and click Next 11 Click Finish to exit the wizard ...
Page 264: ...264 ...
Page 292: ...292 Process This tab shows information about the processes running on the NVR ...
Page 305: ...305 4 Enter a name to register your NVR and click Next ...
Page 306: ...306 5 The wizard will configure your router automatically ...
Page 307: ...307 6 Review the summary page and click Finish to complete the wizard ...
Page 311: ...311 ...
Page 324: ...324 Step5 Specify your replication schedule ...
Page 325: ...325 Step6 Click Finish to complete the setup ...
Page 336: ...336 Step 2 Go to All Apps Step 3 Click Add QSCM Lite to QVR ...
Page 340: ...340 Step 4 Click Install Manually Step 5 Find the unzipped QSCM Lite and click Install ...
Page 341: ...341 Step 6 Click OK Step 7 The NVR will then install QSCM Lite ...
Page 351: ...351 ...

