125
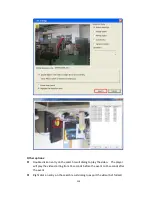
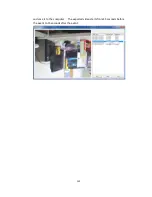
and floor and then select Dewarping mode, including Panorama (Full View),
Panorama (Dual View), and Rectangle.
Remark 1: If the Mount type is Wall, only Panorama (Full View), and Rectangle
are supported in Dewarping mode.
Remark 2: If Dewarping mode is Rectangle, you can use PTZ control panel to
operate PTZ functions, excluding digital zoom.
2.
Applied to the specific camera models with panomorph lens.
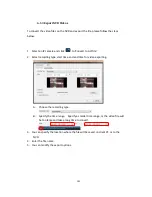
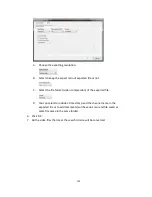
Before using this feature, you need to select the ‘Enable panomorph support’
option in the camera configuration page. Right click the channel and enable
the feature. After that, you can select Mount type, including wall, ceiling, and
floor and then select Dewarping mode, including Perimeter mode, Quad mode,
and PTZ mode.
Remark 1: To know the camera models which can be installed with panomorph
lens, please visit
http://www.qnapsecurity.com/n/en/qa/con_show.php?op=showone&cid=128
.
Remark 2: The function is only available when the resolution of the video
stream is higher than 640x480 on the monitoring page.
Remark 3: If Dewarping mode is PTZ mode, for the channel, you can use PTZ
control panel or mouse (by clicking and holding down the mouse left button,
and then moving the mouse or turning the mouse wheel) to change viewing
angles or zooming in/out the screen. If Dewarping mode is Quad mode, the
above methods can also be applied to operate PTZ functions in each divided
screen.
Summary of Contents for VIOSTOR
Page 47: ...47 ...
Page 49: ...49 ...
Page 90: ...90 ...
Page 114: ...114 ...
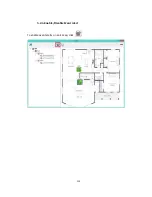
Page 115: ...115 5 2 6Enable Disable Event Alert To enable event alerts on an E map click ...
Page 122: ...122 zoom is enabled you can use your mouse wheel to use digital zoom function ...
Page 140: ...140 Note You cannot play recording files via double click here ...
Page 142: ...142 ...
Page 184: ...184 ...
Page 185: ...185 ...
Page 194: ...194 ...
Page 196: ...196 Step2 Enter the Product Authorization Key PAK code to activate the license ...
Page 217: ...217 10 Confirm the settings and click Next 11 Click Finish to exit the wizard ...
Page 264: ...264 ...
Page 292: ...292 Process This tab shows information about the processes running on the NVR ...
Page 305: ...305 4 Enter a name to register your NVR and click Next ...
Page 306: ...306 5 The wizard will configure your router automatically ...
Page 307: ...307 6 Review the summary page and click Finish to complete the wizard ...
Page 311: ...311 ...
Page 324: ...324 Step5 Specify your replication schedule ...
Page 325: ...325 Step6 Click Finish to complete the setup ...
Page 336: ...336 Step 2 Go to All Apps Step 3 Click Add QSCM Lite to QVR ...
Page 340: ...340 Step 4 Click Install Manually Step 5 Find the unzipped QSCM Lite and click Install ...
Page 341: ...341 Step 6 Click OK Step 7 The NVR will then install QSCM Lite ...
Page 351: ...351 ...

