120Eg User Guide - Upgrading Your System
4 - 20
13.
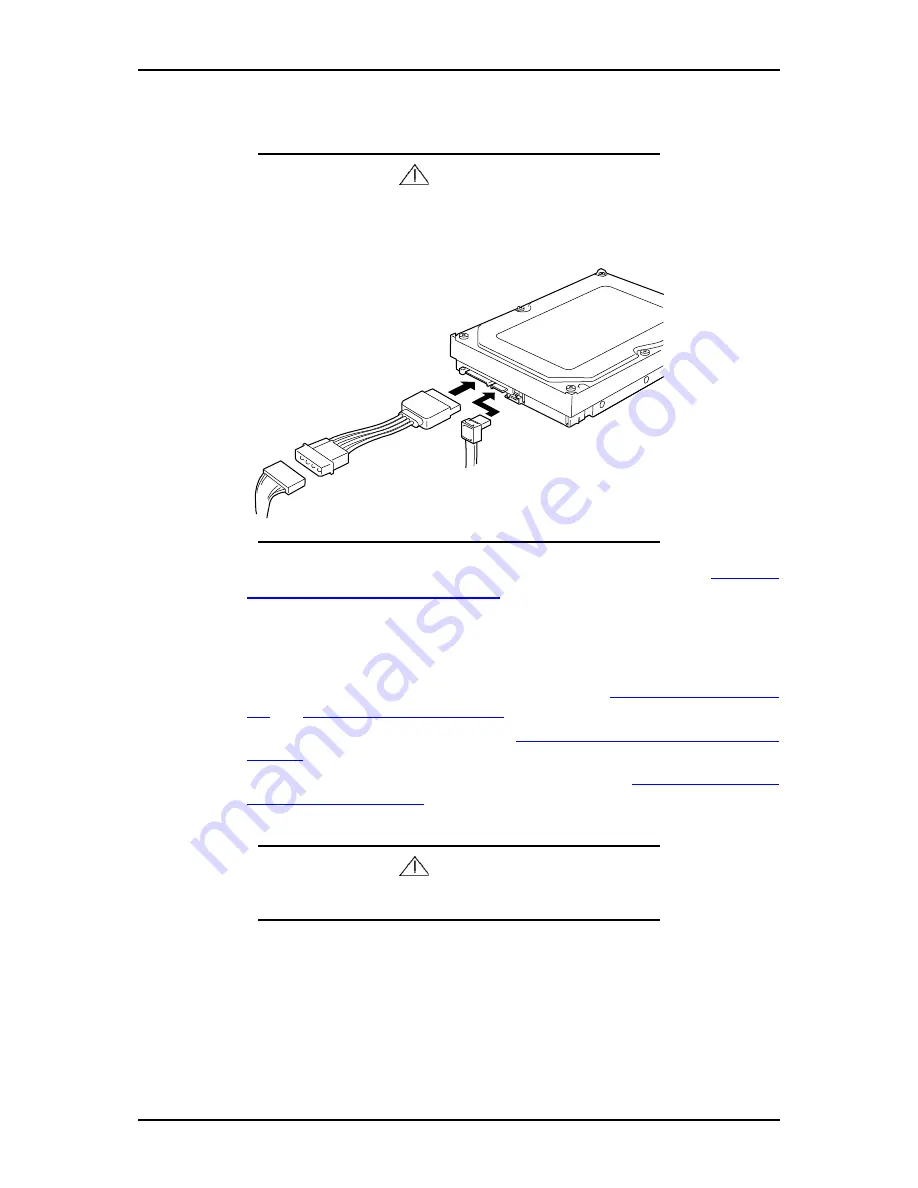
Connect the interface and power cables to the drive.
Caution
For serial ATA hard disk drives, use the relay cable connector
that comes within your server or with the optional S-ATA con-
troller as shown figure below.
14.
Reinstall the left-hand side access panel on the system chassis. See
“Removing
or Installing the Side Cover” on page 4-4
.
15.
Plug in the system power cord(s), and turn on the system.
Swapping a Hard Disk Drive
1.
Observe the safety and ESD precautions listed under
“Safety Notices” on page 1-
xviii
and
“Static Precautions” on page 4-2
.
2.
Prepare your system for upgrade. See
“Preparing Your System for Upgrade” on
page 4-3
.
3.
Remove the left-hand side access panel as described in
“Removing or Installing
the Side Cover” on page 4-4
.
Caution
Observe static precautions. Use an antistatic wrist strap.
4.
Disconnect the interface and power cables attached to the drive.
5.
Remove the disk carrier tray from the bay. The disk carrier tray is released by
removing the two screws holding it in place (see "Figure 4 - 11: Releasing the
Disk Carrier Tray" on page 4-17).
Summary of Contents for Express 5800 120Eg
Page 1: ... User s Guide Express 5800 120Eg ...
Page 2: ......
Page 4: ......
Page 16: ...120Eg User Guide Table of Contents xiv ...
Page 291: ......
Page 292: ... ...


