6 - 9
6. MR Configurator (SERVO CONFIGURATION SOFTWARE)
(2) Screen explanation
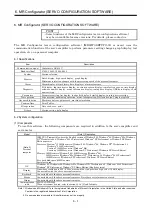
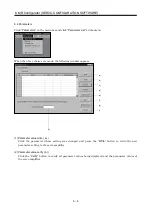
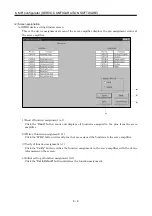
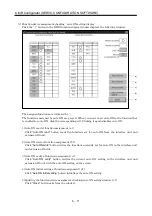
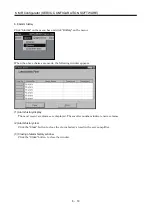
(a) DIDO device setting window screen
This is the device assignment screen of the servo amplifier displays the pin assignment status of
the servo amplifier.
b)
d)
c)
a)
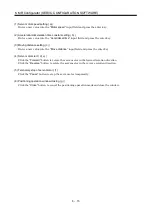
1) Read of function assignment ( a) )
Click the “
Read
” button reads and displays all functions assigned to the pins from the servo
amplifier.
2) Write of function assignment ( b) )
Click the “
Write
” button writes all pins that are assigned the functions to the servo amplifier.
3) Verify of function assignment ( c) )
Click the “
Verify
” button verifies the function assignment in the servo amplifier with the device
information on the screen.
4) Initial setting of function assignment ( d) )
Click the “
Set to Default
” button initializes the function assignment.
Summary of Contents for MR-J2S-10CP
Page 11: ...A 10 MEMO ...
Page 19: ...8 MEMO ...
Page 45: ...1 26 1 FUNCTIONS AND CONFIGURATION MEMO ...
Page 181: ...6 20 6 MR Configurator SERVO CONFIGURATION SOFTWARE MEMO ...
Page 207: ...7 26 7 DISPLAY AND OPERATION MEMO ...
Page 219: ...8 12 8 GENERAL GAIN ADJUSTMENT MEMO ...
Page 229: ...9 10 9 SPECIAL ADJUSTMENT FUNCTIONS MEMO ...
Page 231: ...10 2 10 INSPECTION MEMO ...
Page 249: ...12 8 12 OUTLINE DIMENSION DRAWINGS MEMO ...
Page 257: ...13 8 13 CHARACTERISTICS MEMO ...


