Managing Calls
209
Call Forward in Account Mode
1.
From the
Home
screen swipe left to move to the
Line Selection
screen.
2.
Press the desired account.
3.
Swipe right to go back to the
Home
screen
4.
With the account in focus on
Home
screen, press the configured
Call Fwd
softkey or press
and then the
Call Forward
icon.
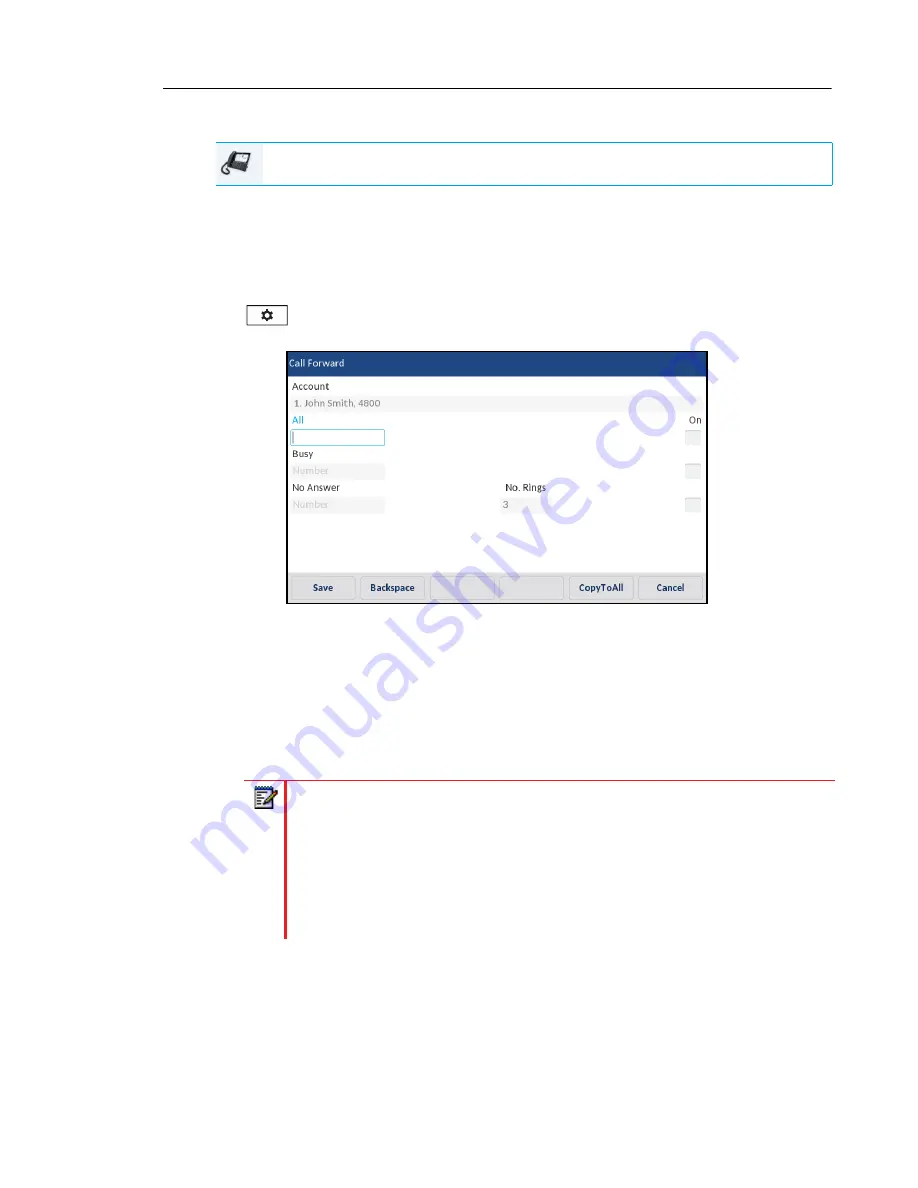
The Call Forward screen displays for the account you selected.
5.
Enter forwarding numbers using the dialpad keys or on-screen keyboard for any of the
following states:
•
All: Forwards all incoming calls for the respective account to the specified number.
•
Busy: Forwards incoming calls to a specified number if DND has been enabled for that
account OR if the account is currently engaged in another call.
•
No Answer: Forwards incoming calls to a specified number if the call has not been
answered for the specified number of rings.
6.
If configuring a forwarding number for the No Answer state, press the
No. Rings
field and
press the left or right arrow button to change the desired number of rings.
7.
Press the
On
checkbox beside the respective Call Forward mode to enable the Call Forward
mode.
8.
Press the
Save
softkey to save your changes.
IP PHONE UI
Notes:
1.
If All and Busy and No Answer are all enabled (and/or if the account has DND
enabled), the All settings take precedence over Busy and No Answer.
2.
Pressing the
CopyToAll
key copies the call forward number of the Call Forward
mode in focus to every Call Forward mode of that account. For example, if you
have the cursor pointing at the All state and has a call forward phone number
configured, pressing the
CopytoAll
key assigns the same phone number to the
Busy and No Answer states as well.


