


L-DALI User Manual
220
LOYTEC
Version 5.2
LOYTEC electronics GmbH
4.
Select the desired
Trend Mode
.
5.
On devices with SD cards, select
External trend storage
, if this trend log shall be
backed up to an SD card. If doing so, also set the
Fill Level Notification
, which
triggers when a backup is written to the external storage.
6.
Select the
Log Size
. The display in the dialog will adapt the estimations for needed data
logger file size in KB and duration of the trend log. Alternatively, for interval trends,
the estimated log duration and log interval can be edited.
7.
In the interval trend mode the
Align interval
option can be activated. Depending on the
selected interval, the beginning of the interval is aligned to the wall time (e.g. every 15
minutes aligned to the top of the hour). An additional offset in seconds to that
alignment can be specified (e.g. 5 seconds after those 15 minutes).
8.
Select a
Fill Level Notification
percentage. This will decide at which fill-level trigger
will fire. A fill-level trigger can be used to trigger the transmission of an e-mail (see
Section 7.13.5) or a backup of log data to the SD card.
9.
Click
Save changes
to store the basic configuration of the trend object. The new trend
log object appears in the data point list of the Trend folder.
7.13.2 Configure Trended Data Points
When a local trend object has been created, it needs to be configured, which data points it
shall log. This is done by attaching data points to the trend object. Only simple data points
can be attached for trending, i.e., of class analog, binary, or multi-state. For trend log
objects in the BACnet technology, single data points can be attached only.
The trending can be enabled/disabled on behalf of an
enable
data point. This data point
should be of type
binary
. If the value of that enable data point is TRUE, the trend object
logs data as defined by the trend mode. If the value of the enable is FALSE, trending is
disabled. If no enable data point is configured, the trend log is always enabled.
To Attach Data Points for Trending
1.
Select the trend object in the
Trend
sub-folder.
2.
Right-click and select
Configure Trend
from the context menu. The same dialog
which appears when a new trend object is created is shown and allows configuring the
trend object. Of course, this step can also be done directly when the object is created.
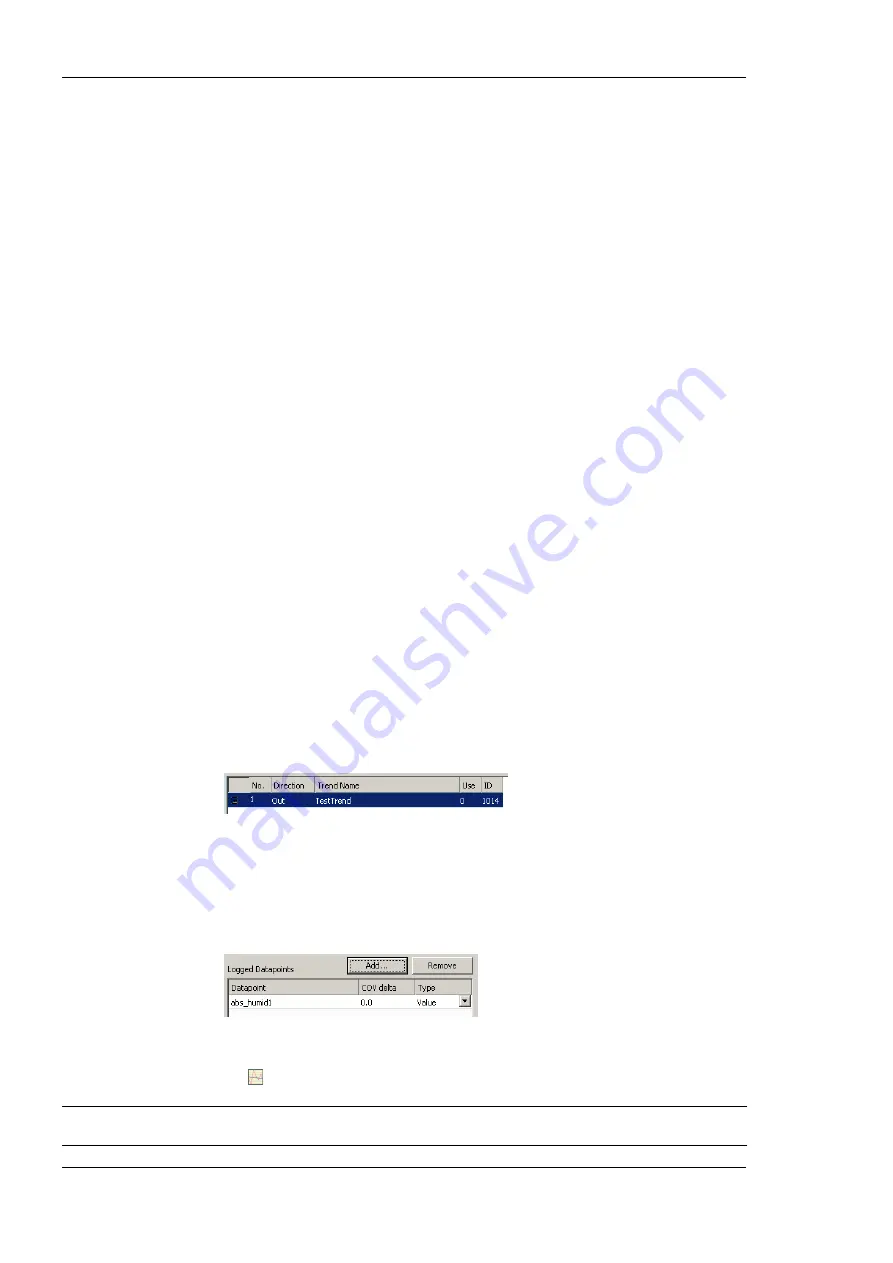
3.
Add data points to be trended. Click on
Add …
which opens a data point selector
window.
4.
Select the data points and click
OK
. For each of the attached data points, a line appears
in the list below the add button. The trended data points will also appear with the trend
icon
in the data point manager.
Tip!
Data points can also be attached to a trend by selecting a data point in the data point
manager, drag it onto a trend object and drop it on the trend object.


