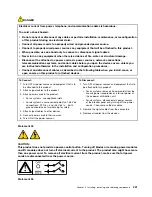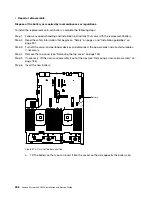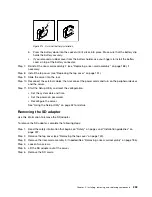
To Connect:
To Disconnect:
1. Turn OFF all power sources and equipment that is to
be attached to this product.
2. Attach signal cables to the product.
3. Attach power cords to the product.
• For ac systems, use appliance inlets.
• For dc systems, ensure correct polarity of -48 V dc
connections: RTN is + and -48 V dc is -. Earth
ground should use a two-hole lug for safety.
4. Attach signal cables to other devices.
5. Connect power cords to their sources.
6. Turn ON all the power sources.
1. Turn OFF all power sources and equipment that is to
be attached to this product.
• For ac systems, remove all power cords from the
chassis power receptacles or interrupt power at
the ac power distribution unit.
• For dc systems, disconnect dc power sources
at the breaker panel or by turning off the power
source. Then, remove the dc cables.
2. Remove the signal cables from the connectors.
3. Remove all cables from the devices.
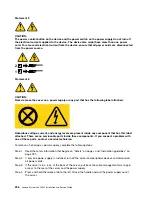
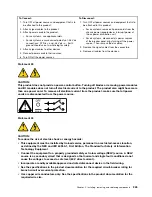
Statement 33
CAUTION:
This product does not provide a power-control button. Turning off blades or removing power modules
and I/O modules does not turn off electrical current to the product. The product also might have more
than one power cord. To remove all electrical current from the product, make sure that all power
cords are disconnected from the power source.
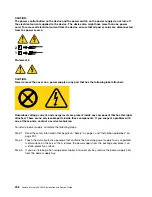
Statement 34
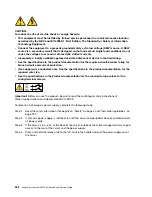
CAUTION:
To reduce the risk of electric shock or energy hazards:
• This equipment must be installed by trained service personnel in a restricted-access location,
as defined by the NEC and IEC 60950-1, First Edition, The Standard for Safety of Information
Technology Equipment.
• Connect the equipment to a properly grounded safety extra low voltage (SELV) source. A SELV
source is a secondary circuit that is designed so that normal and single fault conditions do not
cause the voltages to exceed a safe level (60 V direct current).
• Incorporate a readily available approved and rated disconnect device in the field wiring.
• See the specifications in the product documentation for the required circuit-breaker rating for
branch circuit overcurrent protection.
• Use copper wire conductors only. See the specifications in the product documentation for the
required wire size.
Installing, removing, and replacing components
245
Summary of Contents for x3650 M5
Page 1: ...Lenovo System x3650 M5 Installation and Service Guide Machine Type 8871 ...
Page 47: ...Figure 35 System board switches jumpers and buttons Chapter 1 The System x3650 M5 server 35 ...
Page 60: ...48 Lenovo System x3650 M5 Installation and Service Guide ...
Page 80: ...68 Lenovo System x3650 M5 Installation and Service Guide ...
Page 124: ...112 Lenovo System x3650 M5 Installation and Service Guide ...
Page 146: ...134 Lenovo System x3650 M5 Installation and Service Guide ...
Page 1322: ...1310 Lenovo System x3650 M5 Installation and Service Guide ...
Page 1330: ...Taiwan BSMI RoHS declaration 1318 Lenovo System x3650 M5 Installation and Service Guide ...
Page 1339: ......
Page 1340: ......

