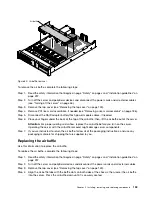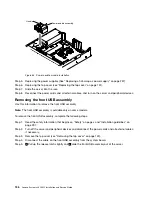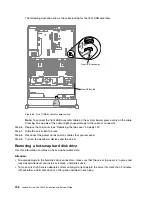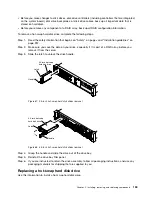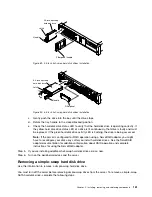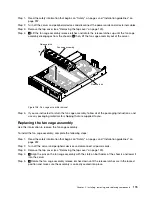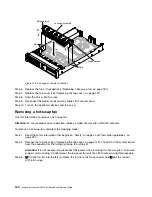
To install the optical drive cable, complete the following steps:
Step 1.
Read the safety information that begins on “Safety” on page v and “Installation guidelines” on
page 297.
Step 2.
Turn off the server and peripheral devices and disconnect the power cords and all external cables.
Step 3.
Remove the top cover (see “Removing the top cover” on page 149).
Step 4.
Remove the fan cage assembly (see “Removing the fan cage assembly” on page 178).
Step 5.
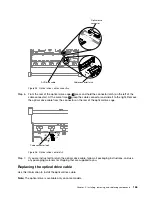
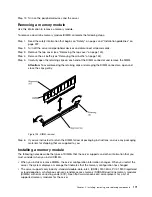
Align the cable connector with the slot on the rear of the optical drive cage.
1
Press and hold
the connector latch; then,
2
push the cable connector into the optical drive cage connector
and slide it to the left until it is firmly seated.
Cable connector latch
Figure 97. Optical drive cable latch
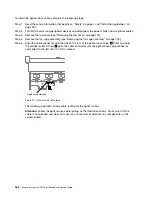
The following illustration shows cable routing for the optical cable:
Attention:
Follow the optical drive cable routing as the illustration shows. Make sure that the
cable is not pinched and does not cover any connectors or obstruct any components on the
system board.
166
Lenovo System x3650 M5 Installation and Service Guide
Summary of Contents for x3650 M5
Page 1: ...Lenovo System x3650 M5 Installation and Service Guide Machine Type 8871 ...
Page 47: ...Figure 35 System board switches jumpers and buttons Chapter 1 The System x3650 M5 server 35 ...
Page 60: ...48 Lenovo System x3650 M5 Installation and Service Guide ...
Page 80: ...68 Lenovo System x3650 M5 Installation and Service Guide ...
Page 124: ...112 Lenovo System x3650 M5 Installation and Service Guide ...
Page 146: ...134 Lenovo System x3650 M5 Installation and Service Guide ...
Page 1322: ...1310 Lenovo System x3650 M5 Installation and Service Guide ...
Page 1330: ...Taiwan BSMI RoHS declaration 1318 Lenovo System x3650 M5 Installation and Service Guide ...
Page 1339: ......
Page 1340: ......

