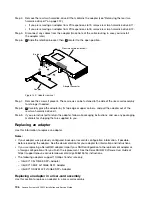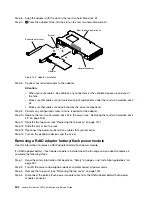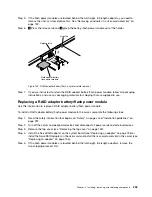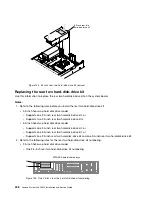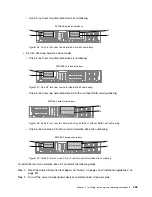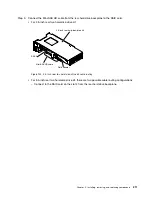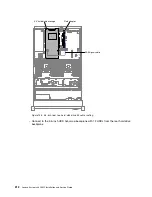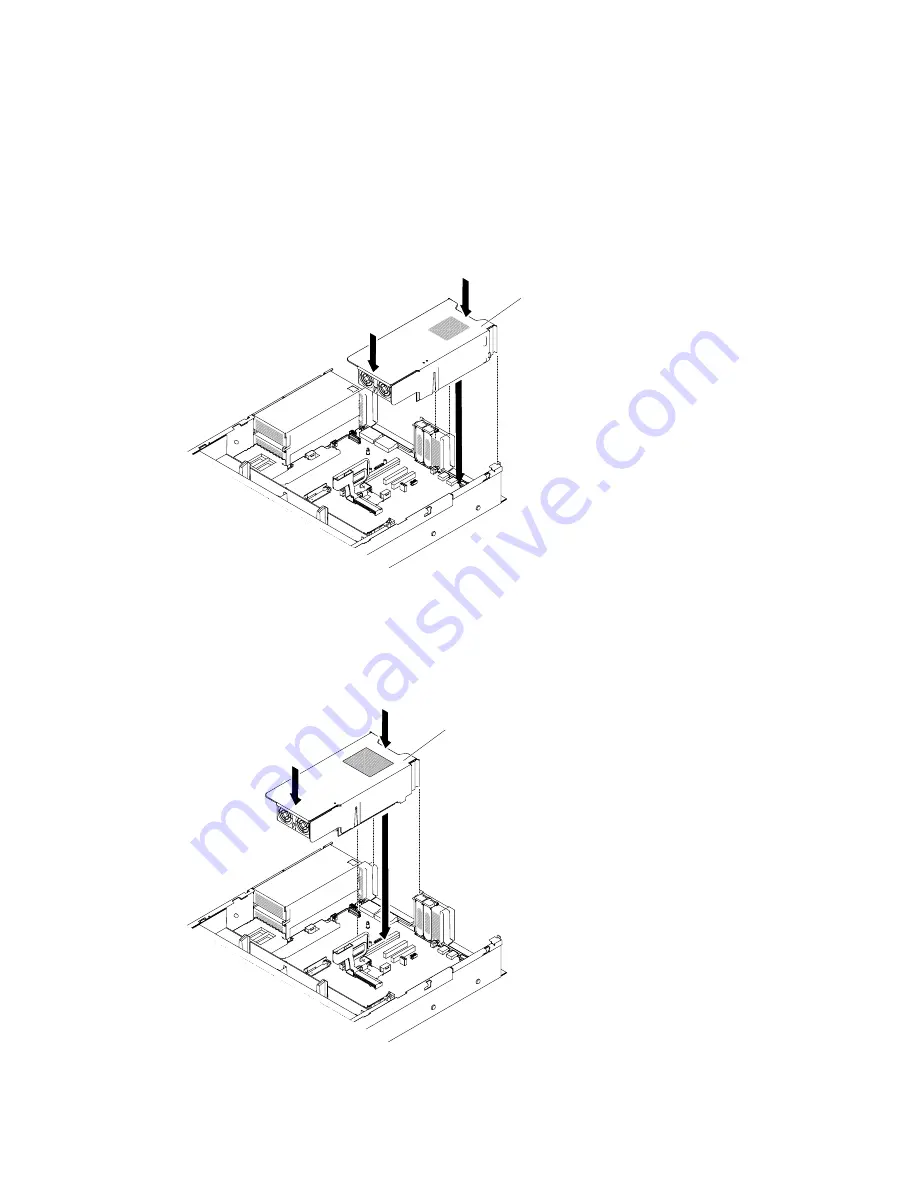
Step 3.
Remove the top cover (see “Removing the top cover” on page 149).
Step 4.
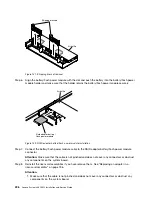
Align the rear two hard-disk-drive kit with the connector on the system board and align it with
the slots on the chassis; then, lower it into the server and press down firmly until the rear two
hard-disk-drive kit is seated correctly in the connector on the system board
• 2.5-inch rear two hard-disk-drive kit installation
0000
0000
0000
0
0
0
0
0
0
0
0
0
000
000
000
000
000
000
000
000
0
0
0
0
0
0
0
0
2.5-inch rear two
hard-disk-drive kit 1
Figure 150. 2.5-inch rear two hard-disk-drive kit installation
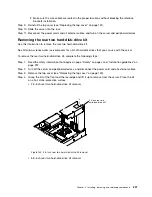
• 3.5-inch rear two hard-disk-drive kit installation
0
0
0
0
0
0
0
0
0
000
000
000
000
000
000
000
000
0
0
0
0
0
0
0
0
00000
00000
00000
00000
3.5-inch rear two
hard-disk-drive kit
Figure 151. 3.5-inch rear two hard-disk-drive kit installation
210
Lenovo System x3650 M5 Installation and Service Guide
Summary of Contents for x3650 M5
Page 1: ...Lenovo System x3650 M5 Installation and Service Guide Machine Type 8871 ...
Page 47: ...Figure 35 System board switches jumpers and buttons Chapter 1 The System x3650 M5 server 35 ...
Page 60: ...48 Lenovo System x3650 M5 Installation and Service Guide ...
Page 80: ...68 Lenovo System x3650 M5 Installation and Service Guide ...
Page 124: ...112 Lenovo System x3650 M5 Installation and Service Guide ...
Page 146: ...134 Lenovo System x3650 M5 Installation and Service Guide ...
Page 1322: ...1310 Lenovo System x3650 M5 Installation and Service Guide ...
Page 1330: ...Taiwan BSMI RoHS declaration 1318 Lenovo System x3650 M5 Installation and Service Guide ...
Page 1339: ......
Page 1340: ......

