Sonoview
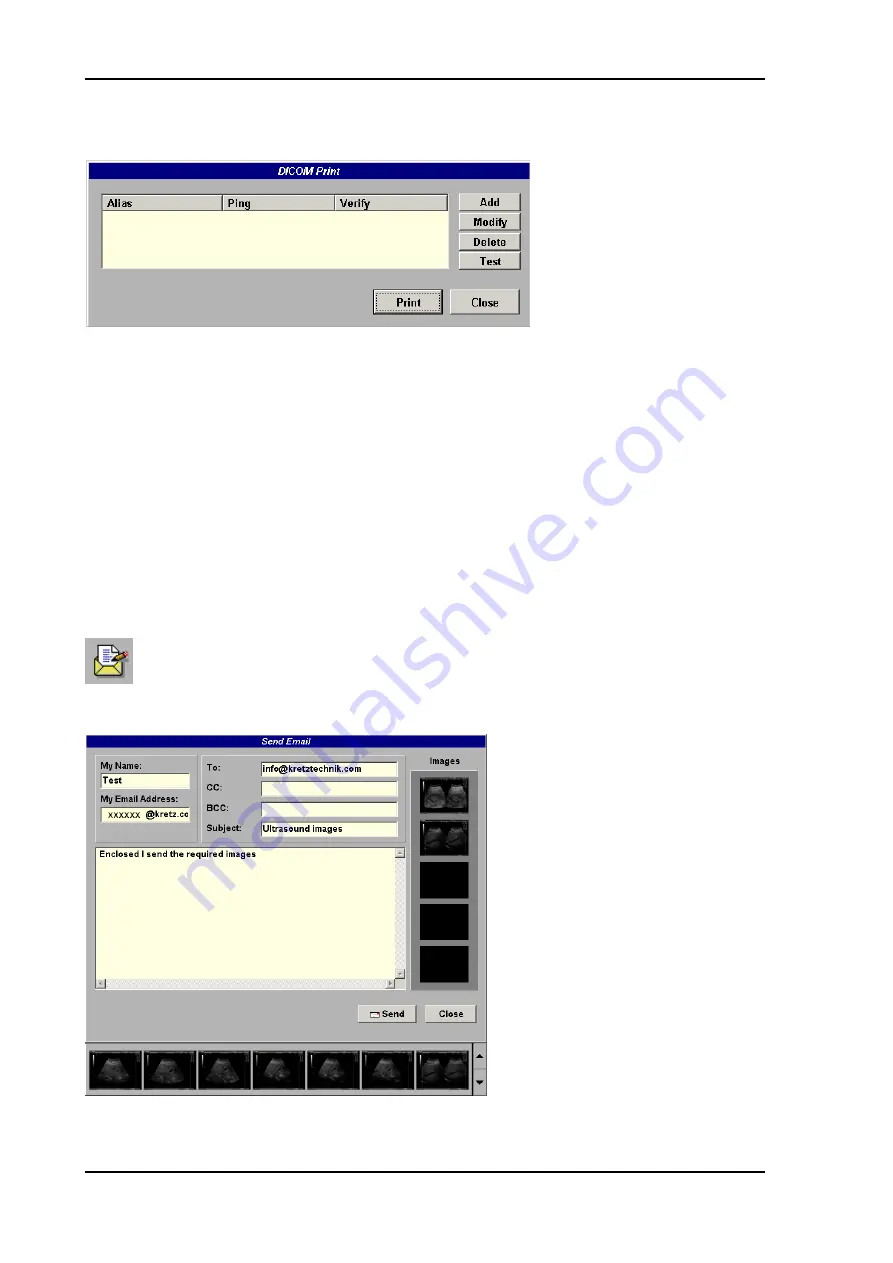
After selecting
[
OK
]
, the dialogue box is displayed as seen below.
To print the image to the DICOM Printer select the destination desired and click
[
]
.
To add a new printer, first click the
[
Add
]
button.
Enter the corresponding information and then click the
[
OK
]
button.
To modify that information about the printer, highlight the Printer and click the
[
Modify
]
button.
Refer to the manual of the printer and DICOM Conformance Statement for detailed information.
15.3.11
To Send E-mails
Sonoview provides the function to send images attached to E-mails.
Click the
[
]
icon and enter the E-mail address, Subject and Content.
Move the cursor to the desired image
in the Thumbnail window to be sent.
Then press the right trackball key
[Set].
The border of that image flickers.
Move the cursor to the images
window within the E-mail format and
press the right trackball key [Set].
Viewing of the selected image(s)
verify they are attached.
After attaching more images in the
same manner, click the
[
Send
]
button
to send the E-mail.
Voluson
®
730Expert - Basic User Manual
15-18
105850 Rev. 0
Summary of Contents for Voluson 730Pro
Page 1: ... B BA AS SI IC C U US SE ER R M MA AN NU UA AL L GE Medical Systems Kretztechnik GmbH Co OHG ...
Page 4: ...This page intentionally left blank Voluson 730Pro Operation Manual i 2 105831 Rev 0 ...
Page 23: ...General 1 General 1 2 Voluson 730Pro Basic User Manual 105831 Rev 0 1 1 ...
Page 44: ...Safety This page intentionally left blank Voluson 730Pro Basic User Manual 2 20 105831 Rev 0 ...
Page 112: ...2D Mode This page intentionally left blank Voluson 730Pro Basic User Manual 5 22 105831 Rev 0 ...
Page 172: ...PD Mode This page intentionally left blank Voluson 730Pro Basic User Manual 9 14 105831 Rev 0 ...
Page 446: ...Connections 21 2 1 Main Module Voluson 730Pro Basic User Manual 21 4 105831 Rev 0 ...


