ASR-10 Musician’s Manual
Section 18 — Audio Track Applications
An Audio Track Tutorial
7
Using the SAVE SONG + ALL SEQS Command
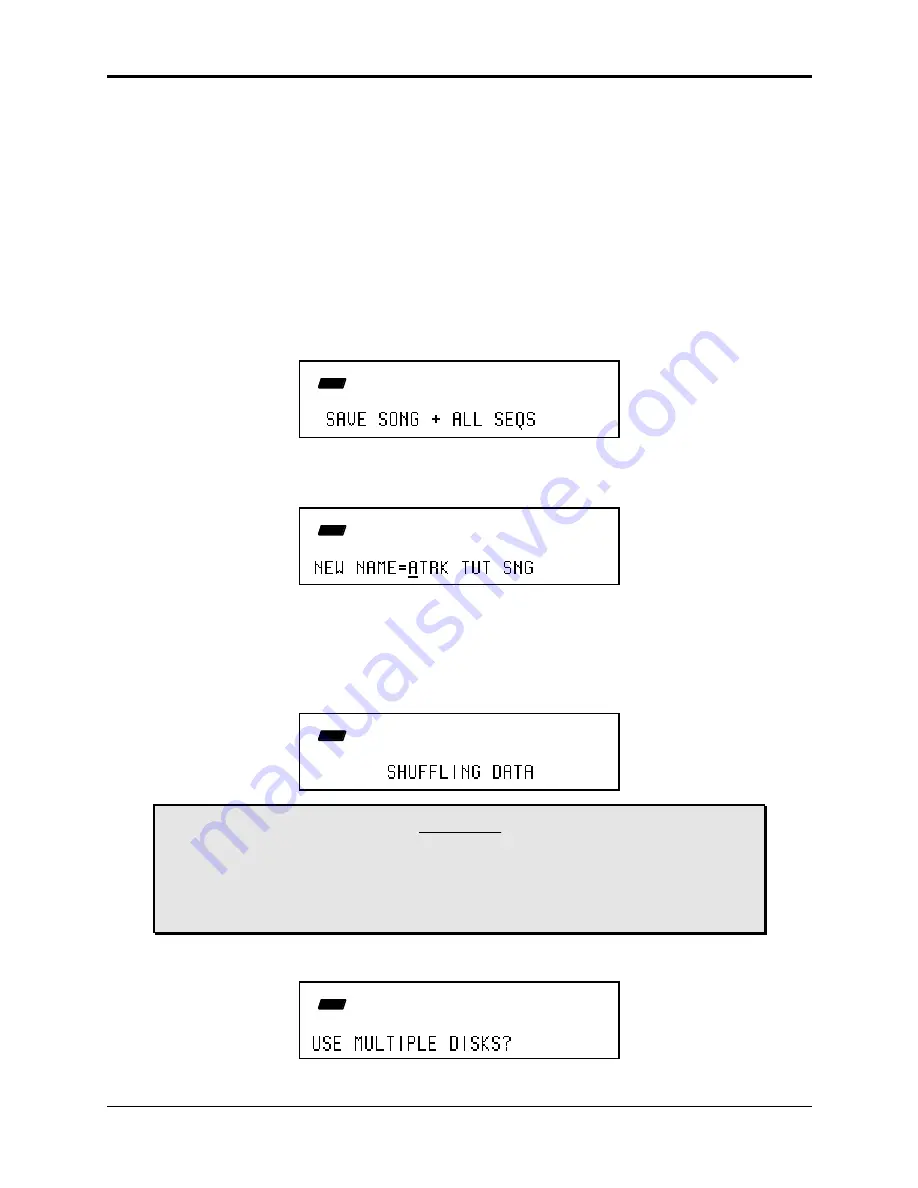
Once you have created a song or made changes to an existing one, you can save the song to a
formatted ASR-10 disk. In addition to saving the song itself, the SAVE SONG + ALL SEQS
command saves all the individual sequences currently in memory (whether they are part of the song
or not). Audio Track recording data is also stored with the SONG + ALL SEQS file type. Because
the SONG + ALL SEQS file saves your Audio Track recording data, it is sometimes referred to as the
Project file. Note that a SONG + ALL SEQS file that is to be saved after a large amount of
RAMTrack data has been recorded will increase in size significantly and may need to be saved
across multiple disks. Be prepared with a few extra floppy disks for this task. To save a song:
1. Insert a formatted disk into the drive.
2. Press Command, then press Seq•Song.
3. Press the Left or Right Arrow button until the display reads:
CMD
SEQ
STOP
SONG
4. Press Enter•Yes.
5. Edit the song name (optional):
CMD
SEQ
STOP
SONG
The display shows the current name of the song with a cursor (underline) beneath the first
character. If you want to give the song a new name, use the Data Entry Controls (see the ASR-
10 Musician’s Manual for details).
6. Press Enter•Yes.
The display will flash SHUFFLING DATA as the ASR-10 prepares to save the file to disk.
CMD
SEQ
STOP
SONG
Caution:
Saving a SONG + ALL SEQS (Project) file to disk will take longer than in previous O.S.
versions. The SHUFFLING DATA message will be displayed before saving, perhaps for
several minutes. This happens because the ASR-10 must manage the Audio Track data
that is stored with the SONG + ALL SEQS (Project) file. The more AudioSamples you
have recorded, the longer it will take.
7. If the SONG + ALL SEQS file will be saving RAMTracks, the display will usually ask:
CMD
SEQ
STOP
SONG


