Section 12 — Sequencer and Audio Track Concepts
ASR-10 Musician’s Manual
34
About Audio Tracks
Step Three
: Choosing a Record Source
1.
Select the sample rate
2.
Configure the Audio Tracks
3.
Choose a Record Source
4.
Prepare the Audio Tracks
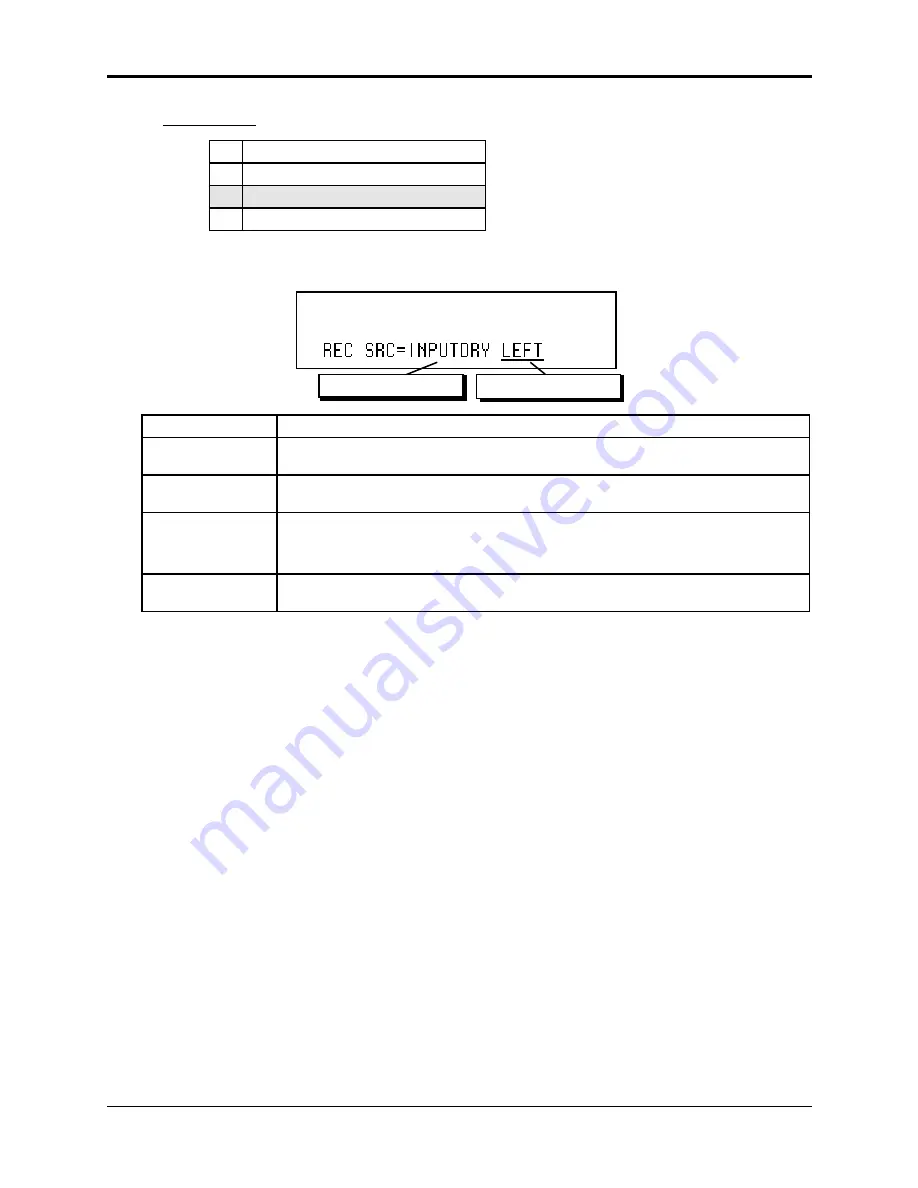
The Sample•Source Select, REC SRC screen determines the RECORD SOURCE (Field 1) and
STEREO/MONO Record mode (Field 2) for Audio Track recording:
STOP
Record Source Field 1
Record Source Field 2
When REC SRC=
Entering Record will:
INPUTDRY
Record audio from the Audio Inputs dry, while monitoring the Audio Inputs through the
Edit/(audio) Track, OUT Bus.
INPUT+FX
Record and monitor audio from the Audio Inputs wet through BUS1, while monitoring
all other ASR-generated Audio dry.
MAIN-OUT
Record any ASR-10 voices that are routed to BUS1/2/3. This includes any sequence
tracks that are playing local ASR-10 Instruments, and any notes played on the
keyboard or received via MIDI that play local ASR-10 Instruments. Audio Track
playback can itself be re-recorded according to the bounce-down rules described later.
DIGITAL
Record audio from the Digital Input. For more information about using this record
source, refer to the DI-10 Digital I/O Manual.
1 or 2 Inputs?
The REC SRC Field 2 values determine whether the Audio Tracks will be mono or stereo:
• LEFT — the left channel of the REC SRC will be selected for Sampling and Audio Track
recording (MONO).
• RIGHT — the right channel of the REC SRC will be selected for Sampling and Audio Track
recording (MONO).
• L+R — both the left and right channels of the REC SRC will be selected for Sampling and
Audio Track recording (simultaneously in STEREO). Stereo Audio Track recording will create
two separate AudioSamples; one for the left, and one for the right.
☞
Note: When using REC SRC=INPUT+FX and recording a mono source (for example, a guitar
or a single mic) in stereo, through a stereo effect like reverb, you should use a “Y” cable into
both Audio Inputs. Otherwise the signal will only appear on one side of the stereo image.
Using the Audio Track Buttons to Select and Monitor Audio Tracks
Pressing the Audio Track buttons will also change the REC SRC Field 2 value to reflect the current
combination of selected Audio Tracks. For instance, if you press the Audio Track A button, the
REC SRC Field 2 value changes to LEFT. If you press Audio Track B, the REC SRC Field 2 value
changes to RIGHT. If you press Audio Track A and while holding it down press Audio Track B,
the REC SRC Field 2 value changes to L+R. When both Audio Tracks are selected (both yellow
LEDs lit), holding one Audio Track button and pressing the other one will change the REC SRC
Field 2 value to LEFT. Both Audio Tracks will become Source Monitor disabled (no red LEDs lit).
For more information about Selecting, Enabling, and Disabling Audio Tracks, see earlier in this
section.
The following diagrams explain the signal chain routing for the four different Record Sources.


