Section 17 — Sequencing/MIDI Applications
ASR-10 Musician’s Manual
2
MIDI Connections
This set up is ideal for controlling everything right from the ASR-10. Simply by making a MIDI
Instrument and setting the Instrument•Sequence Track to the same MIDI channel as a particular
instrument, you can:
• Play the remote MIDI device from the ASR-10 keyboard
• Record a sequence track that will play back on the remote MIDI device when you play the
sequence or song
• Send the remote MIDI device program changes and adjust its volume (assuming the device
receives MIDI volume)
In other words, once you have made the appropriate connections and set up the MIDI
configuration of the tracks and all remote MIDI devices, you can use the ASR-10’s keyboard and
its front panel to control and record all the remote MIDI devices in your rig.
Creating a MIDI Instrument
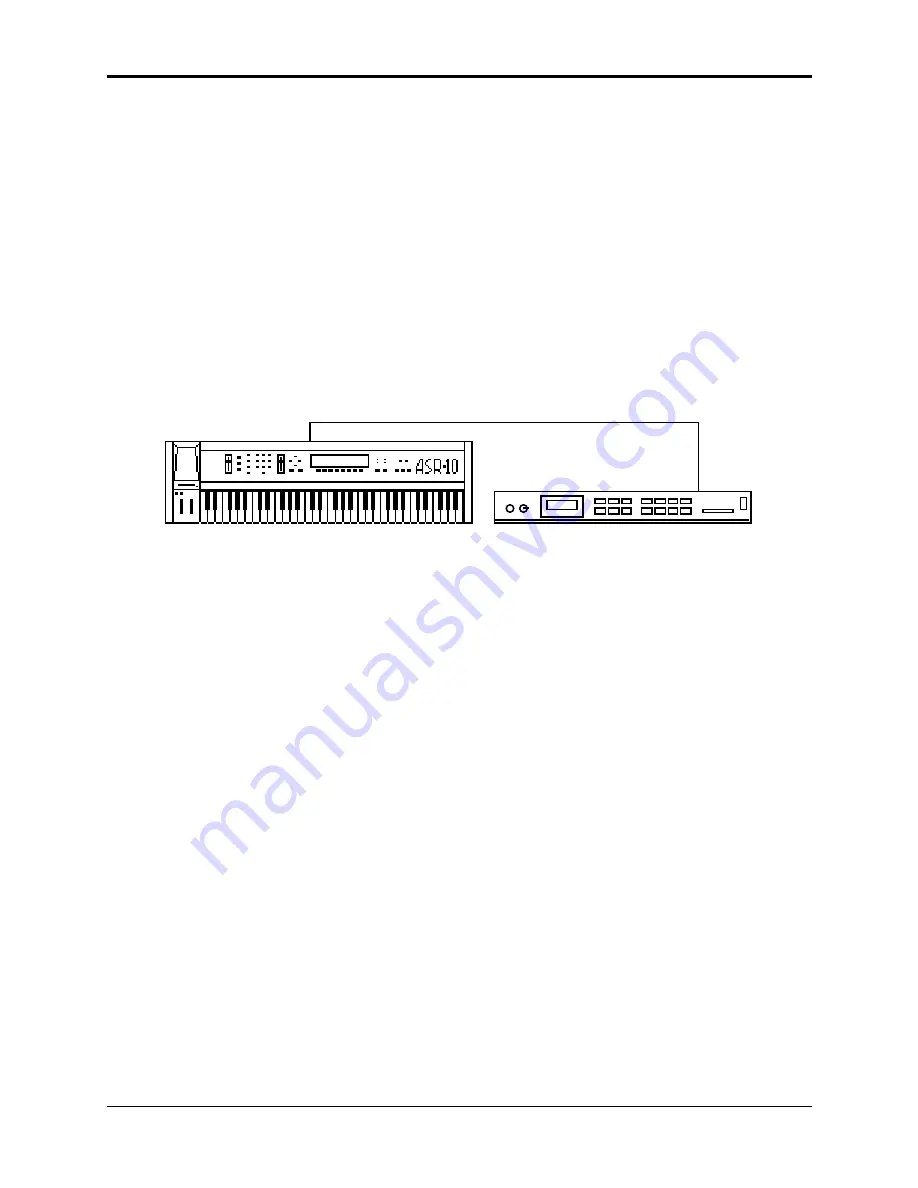
Let’s suppose that you have a synthesizer module (say an ENSONIQ SQ-R PLUS 32 Voice)
connected to the ASR-10 as shown below:
ASR-10
ensoniq
MIDI In
SQ-R PLUS 32 Voice
MIDI Out
You want to be able to select the SQ-R PLUS 32 Voice from the ASR-10 front panel and then play
or sequence it from the ASR-10 just as you would an ASR-10 instrument. To do this, you can
make an ASR-10 instrument that contains no sample data, and that will not sound on the ASR-10,
but will only transmit via MIDI. Such “MIDI Instruments,” as we call them, use up very little
memory, and can be loaded from disk almost instantly. They are the key to using the ASR-10 as a
MIDI master controller.
• On the Edit/System•MIDI page, set the TRANSMIT ON parameter to TRANSMIT ON= INST
CHAN.
• Press Command, then press Instrument.
• Scroll left or right until the display reads CREATE NEW INSTRUMENT.
• Press Enter•Yes. The display reads SELECT UNUSED INST= 1. The new instrument will be
created in the Instrument•Sequence Track location indicated. You can select a different
location (by pressing any unused Instrument•Sequence Track button), or just press
Enter•Yes.
• Press Enter•Yes. The ASR-10 will create a new unnamed instrument in the location you
indicated. The new instrument is selected (its yellow LED is lit). Note that it contains no
layers or WaveSamples and will make no sound when you play the keyboard.
• Press Edit, then press Instrument. This puts you on the Edit/Instrument page where you will
assign the characteristics of your new instrument.
• Using the Arrow buttons, scroll left (or right) until the display shows MIDI STATUS. Set MIDI
STATUS = MIDI. Now the instrument will only play over MIDI, sending keys, controllers, etc.
on its designated MIDI channel.
• Scroll left to the parameter MIDI OUT CHANNEL = __. This is the MIDI channel on which
the instrument will transmit. Let’s suppose that the SQ-R PLUS 32 Voice in our example is set
to receive on MIDI channel 3. We would set this parameter to MIDI OUT CHANNEL= 3.
Now, selecting and playing this instrument should play the SQ-R PLUS 32 Voice.
• Name the new instrument. Scroll left until the display shows NAME = UNNAMED INST and


