66
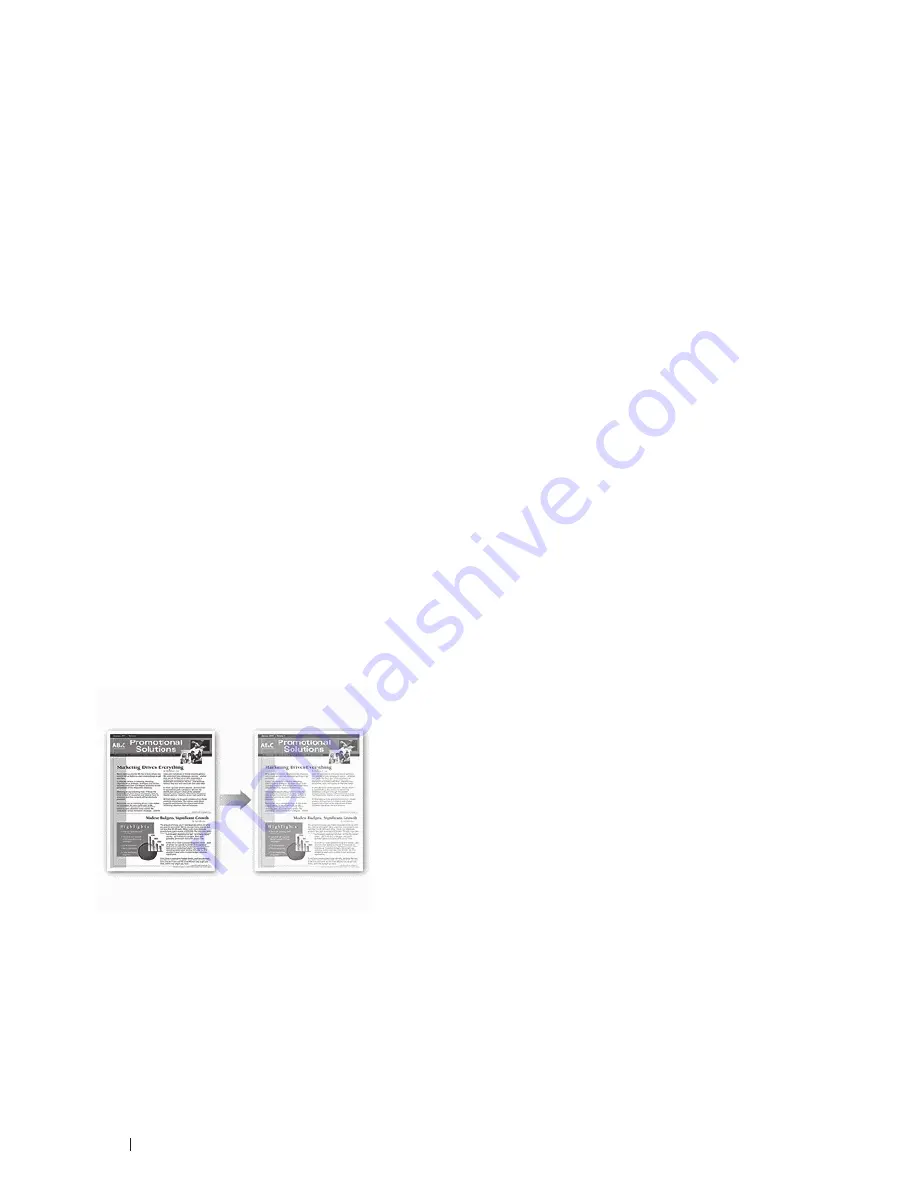
This feature conserves your toner by using less toner to print documents; print appears lighter, but is still
readable.
• Scaled Print (Windows
®
)
This option lets you enlarge or reduce the pages in your document to fit your printed paper size.
• Reverse Print (Windows
®
)
This setting rotates the printed image 180 degrees.
• Add a Watermark to the Printed Document (Windows
®
)
Print a logo or text onto your document as a watermark. Select one of the preset watermarks, add a new
watermark, or use an image file you have created.
• Print the Date, Time and PC Login User Name on the Document (Header-Footer Print) (Windows
®
)
• Use a Macro from Your Computer (Windows
®
)
If you have stored the electronic forms (macros) in your machine's memory, you can use the macro to print the
data as an overlay on the print job you want.
• Adjust the Print Density (Windows
®
)
You can increase or decrease the print density.
• Reduce Paper Curl (Windows
®
)
• Improve Toner Fixing (Windows
®
)
• Skip Blank Page (Windows
®
)
Use this option to allow the printer driver to automatically detect blank pages and exclude them from printing.
• Print Text in Black (Windows
®
)
Use this option when you want to print color text in black.
• Save an Archive File of the Print Data (Windows
®
)
Print data can be saved as a PDF file to your computer.
Print in Toner Save Mode (Windows
®
)
This feature conserves your toner by using less toner to print documents; print appears lighter, but is still readable.
NOTE:
We do not recommend using this mode for printing photo or grayscale images .
1.
Select the print command in your application.
2.
Select
Dell MFP EXXXX
(where XXXX is the name of your model), and then click the printing properties or
preferences button.
Summary of Contents for E514dw
Page 2: ......
Page 20: ...20 ...
Page 24: ...24 ...
Page 32: ...32 ...
Page 48: ...48 Paper Handling ...
Page 50: ...50 ...
Page 92: ...92 Print ...
Page 94: ...94 ...
Page 116: ...116 Scan ...
Page 118: ...118 ...
Page 132: ...132 Copy ...
Page 134: ...134 ...
Page 190: ...190 Fax ...
Page 192: ...192 ...
Page 246: ...246 ...
Page 254: ...254 Security ...
Page 255: ...255 ControlCenter 257 ControlCenter Macintosh 257 ...
Page 256: ...256 ...
Page 262: ...262 ...
Page 285: ...285 Troubleshooting 2 Remove the paper 3 Push the scanner down with both hands to close it ...
Page 302: ...302 Troubleshooting ...
Page 304: ...304 ...
Page 328: ...328 ...
Page 352: ...352 Machine Settings ...
Page 354: ...354 ...
Page 368: ...368 ...


