229
Network
Option
Description
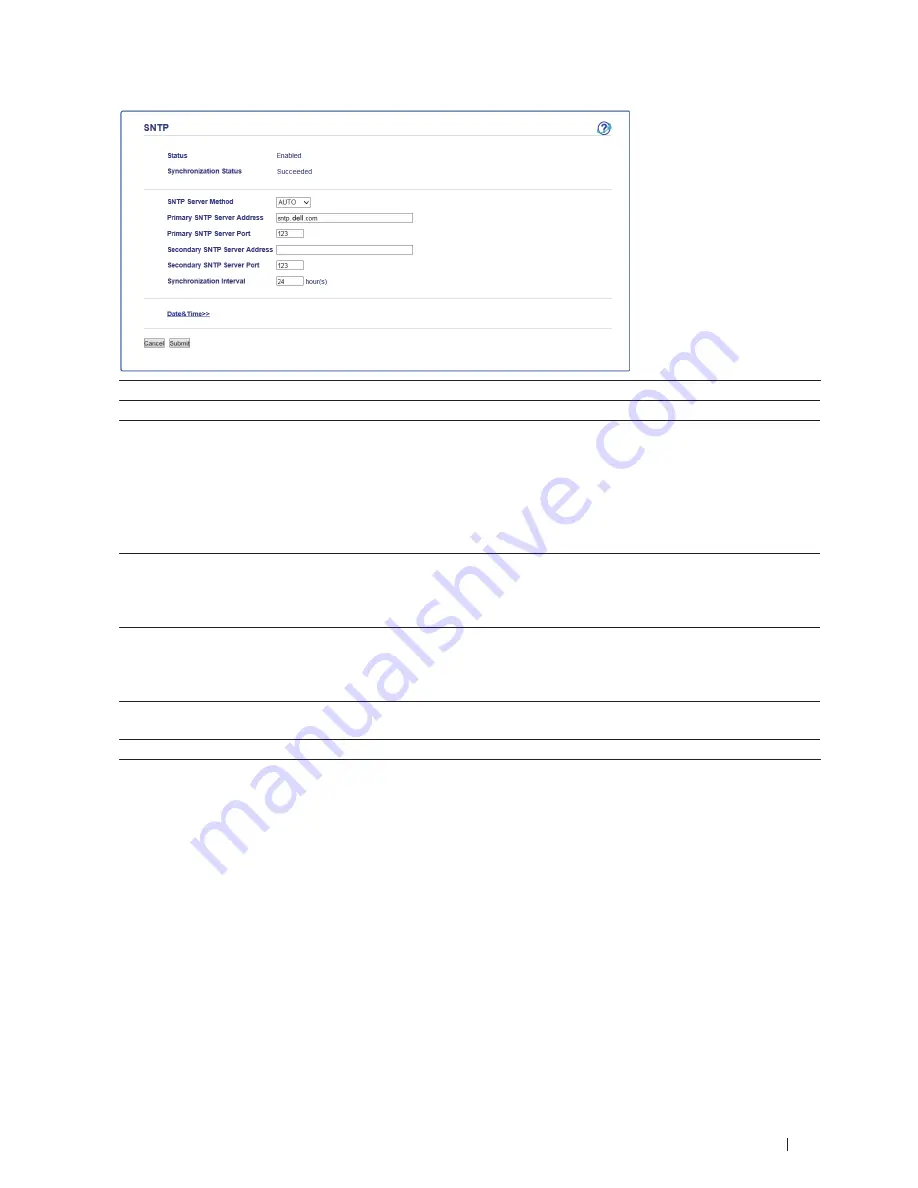
Status
Displays whether the SNTP protocol is enabled or disabled.
SNTP Server Method
Select
AUTO
or
STATIC
.
•
AUTO
If you have a DHCP server in your network, the SNTP server will
obtain the address from that server automatically.
•
STATIC
Type the address you want to use.
Primary SNTP Server Address
Secondary SNTP Server Address
Type the server address (up to 64 characters).
The secondary SNTP server address is used as a backup to the primary
SNTP server address. If the primary server is unavailable, the machine
will contact the secondary SNTP server.
Primary SNTP Server Port
Secondary SNTP Server Port
Type the port number (1-65535).
The secondary SNTP server port is used as a backup to the primary
SNTP server port. If the primary port is unavailable, the machine will
contact the secondary SNTP port.
Synchronization Interval
Type the number of hours between server synchronization attempts (1-
168 hours).
Synchronization Status
Confirm the latest synchronization status.
8.
Click
Submit
.
Technical Information for Advanced Users
• Additional Network Settings for Windows
®
• Available Services
When you want your computer to print to the Dell print server, you must use a resource, also known as a 'service.'
The Dell print server provides these predefined services:
• Other Ways to Configure the IP Address
• Reset the Network Settings to the Factory Settings
You can use your machine's control panel to reset the print server to its default factory settings. This resets all
Summary of Contents for E514dw
Page 2: ......
Page 20: ...20 ...
Page 24: ...24 ...
Page 32: ...32 ...
Page 48: ...48 Paper Handling ...
Page 50: ...50 ...
Page 92: ...92 Print ...
Page 94: ...94 ...
Page 116: ...116 Scan ...
Page 118: ...118 ...
Page 132: ...132 Copy ...
Page 134: ...134 ...
Page 190: ...190 Fax ...
Page 192: ...192 ...
Page 246: ...246 ...
Page 254: ...254 Security ...
Page 255: ...255 ControlCenter 257 ControlCenter Macintosh 257 ...
Page 256: ...256 ...
Page 262: ...262 ...
Page 285: ...285 Troubleshooting 2 Remove the paper 3 Push the scanner down with both hands to close it ...
Page 302: ...302 Troubleshooting ...
Page 304: ...304 ...
Page 328: ...328 ...
Page 352: ...352 Machine Settings ...
Page 354: ...354 ...
Page 368: ...368 ...


