297
Troubleshooting
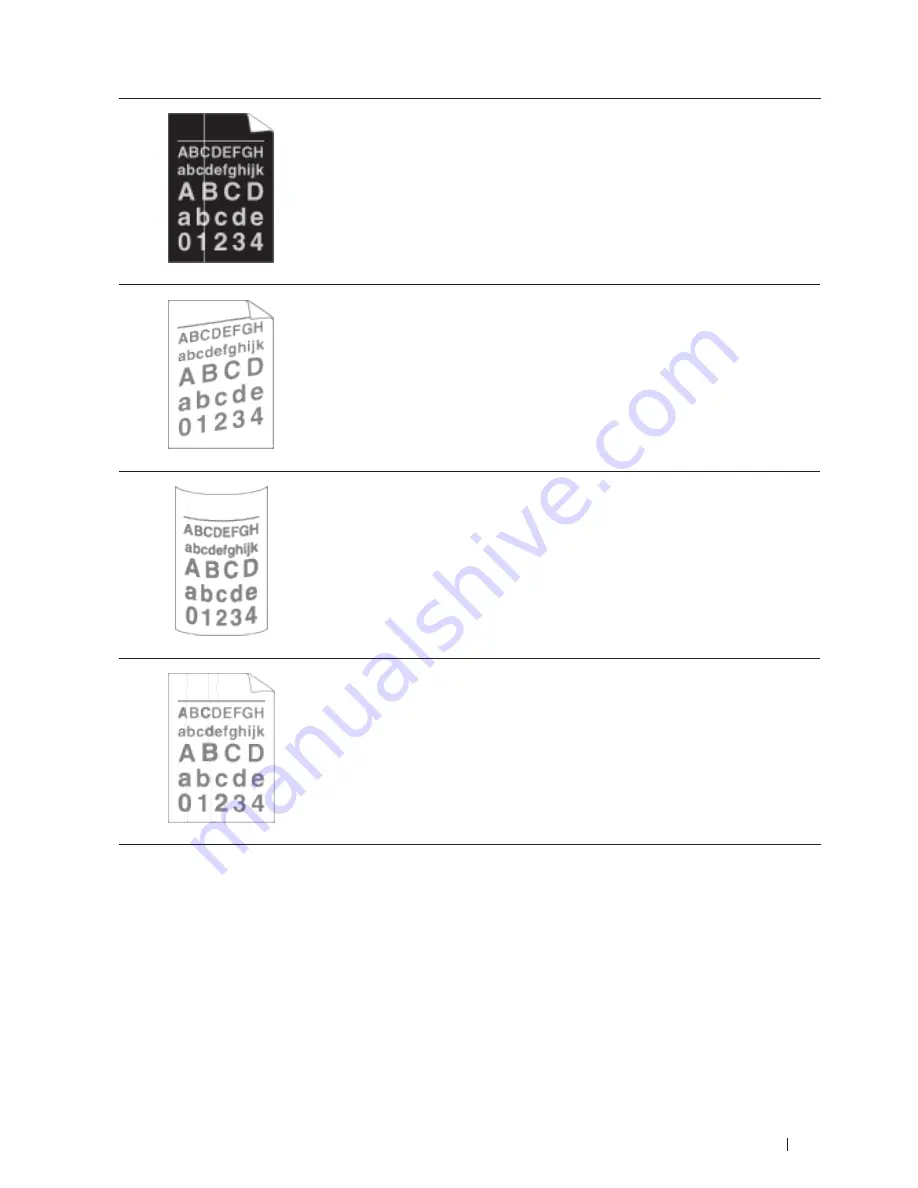
White lines down the page
• Make sure foreign material such as a torn piece of paper, sticky notes or dust is not
inside the machine and around the toner cartridge and drum unit.
• The toner cartridge may be damaged.
Replace the toner cartridge with a new toner cartridge.
• The drum unit may be damaged.
Replace the drum unit with a new drum unit.
Image skewed
• Make sure the paper or other print media is loaded correctly in the paper tray and
the guides are not too tight or too loose against the paper stack.
• Set the paper guides correctly.
• The paper tray may be too full.
• Check the paper type and quality.
• Check for loose objects such as torn paper inside the machine.
• (For automatic 2-sided printing models)
If the problem only occurs during 2-sided printing, check for torn paper in the
2-sided tray, verify the 2-sided tray is inserted completely and the back cover is
closed completely.
Curled or wavy
• Check the paper type and quality. High temperatures and high humidity will cause
paper to curl.
• If you do not use the machine often, the paper may have been in the paper tray too
long. Turn over the stack of paper in the paper tray. Also, fan the paper stack, and
then rotate the paper 180° in the paper tray.
• Open the back cover (face-up output tray) to let the printed paper exit onto the
face-up output tray.
• Choose
Reduce Paper Curl
mode in the printer driver when you do not use our
recommended print media.
Wrinkles or creases
• Make sure paper is loaded correctly.
• Check the paper type and quality.
• Turn over the stack of paper in the tray or rotate the paper 180° in the input tray.
Summary of Contents for E514dw
Page 2: ......
Page 20: ...20 ...
Page 24: ...24 ...
Page 32: ...32 ...
Page 48: ...48 Paper Handling ...
Page 50: ...50 ...
Page 92: ...92 Print ...
Page 94: ...94 ...
Page 116: ...116 Scan ...
Page 118: ...118 ...
Page 132: ...132 Copy ...
Page 134: ...134 ...
Page 190: ...190 Fax ...
Page 192: ...192 ...
Page 246: ...246 ...
Page 254: ...254 Security ...
Page 255: ...255 ControlCenter 257 ControlCenter Macintosh 257 ...
Page 256: ...256 ...
Page 262: ...262 ...
Page 285: ...285 Troubleshooting 2 Remove the paper 3 Push the scanner down with both hands to close it ...
Page 302: ...302 Troubleshooting ...
Page 304: ...304 ...
Page 328: ...328 ...
Page 352: ...352 Machine Settings ...
Page 354: ...354 ...
Page 368: ...368 ...


