2-25
Setting Paper Size and Type
Or
ig
inals and P
rin
t M
edia
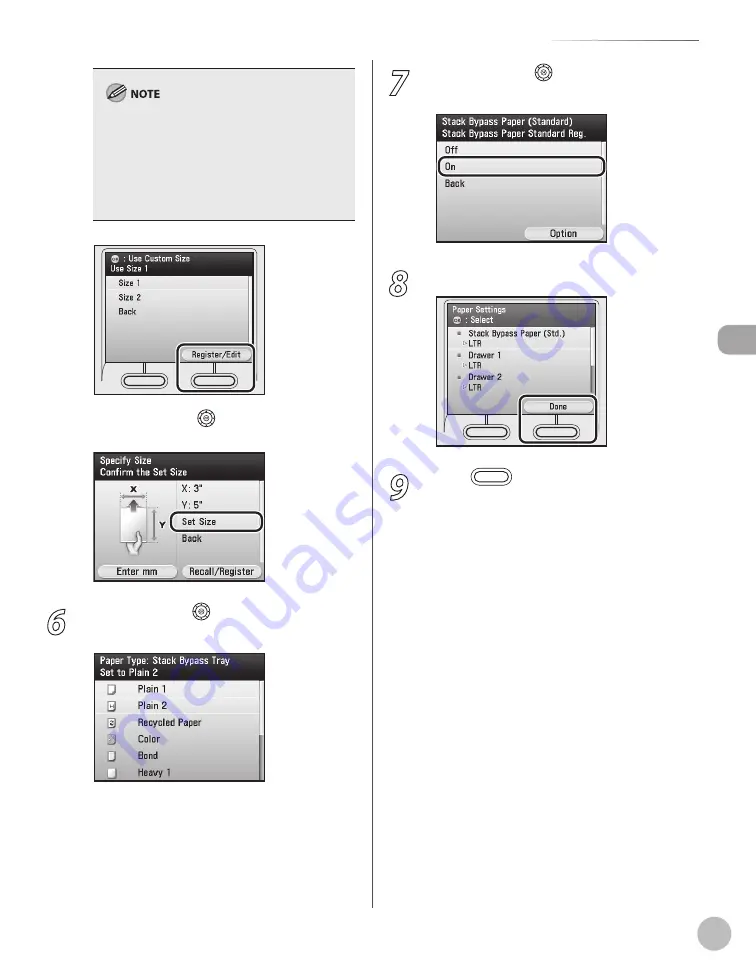
You can also edit the previously set size or register
a new irregular size from this display. Press the
right Any key to select <Register/Edit>
→
select
<Size 1> or <Size 2>
→
press [OK]
→
specify the
lengths for <X:> and <Y:>
→
select <Set Size>
→
press the right Any key to select <Done>
→
select
<Back>
→
press [OK].
④
Use [
▼
], [
▲
] or
(Scroll Wheel) to select
<Set Size>, then press [OK].
6
Use [
▼
], [
▲
] or (Scroll Wheel) to select
paper type, then press [OK].
The selectable paper types vary depending on
the paper size you have specified. The
unavailable paper types are grayed out on the
display.
7
Use [
▼
], [
▲
] or (Scroll Wheel) to select
[On], then press [OK].
8
Press right Any key to select Done.
9
Press
(Main Menu) to return to the
Main Menu screen.
Summary of Contents for Color imageCLASS MF9220Cdn
Page 25: ...Legal Notices xxiv Legal Notices ...
Page 53: ...Before Using the Machine 1 28 Timer Settings ...
Page 83: ...2 30 Setting Paper Size and Type Originals and Print Media ...
Page 147: ...3 64 Storing Editing One Touch Registering Destinations in the Address Book ...
Page 150: ...Copying 4 3 Overview of Copy Functions p 4 23 p 4 31 p 4 37 ...
Page 224: ...Fax 5 3 Overview of Fax Functions p 5 30 p 5 56 p 5 63 p 5 58 p 5 121 p 5 113 ...
Page 373: ...Fax 5 152 Checking Changing the Status of Fax Documents in Memory ...
Page 376: ...E mail 6 3 Overview of E Mail Functions ...
Page 384: ...Printing 7 3 Overview of Print Functions p 7 10 p 7 11 p 7 8 ...
Page 411: ...Printing 7 30 Checking and Canceling Print Jobs Checking Print Logs ...
Page 414: ...Scanning 8 3 Overview of Scanner Functions ...
Page 425: ...Scanning 8 14 Basic Scanning Operations ...
Page 503: ...12 48 If You Cannot Solve a Problem Troubleshooting ...


