


63
ENGLISH
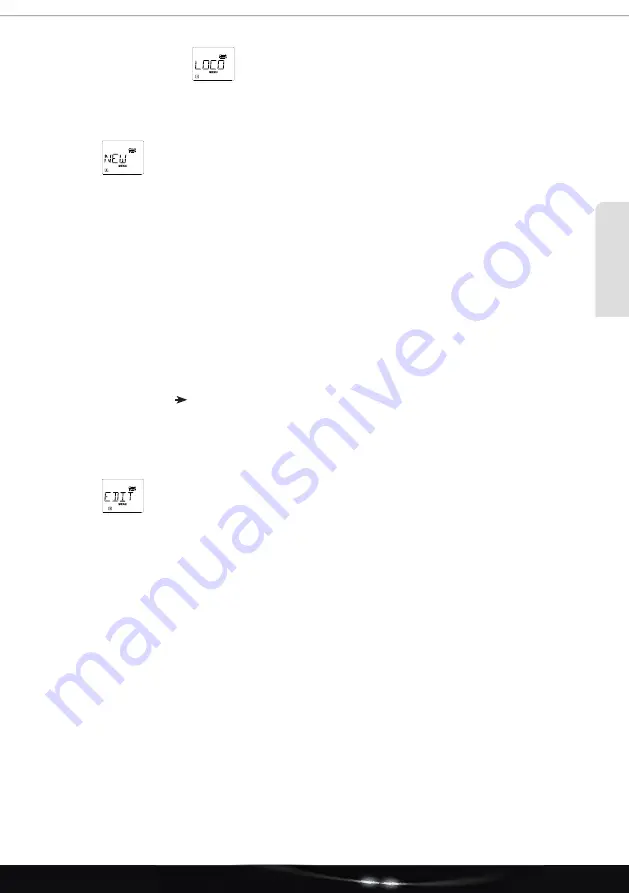
3.1. The “Loc” menu
In the “Loc” menu, the
multi
MAUS
manages all data required for the locomotive library and identifi -
cation of a locomotive. You can also in principle set the
multi
MAUS
to library or address mode here.
3.1.1.
“NEW”
You can use this menu item to add a locomotive to the library. The procedure is basically the
same as described and illustrated in chapter
3.3
on page
66
.
In the fi rst step, enter the name of the locomotive for which you have
5 digits available. The
fi rst image of the display shows a fl ashing insertion mark for this purpose. Using the function
buttons, you can now enter the name of the locomotive (letters and / or numbers) like using a
mobile phone keypad. Once you have entered a letter / a digit, wait a moment until the insertion
point jumps to the next position.
You get black spaces by pressing the “0”. Use left arrow button for corrections.
•
Confi rm with the Light / OK button.
• In the next screen, enter the locomotive address using the function buttons. You can simply
overwrite the fl ashing “
3”. By pressing the Shift button and one of the arrow buttons at the
same time, you can also select the locomotive address by performing a search.
•
Confi rm with the Light / OK button.
• Selection of the speed steps in the next image is done using the arrow buttons.
(3 options).
•
Press the Light / OK button to confi rm the entry and complete the programming.
• The
multi
MAUS
goes directly back to locomotive mode from menu mode.
3.1.2.
“EDIT”
You can change the data of a locomotive in the library with this menu item.
If, for example, only the locomotive address must be changed but the designation and speed
steps should remain unchanged, you can skip these points without editing by pressing the
Light / OK button.
The fi rst image shows the last locomotive used in locomotive mode. Use the arrow buttons to
select the locomotive you want to change.
•
Confi rm with the Light / OK button.
• You now have the option to change the designation of the locomotive. The insertion marks
fl ashes in the last place. Use the left arrow button to delete the letters / numbers and enter
them again using the function buttons.
•
Confi rm with the Light / OK button.
• The locomotive address is corrected as described above.
•
Confi rm with the Light / OK button.
• The speed buttons are corrected with the arrow buttons.
•
Confi rm with the Light / OK button. You get back to the initial “EDIT” level.
Part 3 - The menus


