


55
ENGLISH
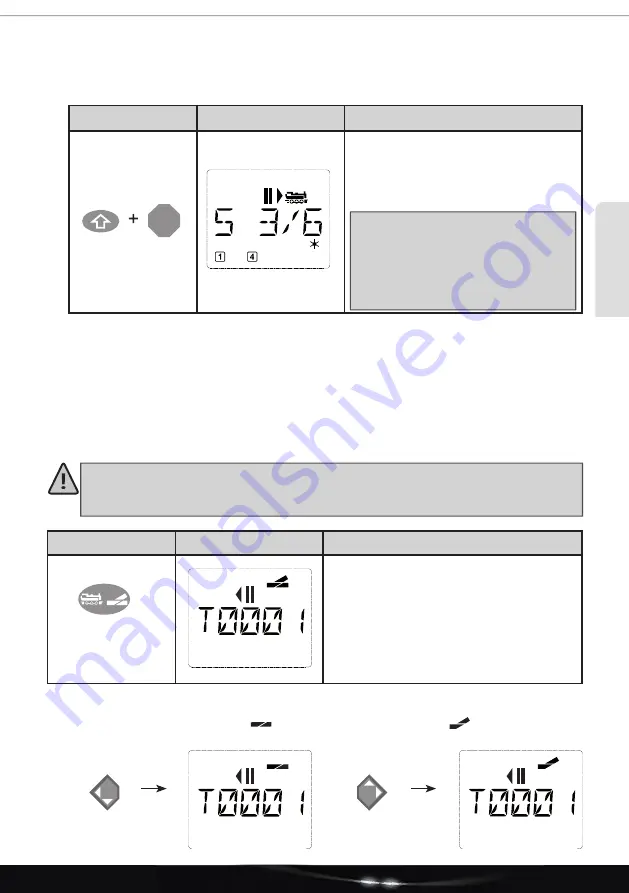
2.4.2. Selective locomotive stop
The selective locomotive stop only stops the locomotive currently controlled by the
multi
MAUS
.
Input
Display message
Note
Press the Shift and STOP buttons simulta-
neously. The locomotive stops immediately,
the display shows standstill symbol “II” (and
the last driving direction).
Note
: If a locomotive mouse 2 or R3
with illumination is connected as a
slave, this type of emergency stop is
not reported back by both direction
arrows lighting up. Only the last
direction is displayed.
Turning the speed controller releases the locomotive stop and the locomotive starts moving again.
2.5. Turnout control
With the
multi
MAUS
, you can control up to 1,024 digital turnout drives with real turnout addresses
without having to use up a locomotive address (as with the Lokmaus 2 / R3). To do so, you can switch
to turnout mode and back at any time during operation by pressing the LOC / Turnout button. The last
turnout called up will then always appear.
Driving mode will not be interrupted in turnout mode! For this reason, the drive symbols are
also shown on the display. It is possible to control the locomotive last active using the speed
controller, and also to trigger an emergency stop.
Input
Display message
Note
When the turnout control is called up for the
fi rst time, turnout 1 appears. As with every
other turnout called up for the fi rst time, the
complete turnout symbol appears at the top
right in this case. The driving symbols are
related to the last controlled locomotive and
can therefore differ from the example shown
here.
Use the function buttons to enter the turnout address and switch the drive using the arrow buttons so
that the route is set to “straight ahead
” (left arrow button) or to “branch
” (right arrow button).
STOP
Part 2 - Operation of the
multi
MAUS


