iManager NetEco 6000
Device Installation and Commissioning Guide
6 Adding Devices
Issue 03 (2019-03-10)
Copyright © Huawei Technologies Co., Ltd.
142
Procedure
Step 1
Modify the IP address for the VCN500.
1.
Configure the PC IP address and the VCN500 IP address in the same network segment.
Enter the OMU Portal address (https://192.168.1.100:8443 by default) in the address bar
of the Internet Explorer and press
Enter
button.
You can log in to the OMU portal using only Windows Internet Explorer 8.0 or later.
2.
On the login page, enter the user name
Admin
and preset password
Change_Me
, and
click
Log In
to enter the OMU Portal page. A message is displayed upon the first login
indicating that you should modify the password. After modifying the password, keep it
properly.
3.
Choose
Local Configuration
>
Server configuration
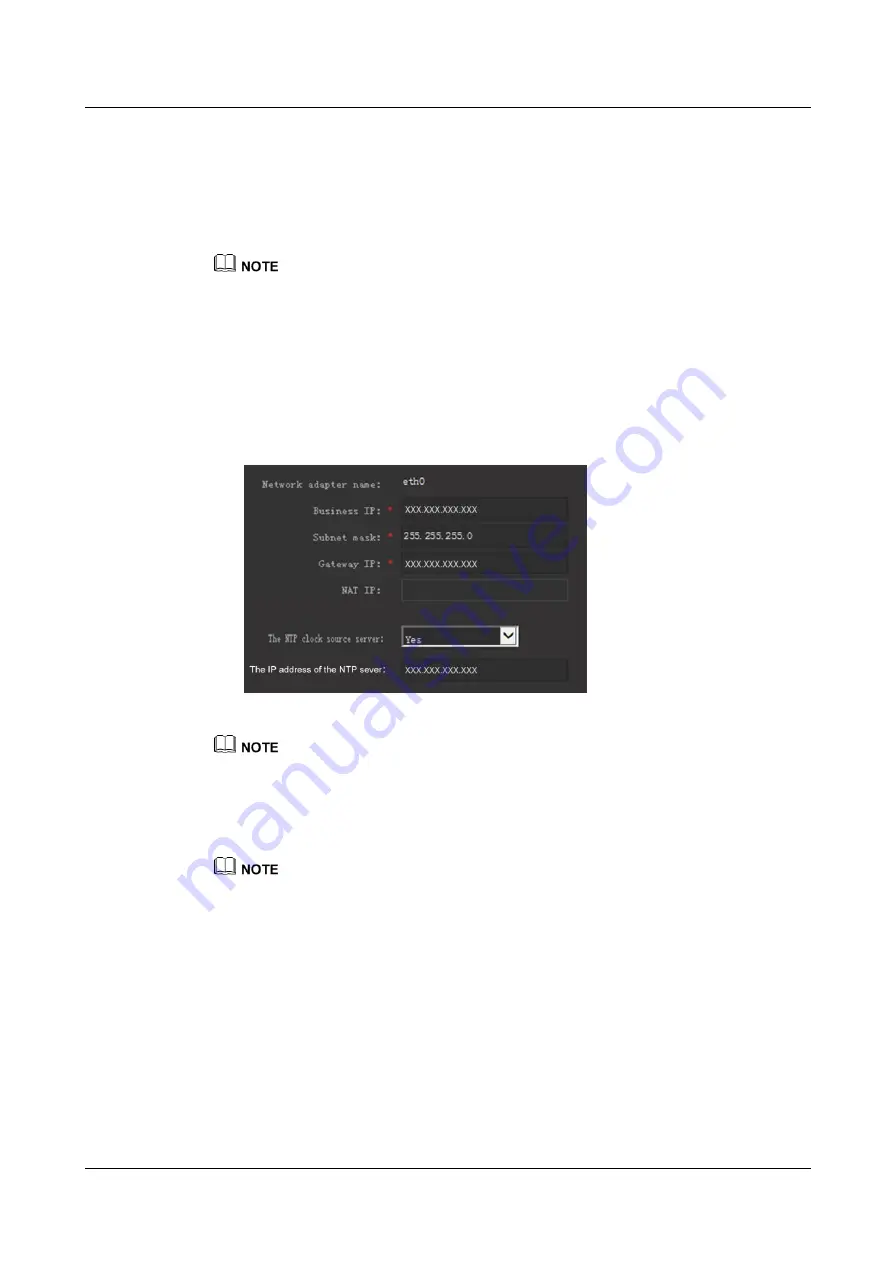
, and set the service IP address
(VCN500 IP address) and NAT IP address according to the site requirements.
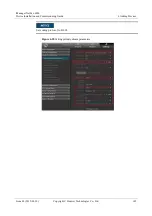
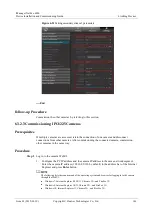
Figure 6-16
Configuring the server
Set
Business IP
to XXX.XXX.XXX.XXX,
Subnet mask
to XXX.XXX.XXX.XXX,
Gateway IP
to
XXX.XXX.XXX.XXX. The values here are examples. The actual values prevail.
Set
NAT IP
to VCN500 external IP address.
4.
Configure the NTP synchronization. After setting
The NTP clock source server
to
Yes
,
set the IP address of the NTP server.
The server that connects to cameras needs to enable the camera NTP synchronization function.
Step 2
Enabling camera NTP synchronization.
The camera NTP synchronization function for the server is disabled by default. The camera
NTP synchronization function needs to be enabled for the server that connects to cameras.
After the camera NTP synchronization function is enabled, cameras will automatically
time-synchronize from their access servers.
1.
Log in to the OMU portal of the VCN as the
Admin
user.
2.
Choose
Maintenance
>
Unified Configuration
.
3.
Select the server that the camera needs to access, set
Module name
to
SCU
and
Parameter type
to
System property
, and click
Search
.

