User Manual
i Series / iX Series
61
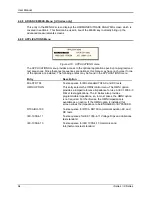
4.2.7 WAVEFORMS Menu
[
iX Series only
]
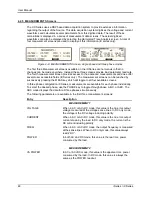
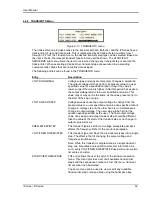
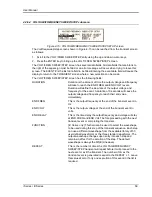
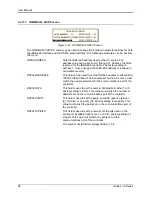
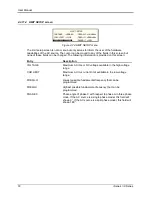
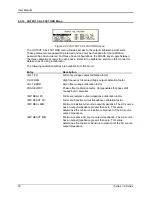
Figure 4-17: WAVEFORMS menu
The WAVEFORMS menu is available on the iX Series only. If your unit is an i Series, pressing
the WAVE key on the front panel function keypad has no effect. The WAVEFORMS menu allows
selection of the waveshape for each phase individually or all phases at once. For three phase
versions of the iX Series, the mode is determined by the phase coupling. If only a single phase is
selected in the top right corner of the display (øA, øB or øC), the selected waveshape will be
applied to that phase. If all phases are selected (phase coupling), the selected waveform will
apply to all three phases.
For single phase versions of the iX Series, the phase coupling is always set to phase A, so
pressing the PHASE button has no effect.
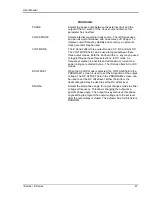
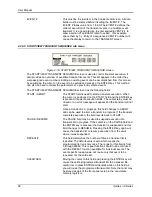
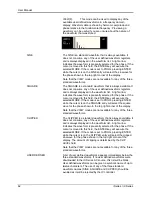
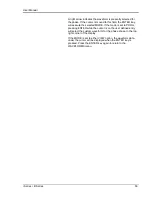
The following fields are available in the WAVEFORMS menu:
CLIP LEVEL
This parameter determines the amount of total harmonic
distortion of the built-in CLIPPED sinewave waveform. The
range is 0 % through 20 % THD.
Note that changing the distortion level of the CLIPPED sinewave
while the CLIPPED sinewave is used on the output of one or
more phases, forces the output of the AC Source to be dropped
momentarily. To avoid this, make sure none of the phases is
using the CLIPPED sinewave function when changing the clip
level.
GROUP
The group field displays the currently selected waveform group.
The iX Series provides four groups of 50 user defined
waveforms each for a total of 200 waveforms. Only one group
can be active at a time however. This field only displays the
selected waveform group. It cannot be used to change the
actual group selected. Group selection must occur at power up
and is done from the INITIAL SETUP 3 screen. See section
4.2.11.3 for details.
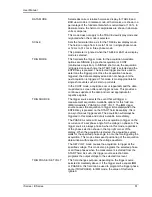
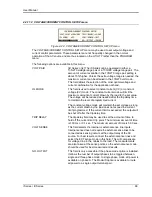
MODE
The mode field determines the operation mode of the
WAVEFORMS display screen. Available options for this field
are:
PROG:
This mode is used to change the programmed
waveshape function on the selected phase. This is also the
default mode of operation.
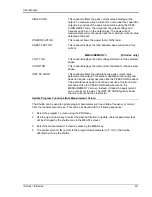
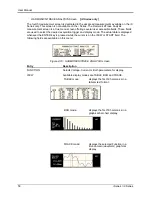
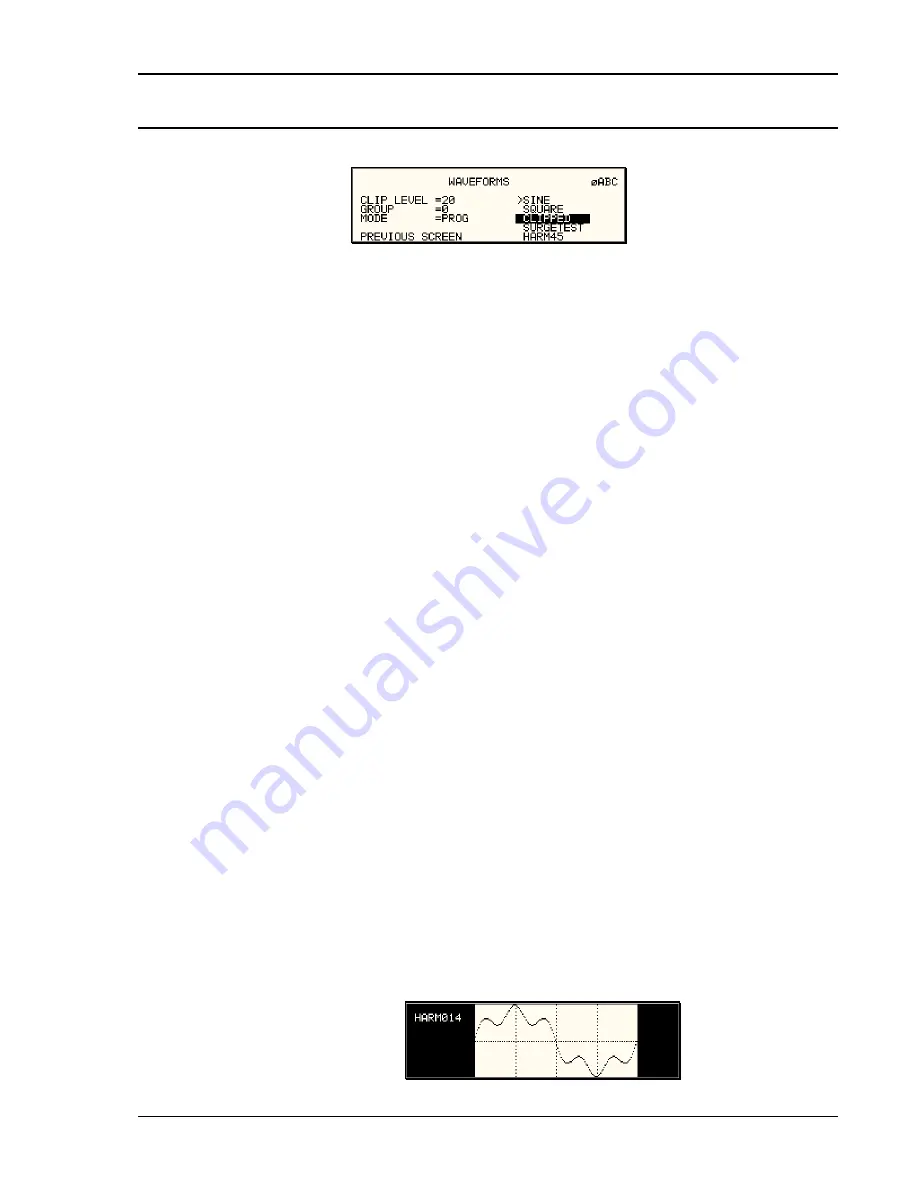
VIEW(T):
This mode can be used to display any of the
available user defined waveforms in a time domain display.
Previewing a waveform can be useful if you are unsure about
the nature of the waveform that was stored.
Содержание 10001i
Страница 2: ......
Страница 3: ......
Страница 6: ...ii This page intentionally left blank...
Страница 25: ...User Manual i Series iX Series 11 Parameter Specification Shock Designed to meet NSTA 1A transportation levels...
Страница 38: ...User Manual 24 i Series iX Series Figure 3 5 Rear Panel View for the 3001i 3001iX...
Страница 39: ...User Manual i Series iX Series 25 Figure 3 6 Rear Panel View for the 5001i 5001iX...
Страница 42: ...User Manual 28 i Series iX Series Figure 3 7 Connection For Single Power Source 5001iX i 3001iX i...
Страница 43: ...User Manual i Series iX Series 29 Figure 3 8 Functional Test Setup...
Страница 44: ...User Manual 30 i Series iX Series Figure 3 9 Single Phase 10000 VA System 10001iX i...
Страница 45: ...User Manual i Series iX Series 31 Figure 3 10 Three Phase 15000 VA System 15003iX i LK Three Controllers...
Страница 46: ...User Manual 32 i Series iX Series Figure 3 11 Single Phase 15000 VA System 15001iX i...
Страница 47: ...User Manual i Series iX Series 33 Figure 3 12 Three Phase 15000 VA system 15003iX i One Controller...
Страница 48: ...User Manual 34 i Series iX Series Figure 3 13 Connection With MODE Option...
Страница 49: ...User Manual i Series iX Series 35 Figure 3 14 Two Phase 10000 VA System 10002i LK Two Controllers...
Страница 50: ...User Manual 36 i Series iX Series Figure 3 15 Three Phase 9000 VA System 9003iX i One Controller...
Страница 118: ...User Manual 104 i Series iX Series Figure 5 2 Power Source Module Block Diagram...
Страница 121: ...User Manual i Series iX Series 107 Figure 5 3 5001i Internal Layout...
Страница 122: ...User Manual 108 i Series iX Series Figure 5 4 Logic Board LED s...
Страница 124: ...User Manual 110 i Series iX Series Figure 5 5 AC Power Stage Layout...
Страница 125: ...User Manual i Series iX Series 111 Figure 5 6 AC Control Logic Block Diagram...
Страница 132: ...User Manual 118 i Series iX Series Figure 6 2 Test Equipment Hook up for Measurement Calibration...
Страница 138: ...User Manual 124 i Series iX Series Figure 6 3 Adjustment Location...
Страница 152: ...User Manual 138 i Series iX Series Figure 9 4 Voltage Modulation...
Страница 219: ...User Manual i Series iX Series 205 Figure 9 36 Example Connection With 5001iX and EOS 1...
Страница 220: ...User Manual 206 i Series iX Series Figure 9 37 Example Connection With Compliance Test System and EOS 1...
Страница 221: ...User Manual i Series iX Series 207 Figure 9 38 15003iX CTS EOS3 LR3...
Страница 222: ...User Manual 208 i Series iX Series Figure 9 39 15003iX 3 EOS3...
Страница 226: ...User Manual 212 i Series iX Series Figure 9 40 EOS3 Location of 70 80 Taps for each phase Lug 3 70 Lug 5 80...
Страница 233: ...User Manual i Series iX Series 219 Figure 9 41 Example Connection With MODE iX...
Страница 240: ...User Manual 226 i Series iX Series Figure 9 42 Example Connections With OMNI 1 18i...
Страница 241: ...User Manual i Series iX Series 227 Figure 9 43 Example Connections With OMNI 3 18i...
Страница 242: ...User Manual 228 i Series iX Series Figure 9 44 Schematic Showing OMNI 1 37i and1 37iJ Connected to 5001iX System...
Страница 243: ...User Manual i Series iX Series 229 Figure 9 45 Schematic Showing OMNI 3 37i Connected to 30003iX System...
Страница 249: ...User Manual i Series iX Series 235 9 7 4 Mechanical Dimensions Figure 9 49 XLS Module Dimensions...

