User Manual
100
i Series / iX Series
4.7.8 Transient Execution
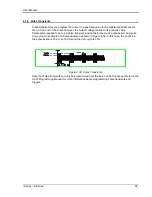
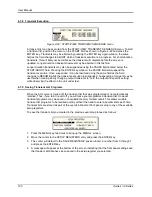
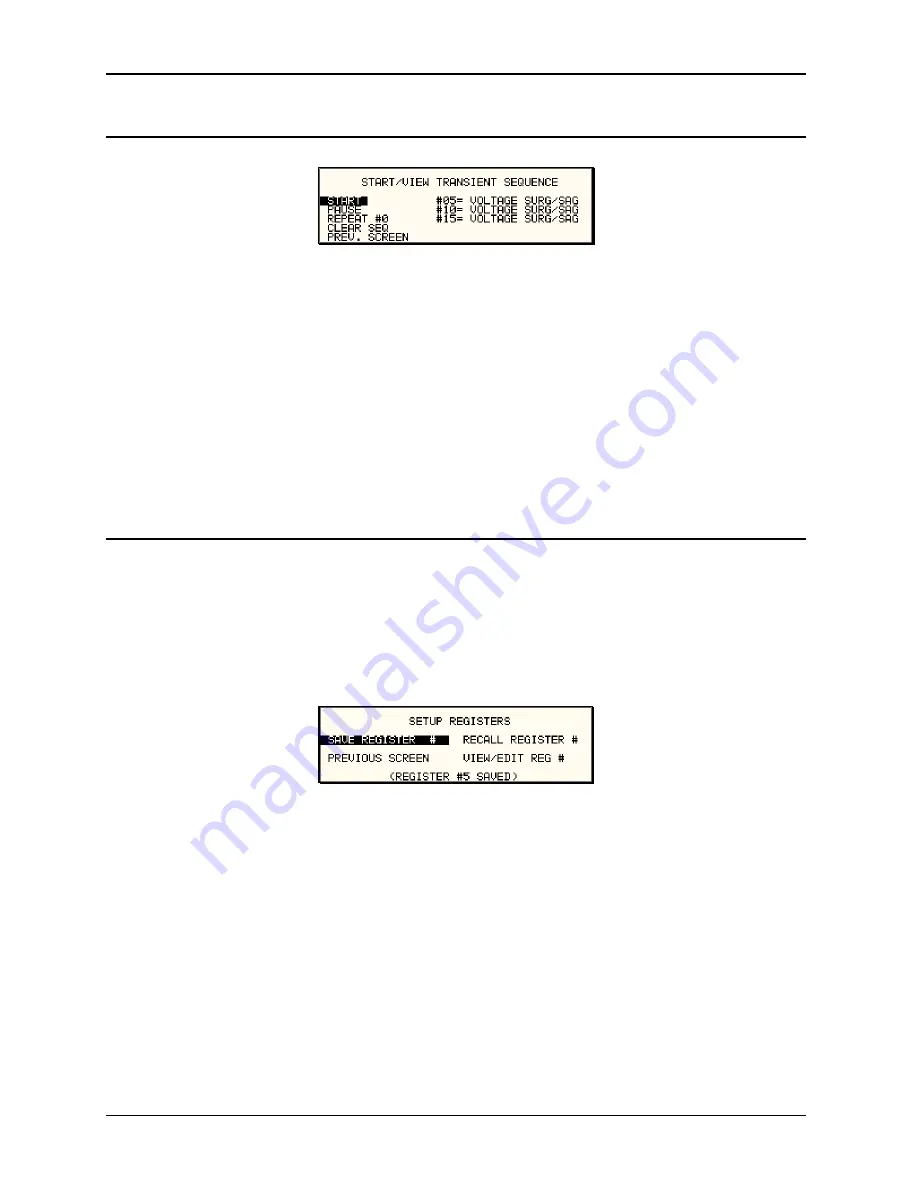
Figure 4-42: START/VIEW TRANSIENT SEQUENCE menu
A transient list can be executed from the START/VIEW TRANSIENT SEQUENCE menu. To start
a transient list, position the cursor on the START field as shown in Figure 4-42 and press the
ENTER key. Transients may be aborted by pressing the ENTER key again while on the same
field as the field changes to ABORT while a transient execution is in progress. For short duration
transients, this will likely not be visible as the transient will complete before the screen is
updated. Longer duration transients however may be aborted in this fashion.
Longer duration transients may also be suspended using the PAUSE field located below the
START/ABORT field. Pressing the ENTER key while on the PAUSE field will suspend the
transient execution. Once suspended, it can be resumed using the same field as the field
changes to RESUME while the transient execution is suspended. Suspending a transient may be
useful when running slowly chang
ing output transients to „hold‟ the output at a specific setting
while observing the effect on the unit under test.
4.7.9 Saving Transient List Programs
When the AC source is turned off, the transient list that was programmed is not automatically
retained. Thus, if you turn the unit off, you will loose your programmed transient list. However,
transient programs may be saved in nonvolatile memory for later recall. This allows multiple
transient list programs to be recalled quickly without the need to enter all parameters each time.
Transient lists are stored as part of the overall instrument front panel setup in any of the available
setup registers.
To save the transient list you created in the previous example, proceed as follows:
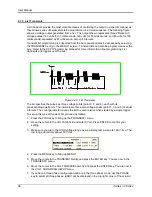
1. Press the MENU key two times to bring up the MENU 2 screen.
2. Move the cursor to the SETUP REGISTERS entry and press the ENTER key.
3. The cursor will default to the SAVE REGISTER # position. Enter a number from 0 through 7
and press the ENTER key.
4. A message will appear at the bottom of the screen indicating that the front panel settings and
the transient list data have been saved in the setup register you selected.
Содержание 10001i
Страница 2: ......
Страница 3: ......
Страница 6: ...ii This page intentionally left blank...
Страница 25: ...User Manual i Series iX Series 11 Parameter Specification Shock Designed to meet NSTA 1A transportation levels...
Страница 38: ...User Manual 24 i Series iX Series Figure 3 5 Rear Panel View for the 3001i 3001iX...
Страница 39: ...User Manual i Series iX Series 25 Figure 3 6 Rear Panel View for the 5001i 5001iX...
Страница 42: ...User Manual 28 i Series iX Series Figure 3 7 Connection For Single Power Source 5001iX i 3001iX i...
Страница 43: ...User Manual i Series iX Series 29 Figure 3 8 Functional Test Setup...
Страница 44: ...User Manual 30 i Series iX Series Figure 3 9 Single Phase 10000 VA System 10001iX i...
Страница 45: ...User Manual i Series iX Series 31 Figure 3 10 Three Phase 15000 VA System 15003iX i LK Three Controllers...
Страница 46: ...User Manual 32 i Series iX Series Figure 3 11 Single Phase 15000 VA System 15001iX i...
Страница 47: ...User Manual i Series iX Series 33 Figure 3 12 Three Phase 15000 VA system 15003iX i One Controller...
Страница 48: ...User Manual 34 i Series iX Series Figure 3 13 Connection With MODE Option...
Страница 49: ...User Manual i Series iX Series 35 Figure 3 14 Two Phase 10000 VA System 10002i LK Two Controllers...
Страница 50: ...User Manual 36 i Series iX Series Figure 3 15 Three Phase 9000 VA System 9003iX i One Controller...
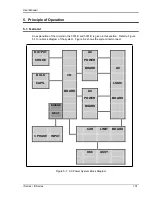
Страница 118: ...User Manual 104 i Series iX Series Figure 5 2 Power Source Module Block Diagram...
Страница 121: ...User Manual i Series iX Series 107 Figure 5 3 5001i Internal Layout...
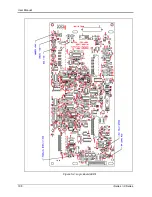
Страница 122: ...User Manual 108 i Series iX Series Figure 5 4 Logic Board LED s...
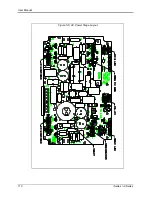
Страница 124: ...User Manual 110 i Series iX Series Figure 5 5 AC Power Stage Layout...
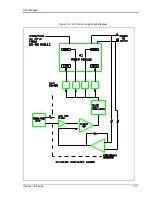
Страница 125: ...User Manual i Series iX Series 111 Figure 5 6 AC Control Logic Block Diagram...
Страница 132: ...User Manual 118 i Series iX Series Figure 6 2 Test Equipment Hook up for Measurement Calibration...
Страница 138: ...User Manual 124 i Series iX Series Figure 6 3 Adjustment Location...
Страница 152: ...User Manual 138 i Series iX Series Figure 9 4 Voltage Modulation...
Страница 219: ...User Manual i Series iX Series 205 Figure 9 36 Example Connection With 5001iX and EOS 1...
Страница 220: ...User Manual 206 i Series iX Series Figure 9 37 Example Connection With Compliance Test System and EOS 1...
Страница 221: ...User Manual i Series iX Series 207 Figure 9 38 15003iX CTS EOS3 LR3...
Страница 222: ...User Manual 208 i Series iX Series Figure 9 39 15003iX 3 EOS3...
Страница 226: ...User Manual 212 i Series iX Series Figure 9 40 EOS3 Location of 70 80 Taps for each phase Lug 3 70 Lug 5 80...
Страница 233: ...User Manual i Series iX Series 219 Figure 9 41 Example Connection With MODE iX...
Страница 240: ...User Manual 226 i Series iX Series Figure 9 42 Example Connections With OMNI 1 18i...
Страница 241: ...User Manual i Series iX Series 227 Figure 9 43 Example Connections With OMNI 3 18i...
Страница 242: ...User Manual 228 i Series iX Series Figure 9 44 Schematic Showing OMNI 1 37i and1 37iJ Connected to 5001iX System...
Страница 243: ...User Manual i Series iX Series 229 Figure 9 45 Schematic Showing OMNI 3 37i Connected to 30003iX System...
Страница 249: ...User Manual i Series iX Series 235 9 7 4 Mechanical Dimensions Figure 9 49 XLS Module Dimensions...


