


Chapter 2:
Installation and Setup
OsmoPRO MAX Automated Osmometer User Guide
35
1.
On the Home screen, make sure you have an active
LAN (
) or LIS (
)connection. If you do not, refer
Set Up Networking Communications
2.
Select
> Settings > Networking
and log in to the
Admin
account (see
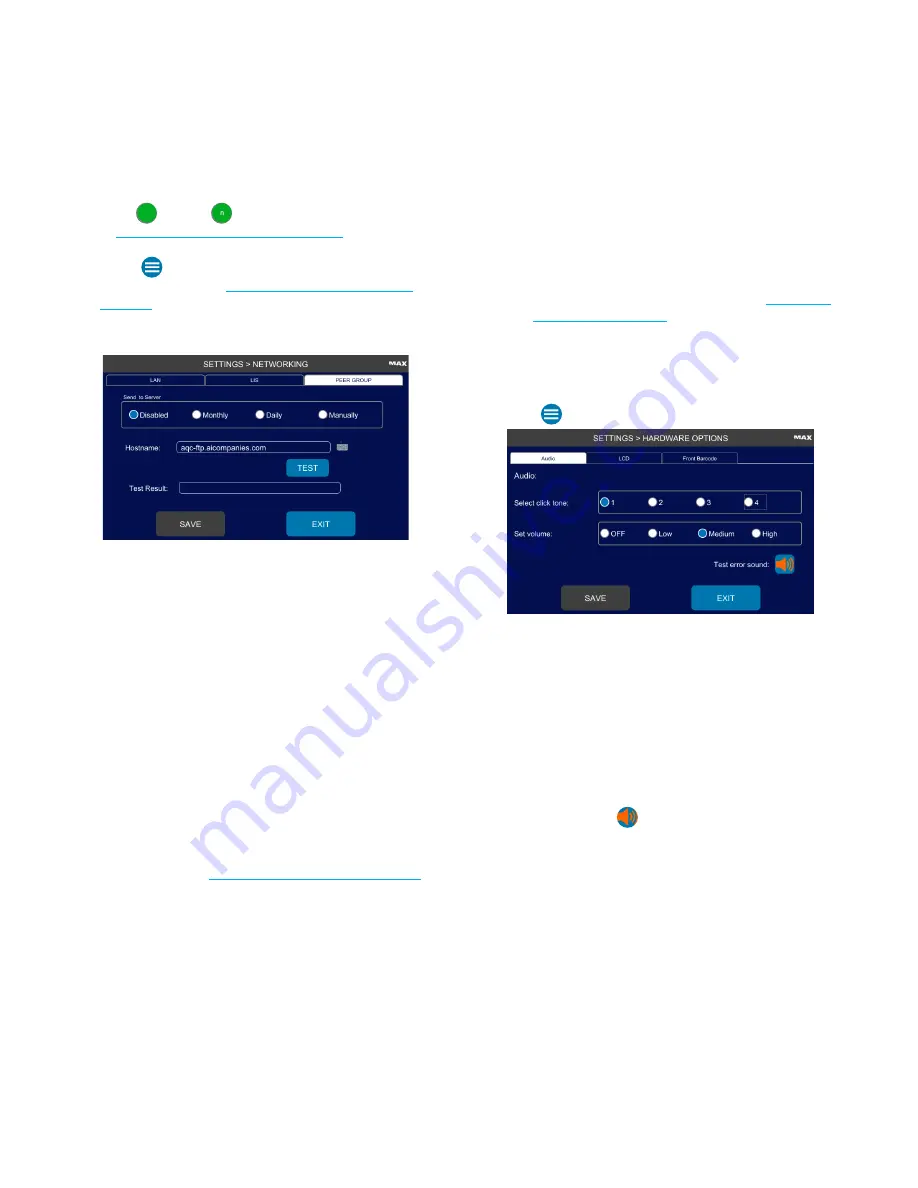
3.
Press the
Peer Group
tab.
4.
To enable QC records uploading, select a
Monthly
or
Daily
automatic upload, or select to
Manually
upload.
5.
Press
Test
to test the connection to the AdvancedQC
Peer Group Program.
If the
Test Result
shows
FTP login test success
, the
instrument connected to the site and can upload QC
tests using Protinol™ and Renol™.
If the
Test Result
shows
FTP login test failed
, the
instrument could not connect to the site.
a.
If the LAN/LIS status still shows active, power off
the instrument and wait 15 seconds.
b.
Power on the instrument.
c.
If you still cannot connect to the AdvancedQC Peer
Group Program from the Peer Group tab, contact
AI Service (see
Contacting Advanced Instruments
).
Change Hardware Options
You can change the system audio, screen brightness, and
barcode scanner settings.
NOTE:
Access to Settings> H/W Options depends on
the
Change Hardware Options
checkbox setting
on the Operator Permissions tab (see
).
Change the Audio Click Tone
You can change the click tone that sounds and its
volume when you press a button on the screen.
1.
Press
> Settings >H/W Options
and log in.
2.
Select a click tone and then a volume to test the
tone/volume combination.
NOTE:
Select
Off
to disable click tones.
3.
Press
Save
to save the selected tone and volume.
4.
Press
Exit
to return to the Settings menu.
NOTE:
To test/hear the tone that sounds when an error
occurs, press
. The error tone/volume cannot
be changed.


