


Chapter 2:
Installation and Setup
OsmoPRO MAX Automated Osmometer User Guide
22
Connect peripherals (optional)
To use an external USB
device such as a printer or a
handheld barcode scanner, connect the cables to any of
the USB ports located on the front or rear of the
instrument.
You can purchase a compatible dot matrix printer from
Advanced Instruments to connect to your instrument.
See
Contacting Advanced Instruments
to purchase a
printer.
1.
Refer to the printer manual to set up the printer, and
pay particular attention to the safety instructions.
2.
Power on the printer.
3.
Connect the printer to one of the instrument USB
ports.
If an external USB
device such as a printer or a handheld
barcode scanner are to be used, connect the cables to
any of the USB ports located on the front or rear (
the instrument.
2.5 Setting Up the Instrument
Powering Up
1.
Connect the power cord into the instrument power
connector and plug the cord into a power outlet (see
).
2.
Turn the power switch ON.
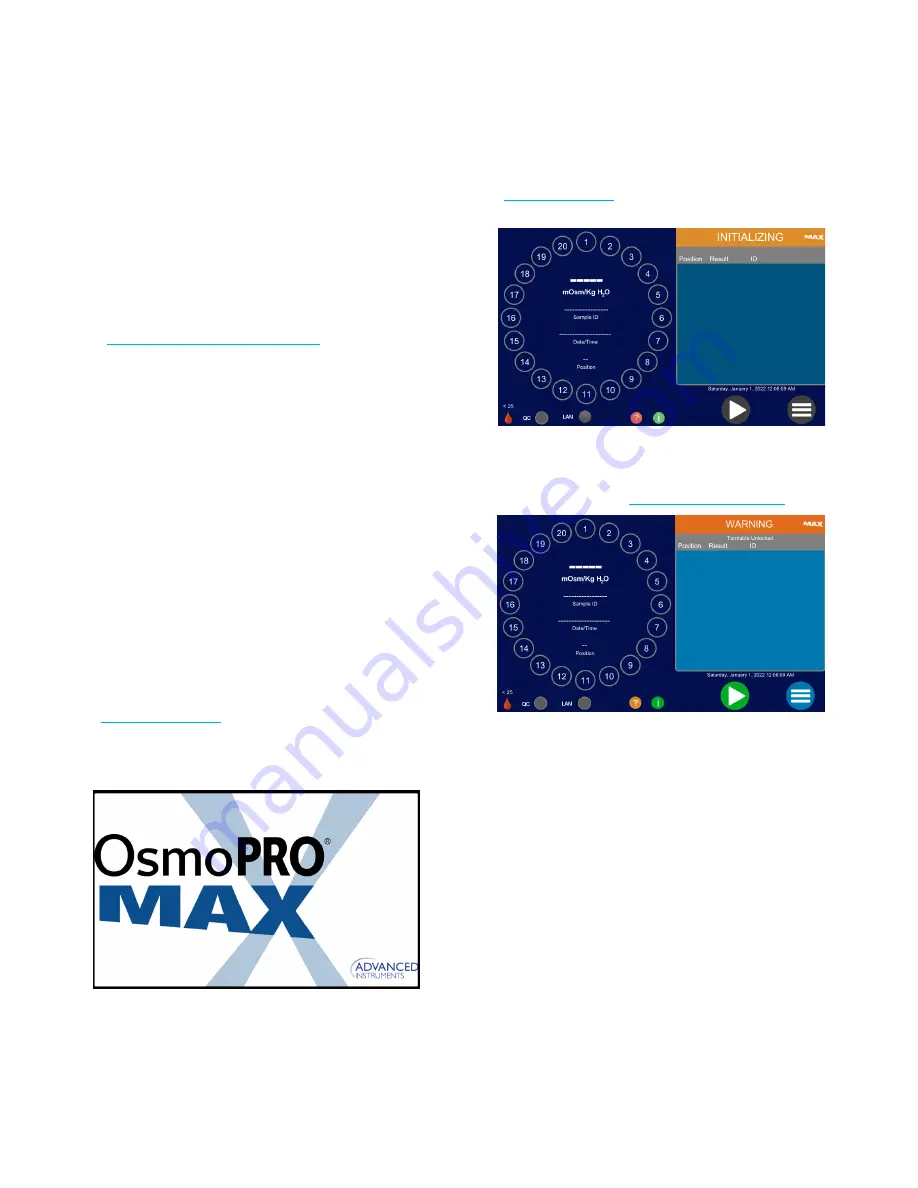
The splash screen displays while the system starts up.
opens while the system is initialized
for operation.
Once the system is initialized, the status changes to
Warning to indicate the system fluid needs to be
physically connected to the instrument and also loaded
into the system (see
NOTE:
If a printer is connected, it prints the following
information on each power up:
• Manufacturer (
Advanced Instruments
)
• Software version
• Fluidics version
• Osmometer control version
• Serial number
• Date and time (
hh:mm:ss
)


