


Chapter 2:
Installation and Setup
OsmoPRO MAX Automated Osmometer User Guide
24
Function access is indicated by key color:
Gold Key :
Supervisor - Can access all functions
except those reserved for AI-trained
service technicians (
Service
account)
White Key:
Operator - Restricted from some
functions.
Set the Language
The language is set at the factory. If you change the
language, you need to restart the instrument.
NOTE:
Access to Settings > Language depends on the
Change Language
checkbox setting on the
Operator Access tab (see
Change the Language by following these steps:
1.
From the Home screen, press
to open the Main
menu.
2.
Press
Settings > Language
and log in to the
Admin
account.
3.
Select a language and press
Save
.
4.
Press
Exit
to return to the Settings menu.
5.
Power off the instrument, wait 15 seconds, and then
power on the instrument.
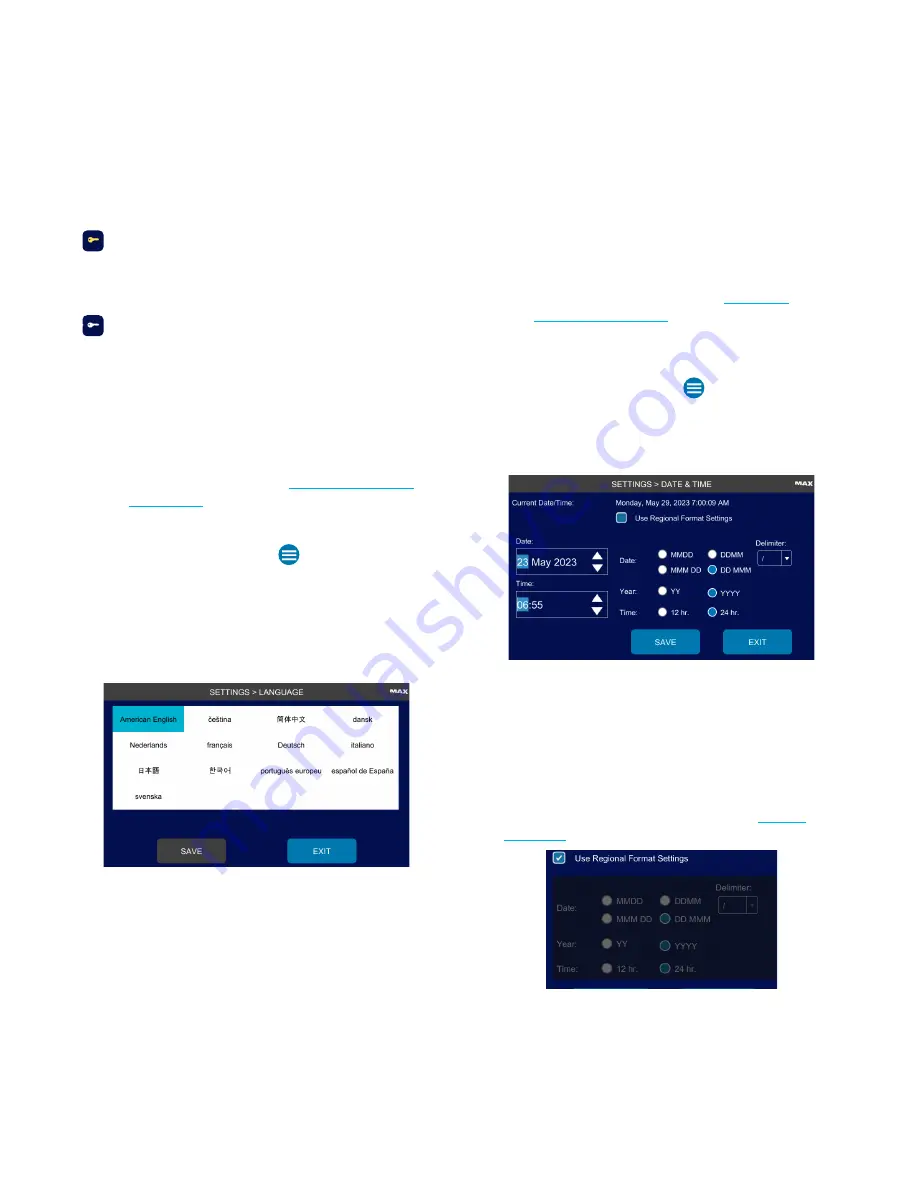
Set the System Date and Time
Your instrument has a built-in real time clock (RTC) to
keep track of the current date and time.
NOTE:
Access to Settings > Date & Time depends on the
Change Date/Time
checkbox setting on the
Operator Permissions tab (see
).
To change the system date and time, complete the
following steps:
1.
From the Home screen, press
to open the Main
menu.
2.
Press
Settings
>
Date & Time
and log in to the
Admin
account.
3.
Enter the
Date
.
4.
Enter the
Time
.
5.
Select a date and time format.
To automatically set the date and time format based on
the language settings on the instrument,
select the
Use
Regional Format Settings
checkbox (see
Otherwise, c
hange the
Date
,
Year
, and
Time
formats,
and the
Delimiter
as needed.
6.
Press
Save
.
7.
Press
Exit
to return to the Settings menu.


