Advanced
Programming
ORB Operating Manual – Issue 1.0
Page 117
Merge and Remove Options
These two buttons allow the user to merge or remove the specified
data from existing cues, palettes, UDKs as opposed to the default
action of overwriting the existing data. These two buttons are
mutually exclusive, with the default state of both being ‘off’.
If [Merge] is selected the button turns green and the data will be
merged into the destination cue, palette or UDK.
If [Remove] is selected the button turns green and the data will be
removed from the destination cue, palette or UDK.
Default Times
This button determines what happens to the parameter fade and
delay times after the specified data has been recorded. The default
state of this button is ‘off’.
If [Default Times] is selected the button turns green and after the
data has been recorded the fade and delay times are reset to their
default values as defined in Desk Setup.
If [Default Times] is not selected the fade and delay times will be
kept at their current values as displayed in the Fade and Delay
views of the Output Window.
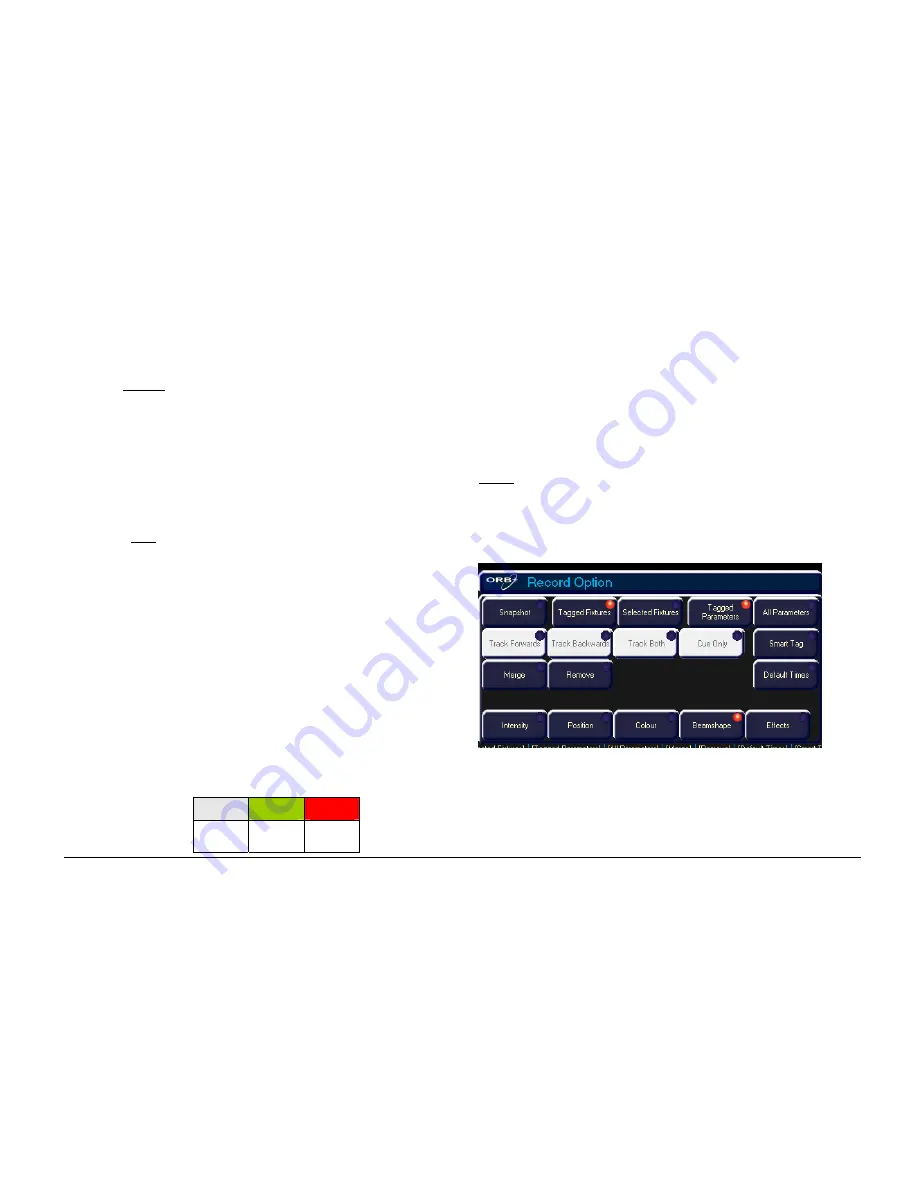
Attribute Selection Bar
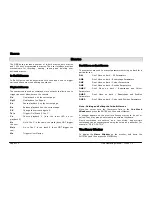
The fourth row of buttons is the
Attribute Selection Bar
and
indicates which parameters will be recorded for each of the different
attributes (Intensity, Position, Colour, Beamshape and Effects).
Pressing each of the soft buttons on the touch screen cycles round
the three options for that attribute, except when they are forced to
red (see below). The options are indicated by the background colour
as follows:
Grey
Green
Red
No
Parameters
Tagged
Parameters
All
Parameters
When [Snapshot] or [All Parameters] are selected – all the attribute
buttons are forced to red and are no longer editable.
When recording data to cues, submasters or UDK’s - the attribute
selection bar initially shows green (tagged) for each attribute in
which one or more parameters of that attribute are tagged and grey
(none) for those attributes where no parameters are tagged.
When recording data to palettes - the attribute selection bar shows
green (tagged) for the attribute being recorded and none (grey) for
all the other attributes. You can change this selection as required
before saving the data to the palette.
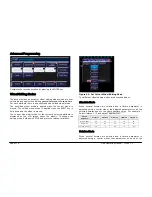
For example – Select some moving fixtures and set the intensity to
full, the colour wheel to blue and the gobo wheel to the desired
gobo. To save the intensity, colour and gobo data to a Beamshape
palette enter the command RECORD BEAM N .. the Attribute
Selection Bar shows the following:
Press the [Intensity] and [Colour] buttons to change their state to
tagged:
Summary of Contents for ORB
Page 1: ...ORB OPERATING MANUAL...

