WESTLOCK CONTROLS CORPORATION
280 N. MIDLAND AVE., STE. 258, SADDLE BROOK, NJ 07663 TEL: 201-794-7650 FAX: 201-794-0913
www.westlockcontrols.com
10/5/2013
TECH-477/D.W.O. 21424
Page 194 of 206
14 Appendix C – Procedure to Check Transducer Operation
This procedure should only be used for trouble shooting
This procedure requires a 4-20mA current generator.
1. Mount the positioner and connect the pneumatics as described in section 5 of this
manual.
2. Remove the cable that connects the inner canister to the pneumatic transducer
assembly. The electronic canister does not need to be removed.
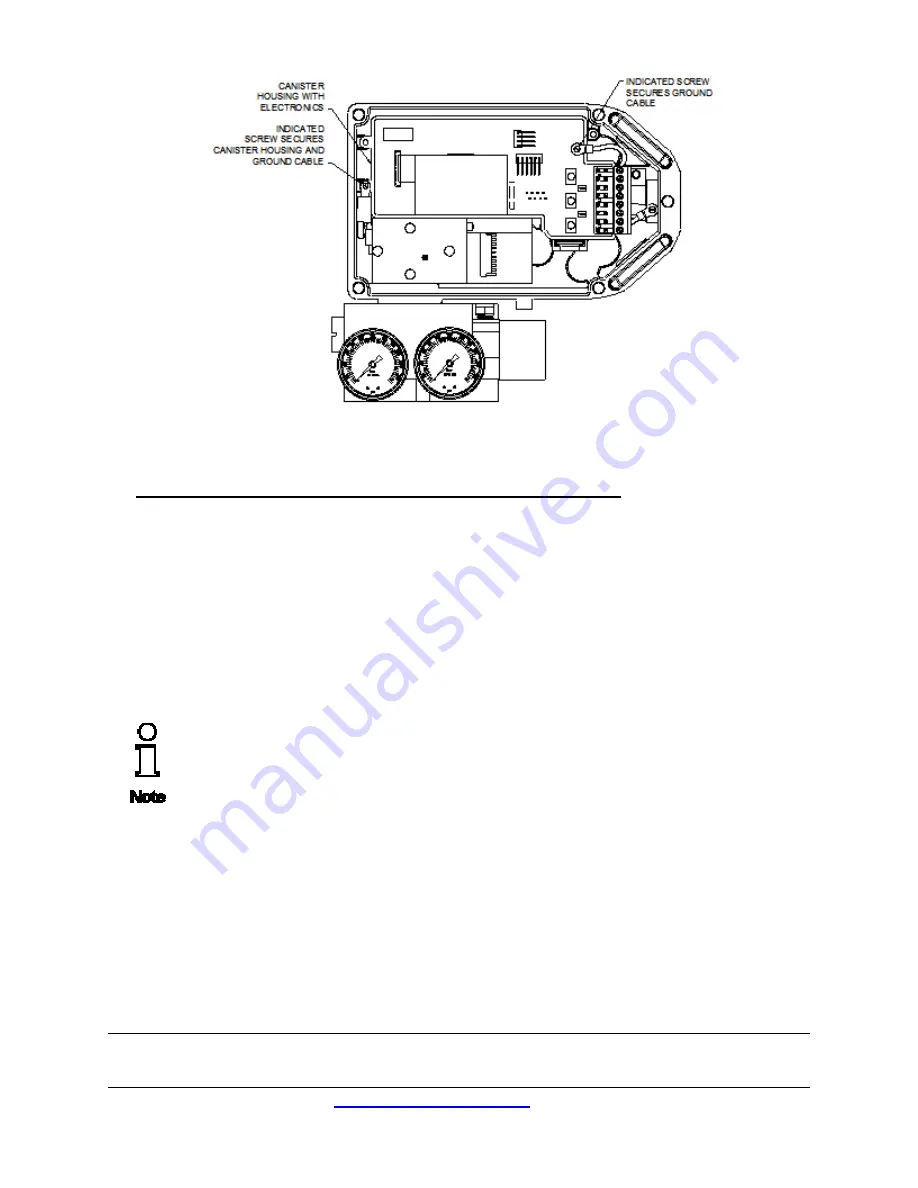
3. Locate Pin 2 & Pin 4 on transducer pin connector (see figure below).
a.
Ref.:
Pin 1 is furthest from the pressure gages, Pin 10 is nearest to the to the
pressure gages.
4. Connect positive lead of the current generator to Pin 2 and negative lead to Pin 4.
Make sure power on the current generator is turned off before connecting it to the
pins. Make sure the two leads are not shorting by both coming in contact with Pin 3.
5. Apply enough air supply to the positioner.
6. The transducer consists of a spool that will channel air between the two output ports of
the positioner. As the current is raised air is removed from Output Port 2 and applied to
Output Port 1 of the positioner.
7. To check the operation of the positioner, raise and lower the current between 0 and 3.3
mA. This should allow you to fully open and fully close the actuator. You should also be
able to control the position of the actuator by slowly adjusting the current supply at an
intermediary (idle) current somewhere between 0 and 3.3 mA.


