Rostock MAX v2 Assembly Guide
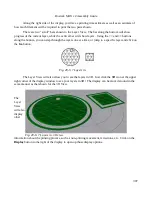
Along the right side of the display, you'll see a printing time estimate as well as an estimate of
how much filament will be required to print the two parts shown.
There are two “scroll” bars shown in the Layer View. The bar along the bottom will show
progress of the current layer, while the vertical bar will show layers. Using the
<<
and
>>
buttons
along the bottom, you can step through the layers one at a time, or jump to a specific layer and click on
the
Go
button.
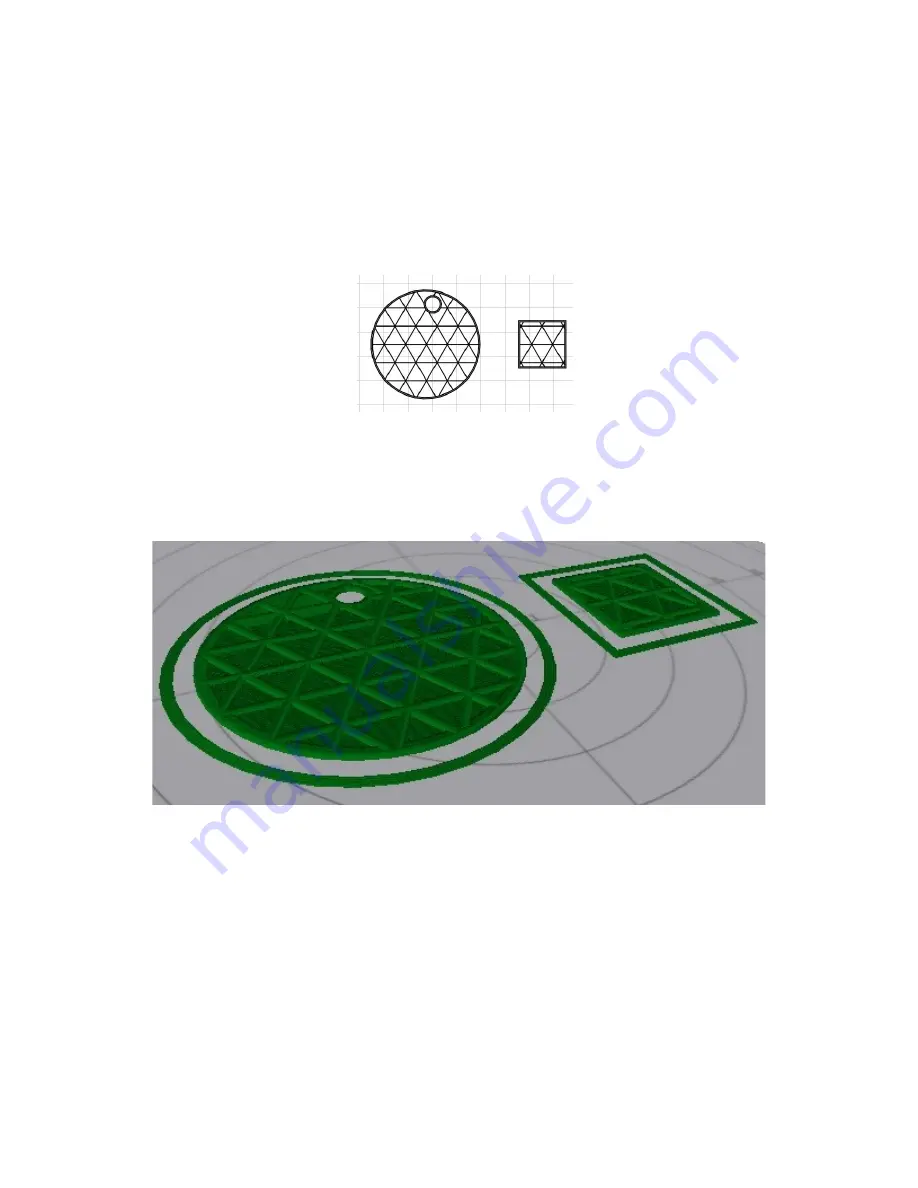
The Layer View will also allow you to see the layers in 3D. Just click the
3D
icon at the upper
right corner of the display window to see your layers in 3D! The display can be moved around in the
same manner as that shown for the 3D View.
The
Layer
View
will also
display
other
information about the printing process, such as non-printing movement, retractions, etc. Click on the
Display
button to the right of the display to open up those display options.
307
Fig. 28-5: 7 Layers in.
Fig. 28-6: 7 Layers in, 3D view.
Summary of Contents for Rostock MAX v2
Page 25: ...Rostock MAX v2 Assembly Guide Melamine Parts Sheet 1 25 ...
Page 26: ...Rostock MAX v2 Assembly Guide Melamine Parts Sheet 2 Melamine Parts Sheet 3 26 ...
Page 27: ...Rostock MAX v2 Assembly Guide Melamine Parts Sheet 4 27 ...
Page 171: ...Rostock MAX v2 Assembly Guide 171 Fig 14 8 Spool holder support installed ...


