Rostock MAX v2 Assembly Guide
Note that if the switch is set for 115V and
you feed it 240, you can expect the rapid,
unscheduled dis-assembly of certain critical
electronic components inside the power supply.
This will likely be accompanied a loud noise and a
puff of magic smoke as its released.
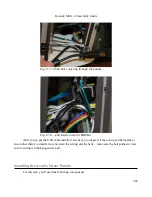
Route the power cord through the bottom of
the machine and insert it into the back of the power
supply as shown.
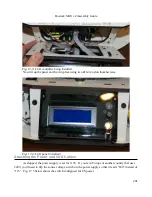
Route the USB cable up through the hole in the front of the machine and install it into the
RAMBo as shown:
202
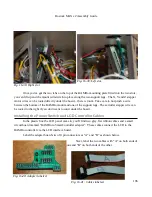
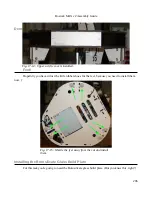
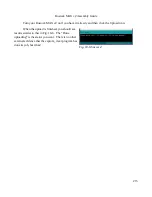
Fig. 17-5: Source voltage switch.
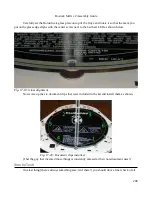
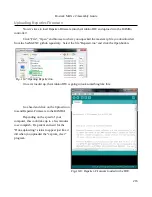
Fig. 17-6: Power cord installed.
Summary of Contents for Rostock MAX v2
Page 25: ...Rostock MAX v2 Assembly Guide Melamine Parts Sheet 1 25 ...
Page 26: ...Rostock MAX v2 Assembly Guide Melamine Parts Sheet 2 Melamine Parts Sheet 3 26 ...
Page 27: ...Rostock MAX v2 Assembly Guide Melamine Parts Sheet 4 27 ...
Page 171: ...Rostock MAX v2 Assembly Guide 171 Fig 14 8 Spool holder support installed ...


