Rostock MAX v2 Assembly Guide
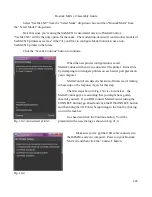
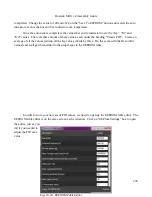
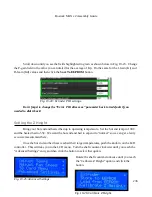
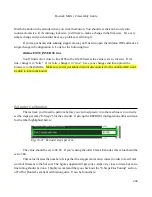
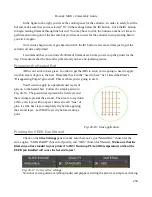
Scroll down until you see the fields highlighted in green as shown below in Fig. 19-23. Change
the P-gain field to the value you calculated for the average of Kp. Do the same for the I-Gain (Ki) and
D-Gain (Kd) values and then click the
Save To EEPROM
button.
Don't forget to change the “Extr.1 PID drive max” parameter back to its default if you
needed to dial it back!
Setting the Z Height
Bring your hot end and heated bed up to operating temperature. Set the hot end temp to 190C
and the heated bed to 55C. We want the hot end and bed to expand to “normal” so we can get a fairly
accurate measurement here.
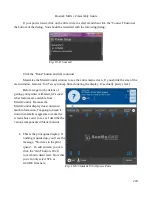
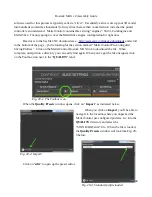
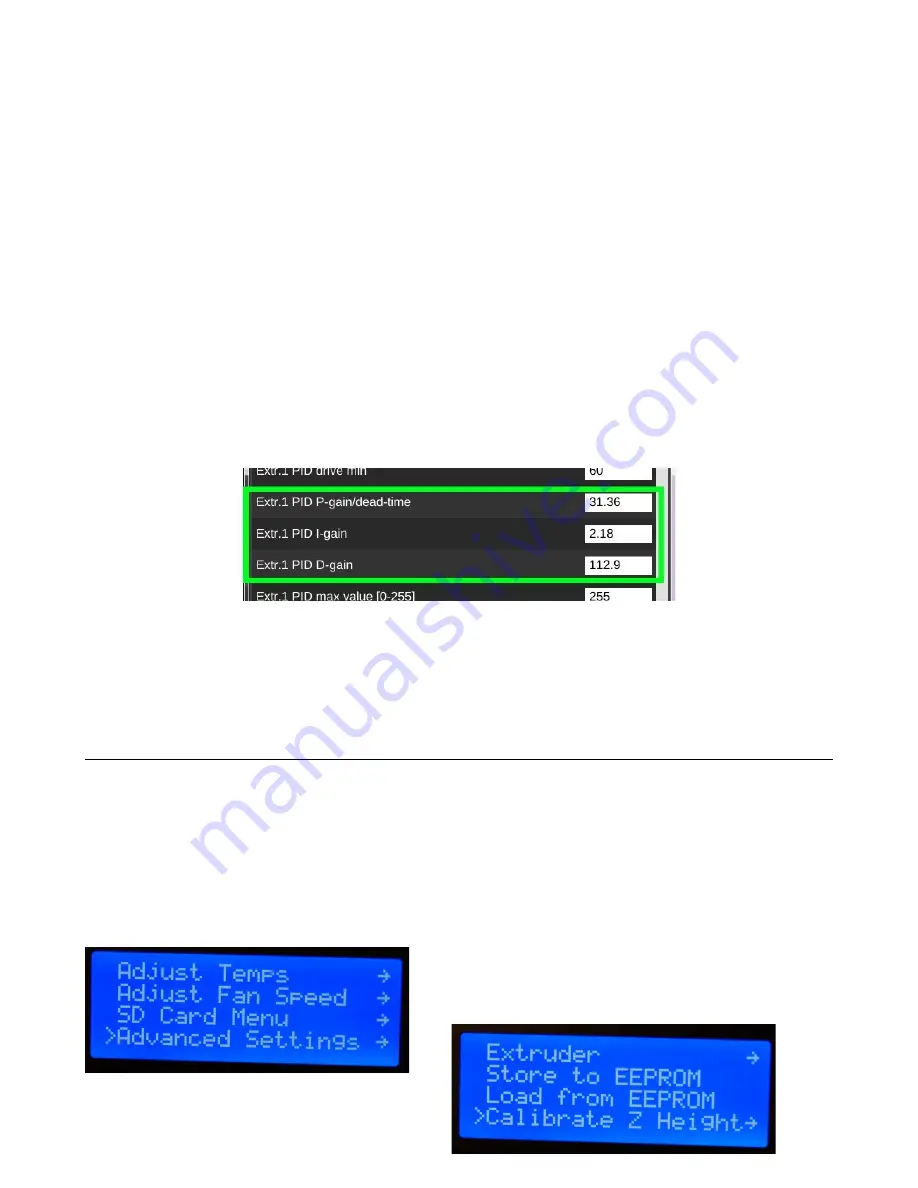
Once the hot end and bed have reached their target temperatures, push the knob in on the LCD
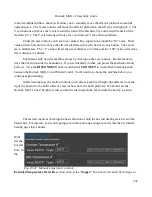
controller. This will take you to the LCD menu. Turn the shaft counter-clockwise until you reach the
“Advanced Settings” entry and then click the button to select that option.
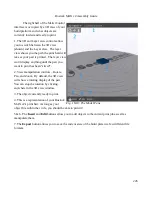
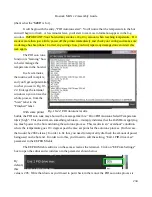
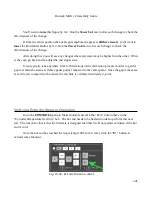
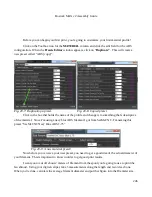
Rotate the shaft counter-clockwise until you reach
the “Calibrate Z Height” option and click the
button.
236
Fig. 19-25:Advanced Settings.
Fig. 19-26:Calibrate Z Height.
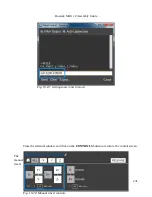
Fig. 19-24: Extruder PID settings.
Summary of Contents for Rostock MAX v2
Page 25: ...Rostock MAX v2 Assembly Guide Melamine Parts Sheet 1 25 ...
Page 26: ...Rostock MAX v2 Assembly Guide Melamine Parts Sheet 2 Melamine Parts Sheet 3 26 ...
Page 27: ...Rostock MAX v2 Assembly Guide Melamine Parts Sheet 4 27 ...
Page 171: ...Rostock MAX v2 Assembly Guide 171 Fig 14 8 Spool holder support installed ...

