Rostock MAX v2 Assembly Guide
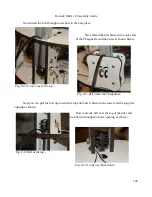
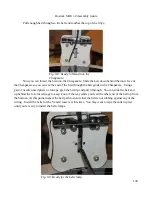
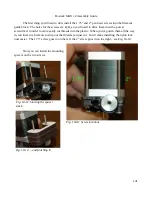
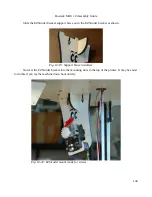
Now thread on and tighten two #6-32 nylon lock nuts as shown below.
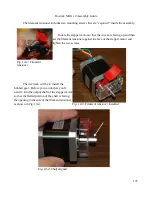
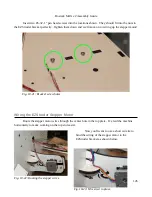
Before you can attach the EZStruder
bracket to the printer, you'll need to do a few tasks
first. First up, install the stepper motor knob on to
the output shaft of the stepper motor. This knob
will allow you to manually feed filament if you
need to.
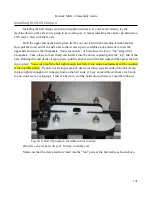
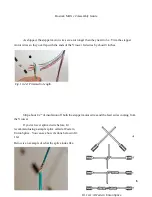
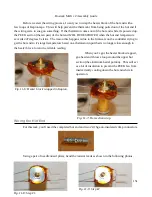
Next, you'll need to install the brass push fit
connector to the bottom of the filament guide as
shown in Fig. 10-17. Only make it finger tight!
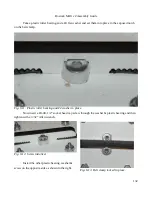
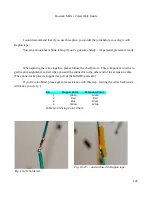
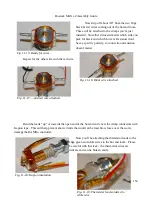
Finally, you'll need to install two #6-32
nylon lock nuts into the nut capture pockets in the
top of the EZStruder bracket, as shown.
Now we can move on to attaching the EZStruder bracket to the top of the printer!
143
Fig. 10-15: EZStruder installed.
Fig. 10-16: Stepper knob installed.
Fig. 10-17: Push fit connector installed.
Fig. 10-18: Nuts installed.
Summary of Contents for Rostock MAX v2
Page 25: ...Rostock MAX v2 Assembly Guide Melamine Parts Sheet 1 25 ...
Page 26: ...Rostock MAX v2 Assembly Guide Melamine Parts Sheet 2 Melamine Parts Sheet 3 26 ...
Page 27: ...Rostock MAX v2 Assembly Guide Melamine Parts Sheet 4 27 ...
Page 171: ...Rostock MAX v2 Assembly Guide 171 Fig 14 8 Spool holder support installed ...

