Rostock MAX v2 Assembly Guide
Watch the knob on the extruder when you click that button. You should see the knob slowly turn
counter-clockwise. If it's turning clockwise, you'll have to make a change in the firmware. It's a very
simple change and you shouldn't have any problem at all doing it.
If you've got backwards-running stepper motor, you'll need to open the Arduino IDE and make a
single change in Configuration.h. Look for the following line:
#define EXT0_INVERSE true
You'll find it on or close to line #195 in the file. Whatever the value is set to, invert it. If it's
true, change it to “false”. If it's false, change it to “true”. Save your changes and then upload the
firmware to the RAMBo.
Make sure you've got MatterControl disconnected or the Arduino IDE won't
be able to talk to the board.
Extruder Calibration
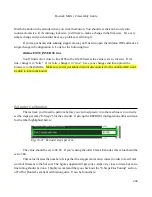
The last task you'll need to perform before you can load plastic in to the machine is to correctly
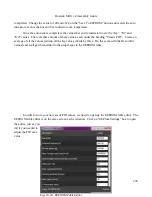
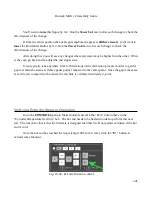
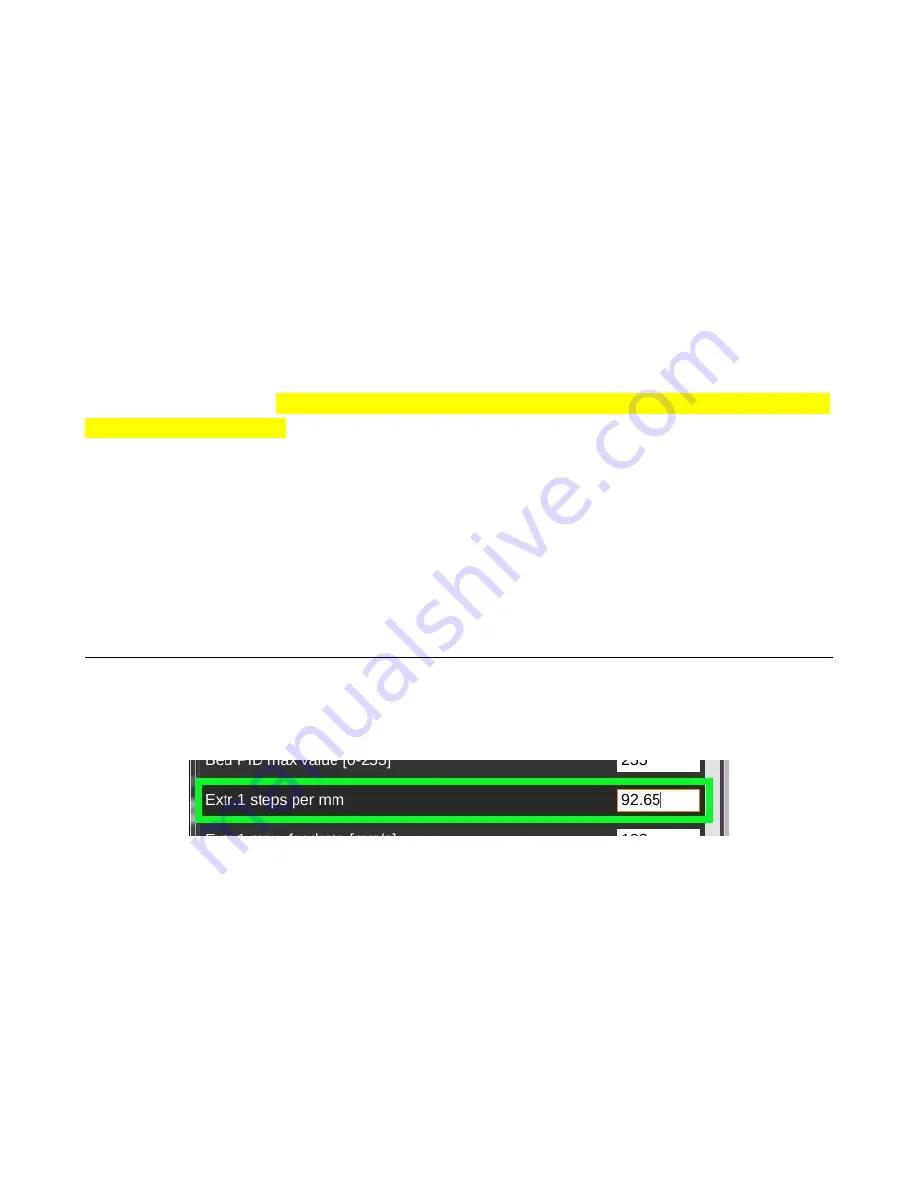
set the steps per mm (“E-Steps”) for the extruder. Open up the EEPROM configuration editor and look
for the label highlighted below:
The value should be set to 92.65. If you're using the older Steve's Extruder, this value should be
set to 584.
This value dictates the number of steps that the stepper motor must rotate in order to feed 1mm
worth of filament to the hot end. The figure supplied will get your e-steps very close to ideal, but extra
fine tuning should be done. I
highly
recommend that you check out the “E Steps Fine Tuning” section
of Triffid_Hunter's excellent calibration guide. It can be found here:
242
Fig. 19-37: Extruder steps per mm.
Summary of Contents for Rostock MAX v2
Page 25: ...Rostock MAX v2 Assembly Guide Melamine Parts Sheet 1 25 ...
Page 26: ...Rostock MAX v2 Assembly Guide Melamine Parts Sheet 2 Melamine Parts Sheet 3 26 ...
Page 27: ...Rostock MAX v2 Assembly Guide Melamine Parts Sheet 4 27 ...
Page 171: ...Rostock MAX v2 Assembly Guide 171 Fig 14 8 Spool holder support installed ...


