Rostock MAX v2 Assembly Guide
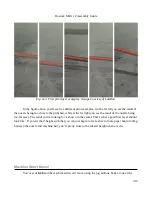
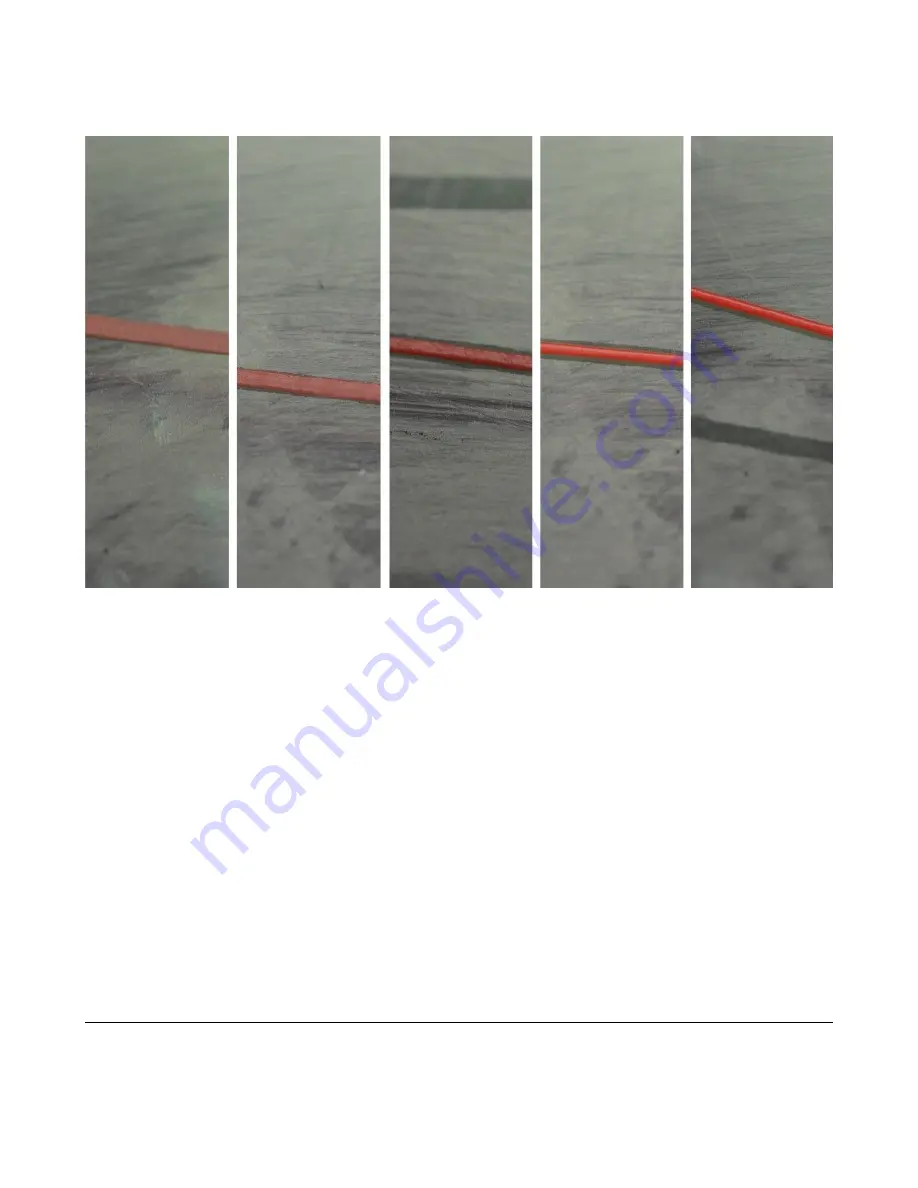
In the figure above, you’ll see five different print examples. On the far left you see the result of
the nozzle being too close to the print bed, while at the far right you see the result of the nozzle being
too far away. The result you’re looking for is shown in the center. That’s what a good first layer should
look like. If you set the Z height such that you can just begin to feel a sheet of note paper begin to drag
between the nozzle and machine bed, you’re pretty close to the ideal Z height when at zero.
Machine Won't Move!
You’ve sent
G28
and the machine still won’t move using the jog buttons. Take a look at the
312
Fig. A-2: First print layer examples. (Image Courtesy of LulzBot)
Summary of Contents for Rostock MAX v2
Page 25: ...Rostock MAX v2 Assembly Guide Melamine Parts Sheet 1 25 ...
Page 26: ...Rostock MAX v2 Assembly Guide Melamine Parts Sheet 2 Melamine Parts Sheet 3 26 ...
Page 27: ...Rostock MAX v2 Assembly Guide Melamine Parts Sheet 4 27 ...
Page 171: ...Rostock MAX v2 Assembly Guide 171 Fig 14 8 Spool holder support installed ...


