Rostock MAX v2 Assembly Guide
Remove the grub screw from the hobbed gear and set it aside.
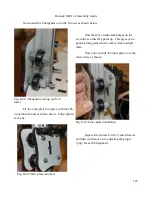
Press your thumb against the red lever on the filament tensioner and slide the hobbed gear on to
the shaft with the hobbed portion closest to the face of the stepper motor.
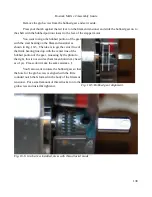
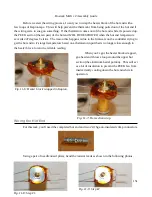
You want to align the hobbed portion of the gear
with the steel bearing on the filament tensioner as
shown in Fig. 10-5. The idea is to get the center line of
that little bearing lined up with the center line of the
hobbed portion of the gear. Guessing by the photo to
the right, this is not an idea that's taken hold in my head
as of yet. Please don't make the same mistake. :)
You'll also want to rotate the hobbed gear so that
the hole for the grub screw is aligned with the little
rounded notch that's formed in the body of the filament
tensioner. Put a small amount of thread locker on to the
grub screw and install & tighten it.
138
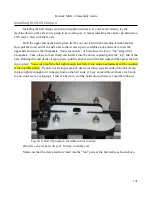
Fig. 10-5: Hobbed gear alignment.
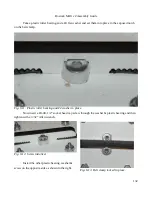
Fig. 10-6: Grub screw installed, mess with thread locker made.
Summary of Contents for Rostock MAX v2
Page 25: ...Rostock MAX v2 Assembly Guide Melamine Parts Sheet 1 25 ...
Page 26: ...Rostock MAX v2 Assembly Guide Melamine Parts Sheet 2 Melamine Parts Sheet 3 26 ...
Page 27: ...Rostock MAX v2 Assembly Guide Melamine Parts Sheet 4 27 ...
Page 171: ...Rostock MAX v2 Assembly Guide 171 Fig 14 8 Spool holder support installed ...


