Rostock MAX v2 Assembly Guide
Put your newly completed LCD controller in a safe place – we'll get back to it soon enough.
You should congratulate yourself at this point – the mechanical assembly of your Rostock MAX
v2 kit is complete. Wander off and enjoy $ADULT_INTOXICANT, kick back and relax for a while.
Next on the agenda is the electronics!
Checkpoint Video #19:
181
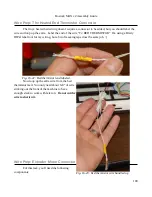
Fig. 15-13: Marked control cable connections.
Summary of Contents for Rostock MAX v2
Page 25: ...Rostock MAX v2 Assembly Guide Melamine Parts Sheet 1 25 ...
Page 26: ...Rostock MAX v2 Assembly Guide Melamine Parts Sheet 2 Melamine Parts Sheet 3 26 ...
Page 27: ...Rostock MAX v2 Assembly Guide Melamine Parts Sheet 4 27 ...
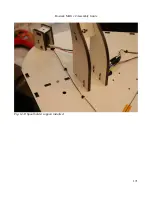
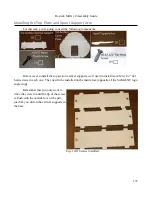
Page 171: ...Rostock MAX v2 Assembly Guide 171 Fig 14 8 Spool holder support installed ...


