Rostock MAX v2 Assembly Guide
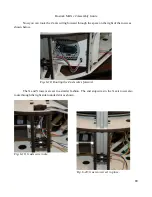
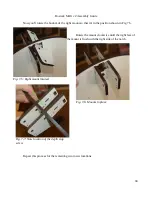
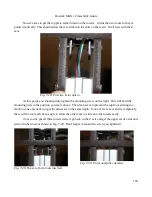
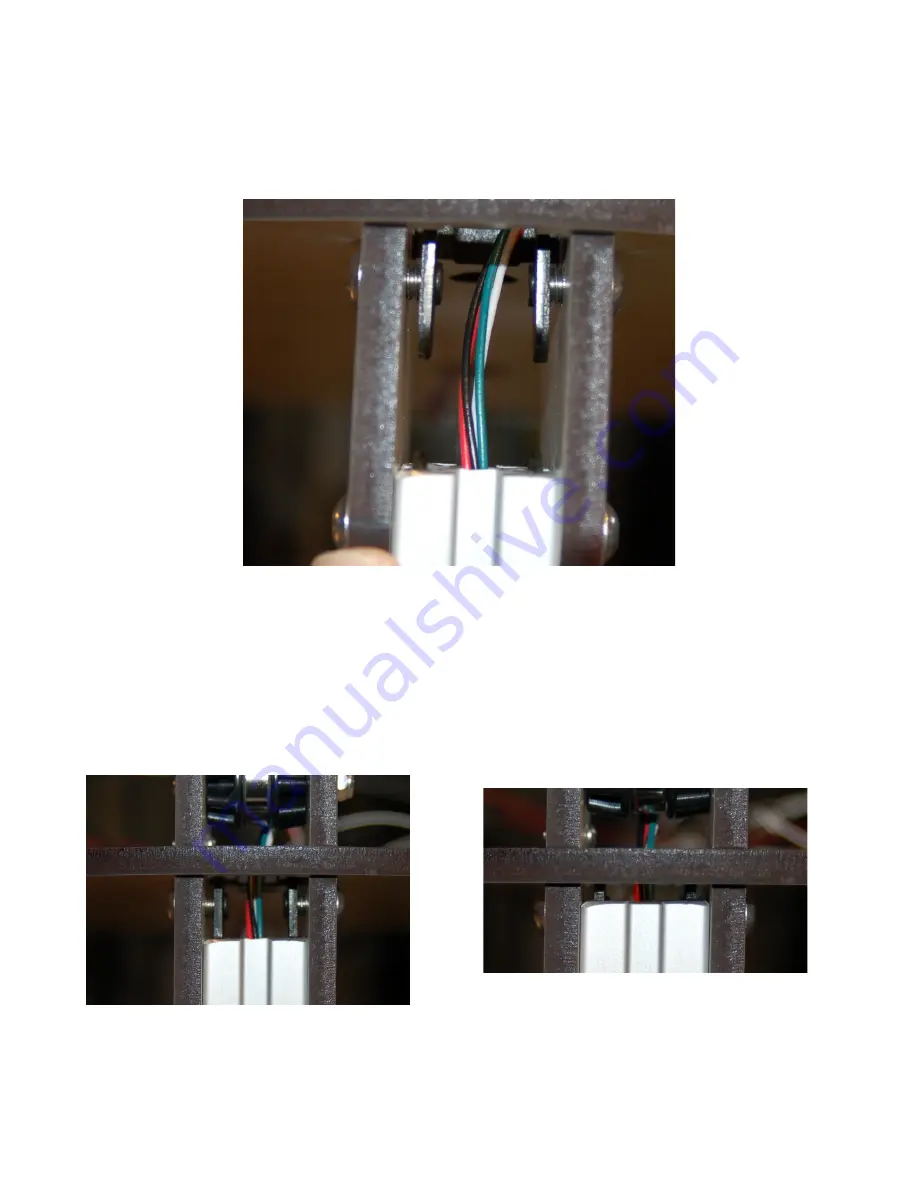
Now it's time to get the top plate settled down on the towers. Orient the t-slot nuts so they're
pointed vertically. This should allow them to slide into the slots on the tower. We'll start with the Z
axis.
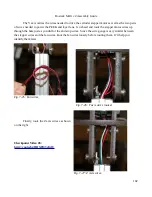
At this point, you should gently tighten the mounting screw on the right. This will hold the
mounting plate in the position you see it above. The idea here is to prevent the top from settling too
much on one axis until you get the others set to the same depth. If one or more axis settles completely,
there will be too much of an angle to allow the other axes to slide onto the towers easily.
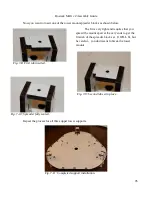
Once you've got all three towers started, go back to the Z axis and get the upper set of t-slot nuts
started in the tower as shown in Fig. 7-29. Don't forget to loosen the screw you tightened.
103
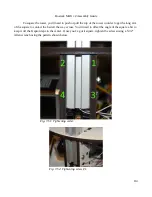
Fig. 7-28: First two t-slot nuts in.
Fig. 7-29: Top set of t-slot nuts inserted.
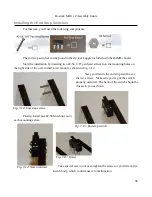
Fig. 7-30: T-Slot nuts fully captured.
Summary of Contents for Rostock MAX v2
Page 25: ...Rostock MAX v2 Assembly Guide Melamine Parts Sheet 1 25 ...
Page 26: ...Rostock MAX v2 Assembly Guide Melamine Parts Sheet 2 Melamine Parts Sheet 3 26 ...
Page 27: ...Rostock MAX v2 Assembly Guide Melamine Parts Sheet 4 27 ...
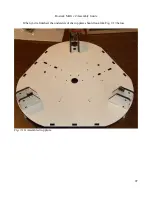
Page 171: ...Rostock MAX v2 Assembly Guide 171 Fig 14 8 Spool holder support installed ...

