Rostock MAX v2 Assembly Guide
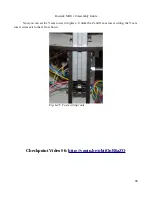
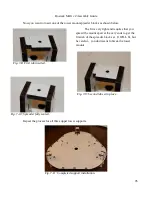
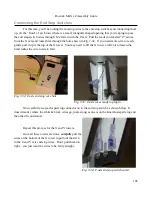
Thread on a #6-32 nylon lock nut just finger tight – get it
to bite into the nylon a bit, but no more. These will be tightened
when it's time to tension the belts.
Install the other two idler bearings as you did this one.
Checkpoint Video #7:
A little prep work is in order...
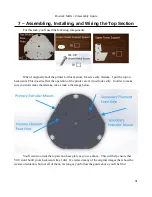
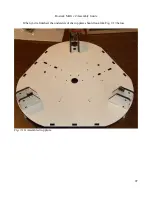
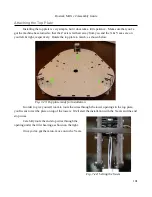
Before you install the top plate on to the towers, there's one preparation step to do first. You'll
notice that each of the upper support spacers has a hole in the center. This hole needs to be tapped in
order to attach the top cover at the end of the build. Since we've got the top plate on the table, it'll be
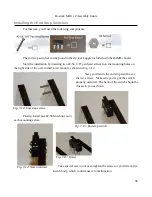
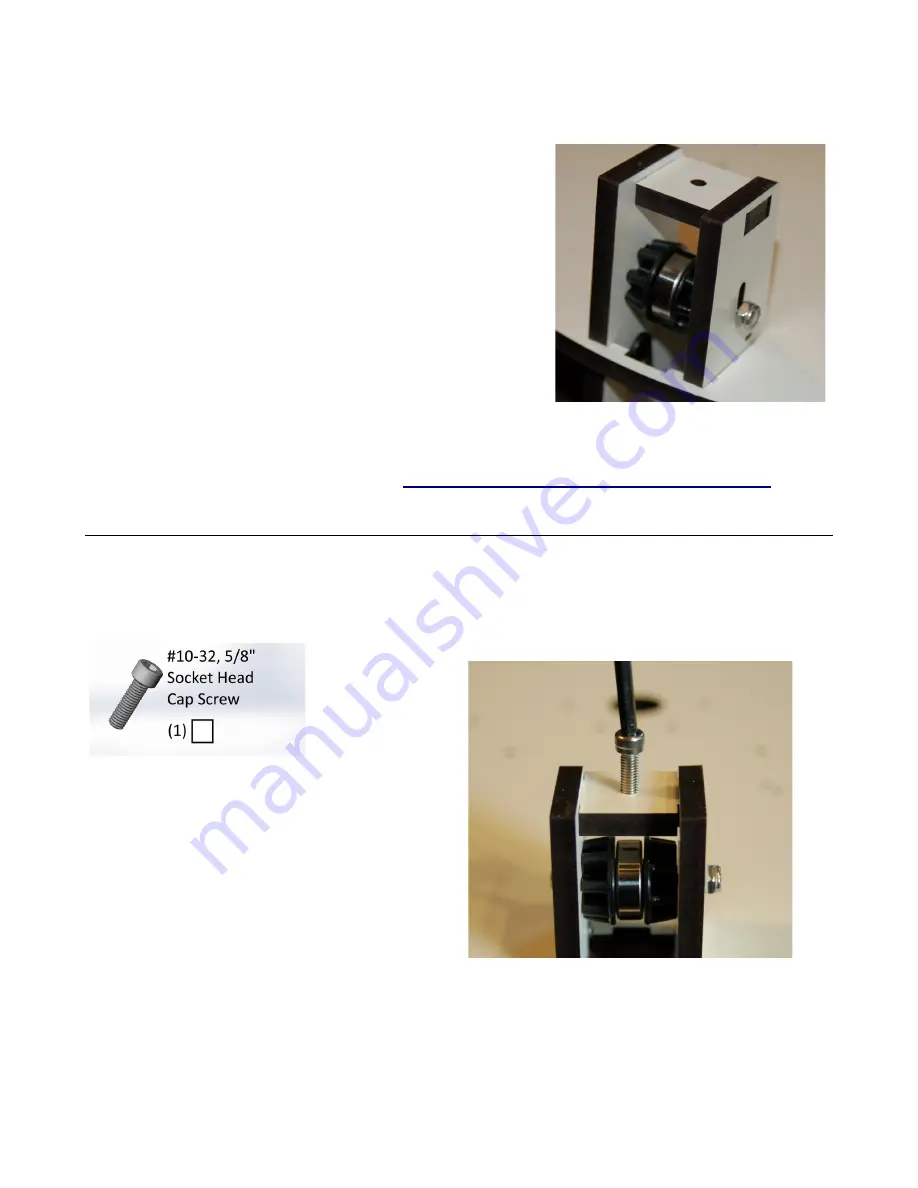
easy to do this task. You're going to need the #10-32 Socket Head Cap Screw to use as a tap.
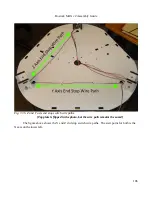
Use a 5/32” Allen wrench to drive the screw
in. Take care to make sure that the screw is going in
as straight as you can make it. Once the screw
comes through the other side by about 1/8”, back it
out and move to the next one.
100
Fig. 7-21: Idler installed.
Fig. 7-22: Cutting threads.
Summary of Contents for Rostock MAX v2
Page 25: ...Rostock MAX v2 Assembly Guide Melamine Parts Sheet 1 25 ...
Page 26: ...Rostock MAX v2 Assembly Guide Melamine Parts Sheet 2 Melamine Parts Sheet 3 26 ...
Page 27: ...Rostock MAX v2 Assembly Guide Melamine Parts Sheet 4 27 ...
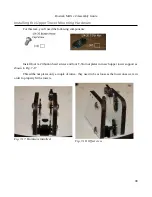
Page 171: ...Rostock MAX v2 Assembly Guide 171 Fig 14 8 Spool holder support installed ...

