Rostock MAX v2 Assembly Guide
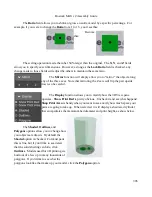
In order to move an object around manually, you'll need to make sure that the “picker” icon has
been selected.
Once you've clicked on that icon, you'll be able to move the parts any where you like. However,
be aware that the software will allow you to move the objects outside the confines of the virtual bed
and they will not be printable outside of those limits.
You'll notice that you've got some new controls along the bottom of the 3D View window –
Ungroup
,
Group
,
Align
,
Copy
,
Remove
,
Cancel
, and
Save
.
The
Ungroup
button will undo the “grouping” done by the
Group
and
Align
buttons.
Clicking
Group
will virtually connect all the objects on the print bed so they can be moved all
at the same time.
The
Align
button has the same effect as the
Auto-Arrange
button, but the resulting group of
objects are not centered on the virtual print bed.
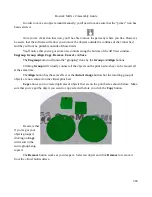
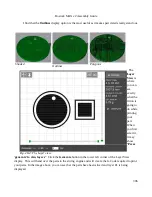
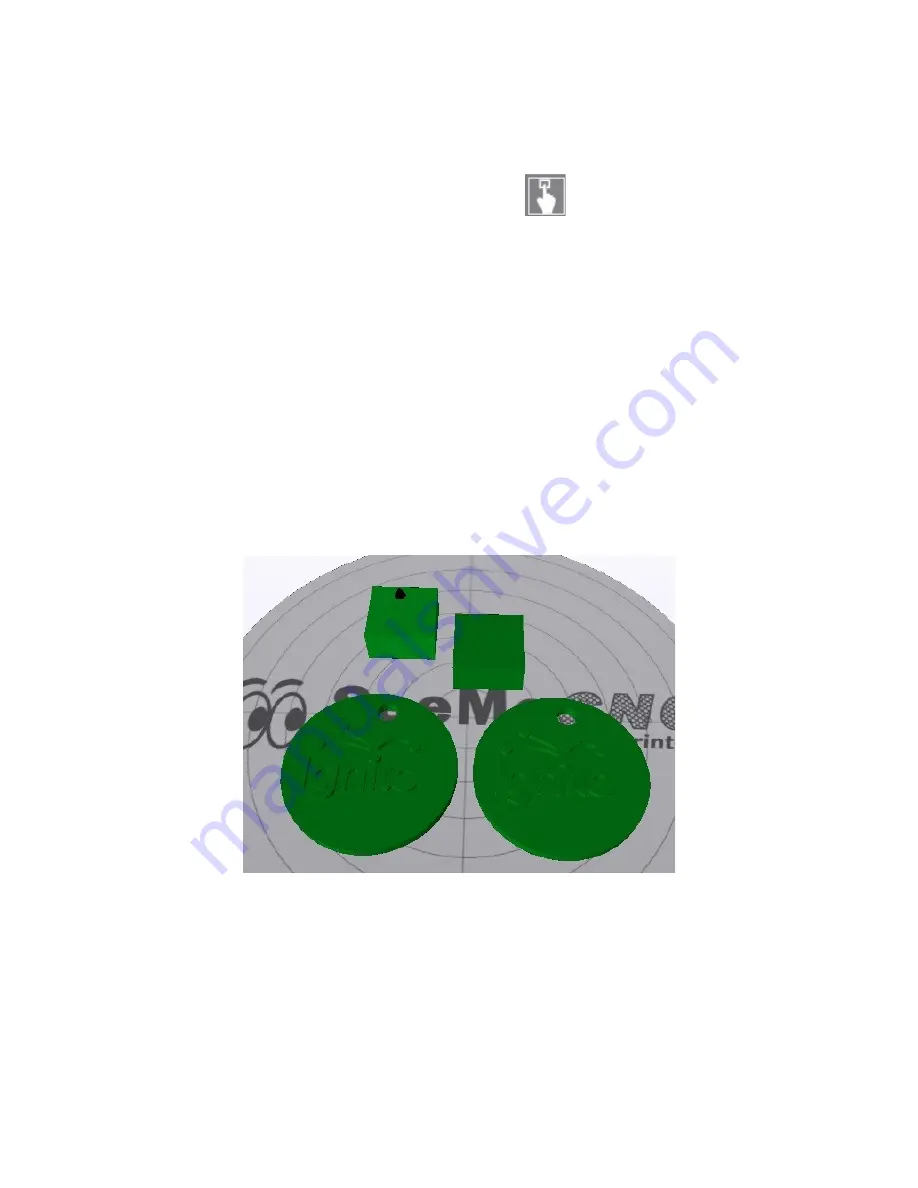
Copy
allows you to create duplicates of objects that are on the print bed as shown below. Make
sure that you've got the object you want to copy selected before you click the
Copy
button.
Be aware that
if you've got your
objects grouped,
clicking on
Copy
will result in the
entire group being
copied.
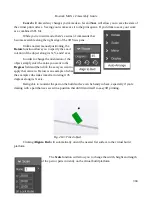
The
Remove
button works as you'd expect. Select an object and click
Remove
to remove it
from the virtual build surface.
303
Summary of Contents for Rostock MAX v2
Page 25: ...Rostock MAX v2 Assembly Guide Melamine Parts Sheet 1 25 ...
Page 26: ...Rostock MAX v2 Assembly Guide Melamine Parts Sheet 2 Melamine Parts Sheet 3 26 ...
Page 27: ...Rostock MAX v2 Assembly Guide Melamine Parts Sheet 4 27 ...
Page 171: ...Rostock MAX v2 Assembly Guide 171 Fig 14 8 Spool holder support installed ...

