Rostock MAX v2 Assembly Guide
going to consume in both time and materials.
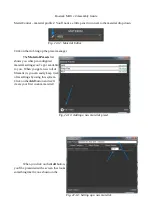
Go ahead and click the
button and get your object printing!
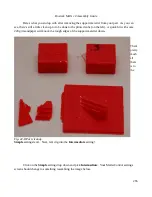
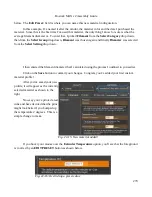
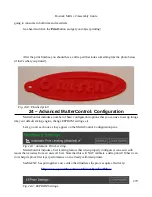
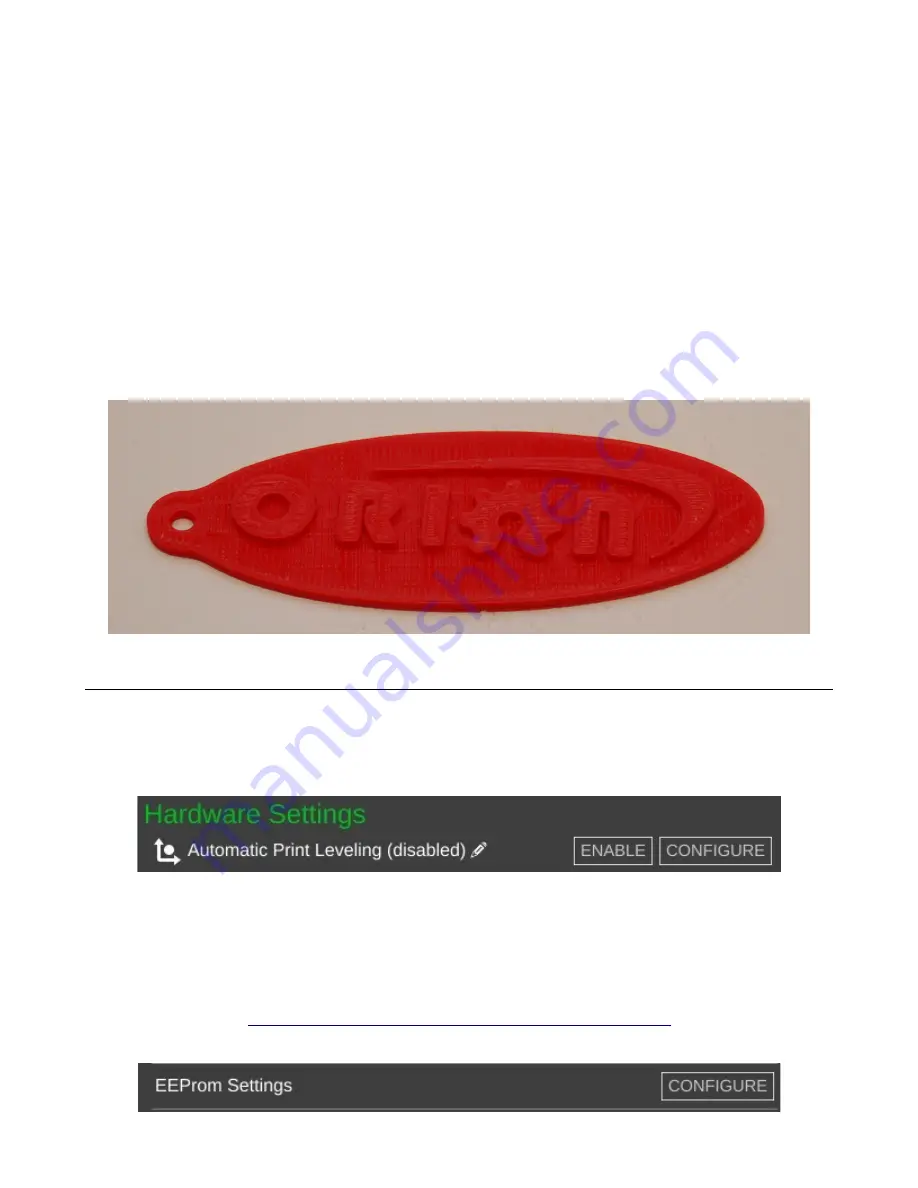
After the print finishes, you should have a little part that looks something like the photo below
(if that's what you printed).
24 – Advanced MatterControl: Configuration
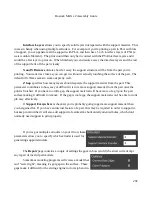
MatterControl includes a number of basic configuration options that you can use to set up things
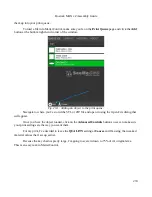
like your default slicing engine, change EEPROM settings, etc.
Let's go over each one as they appear on the MatterControl Configuration pane.
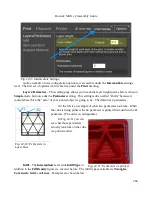
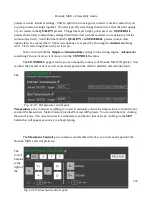
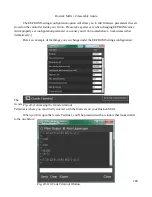
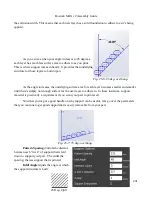
MatterControl includes a bed leveling feature that when properly configured, can assist with
issues that can arise from an un-level bed. Note that this will NOT calibrate a delta printer! What it can
do is help improve first layer performance on an already calibrated printer.
SeeMeCNC has put together a nice video that illustrates the process quite effectively:
https://www.youtube.com/watch?v=z6ymbr-AMew
279
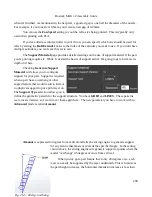
Fig. 23-8: Finished print!
Fig. 24-1: Automatic Print Leveling.
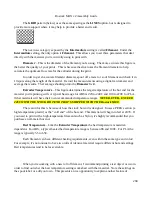
Fig. 24-2: EEPROM Settings.
Summary of Contents for Rostock MAX v2
Page 25: ...Rostock MAX v2 Assembly Guide Melamine Parts Sheet 1 25 ...
Page 26: ...Rostock MAX v2 Assembly Guide Melamine Parts Sheet 2 Melamine Parts Sheet 3 26 ...
Page 27: ...Rostock MAX v2 Assembly Guide Melamine Parts Sheet 4 27 ...
Page 171: ...Rostock MAX v2 Assembly Guide 171 Fig 14 8 Spool holder support installed ...

