Rostock MAX v2 Assembly Guide
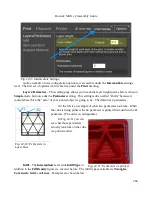
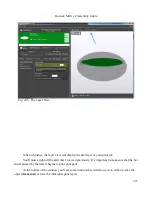
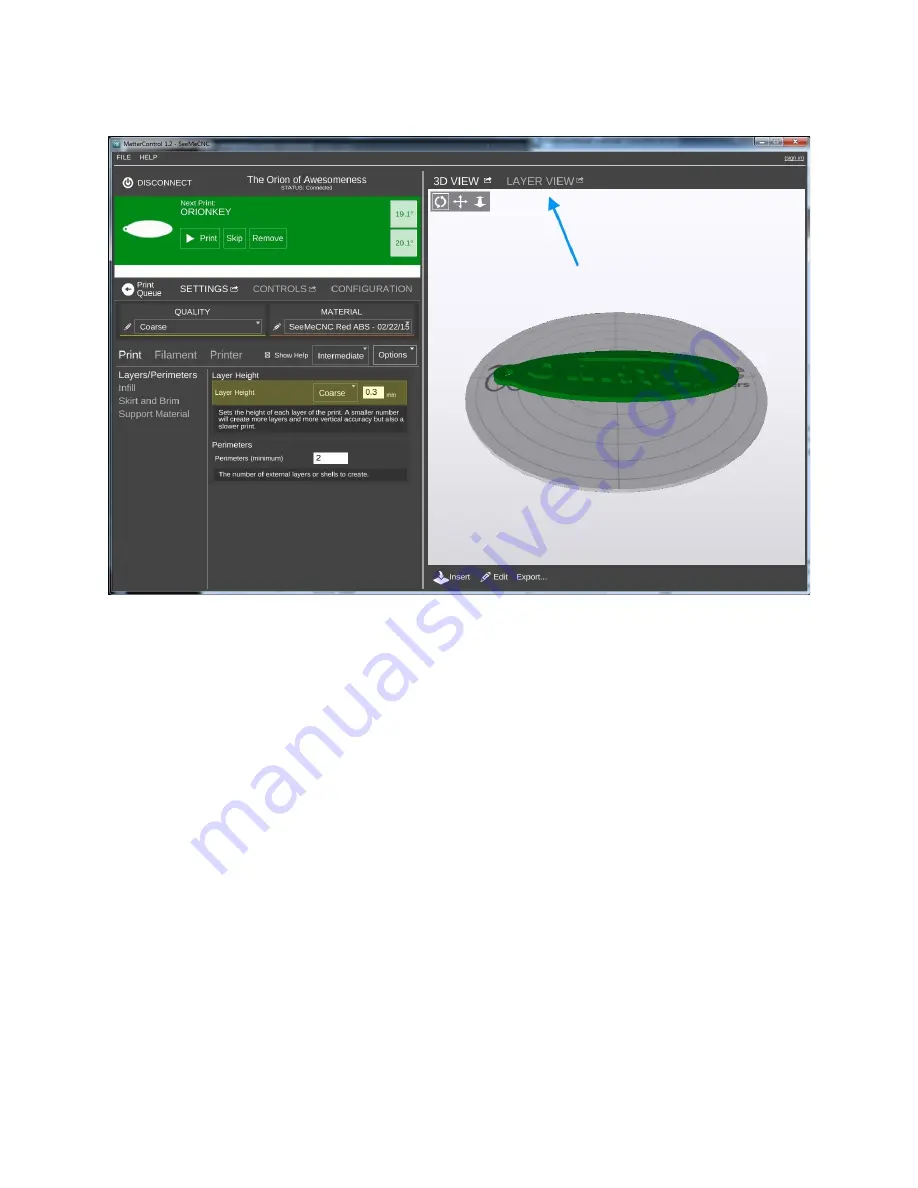
When it finishes, the layer view will display the first layer of your print job.
You'll notice right off the skirt that I covered previously. It's important to make sure that the hot
end is primed by the time it begins to print your part!
At the bottom of the window you'll see some controls that will allow you to either re-slice the
object (
Generate
) or view the individual print layers.
277
Fig. 23-5: The Layer View.
Summary of Contents for Rostock MAX v2
Page 25: ...Rostock MAX v2 Assembly Guide Melamine Parts Sheet 1 25 ...
Page 26: ...Rostock MAX v2 Assembly Guide Melamine Parts Sheet 2 Melamine Parts Sheet 3 26 ...
Page 27: ...Rostock MAX v2 Assembly Guide Melamine Parts Sheet 4 27 ...
Page 171: ...Rostock MAX v2 Assembly Guide 171 Fig 14 8 Spool holder support installed ...

