Rostock MAX v2 Assembly Guide
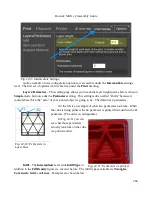
presets can store identical settings. They're split into two categories in order to make it easier for you
to group common settings together. You will typically store things that directly affect the print quality
of your model in the
QUALITY
presets. Things like layer height, print speed, etc.
MATERIAL
presets should only contain those settings that directly deal with the material you're using to print the
current object with. You'll find that both the
QUALITY
and
MATERIAL
presets contain more
options than I've covered here. Those new options are exposed by choosing the
Advanced
settings
level. I'll be reviewing those with you later on.
We've covered both the
Simple
and
Intermediate
settings for the slicing engine.
Advanced
is
something I'll cover later, so let's move on to the
CONTROLS
section.
The
CONTROLS
page is where you can manually control your Rostock MAX 3D printer. You
can heat the hot end or bed, as well as manually position the effector platform and extrude plastic.
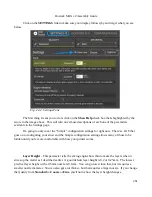
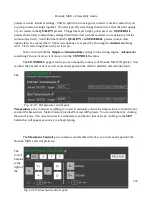
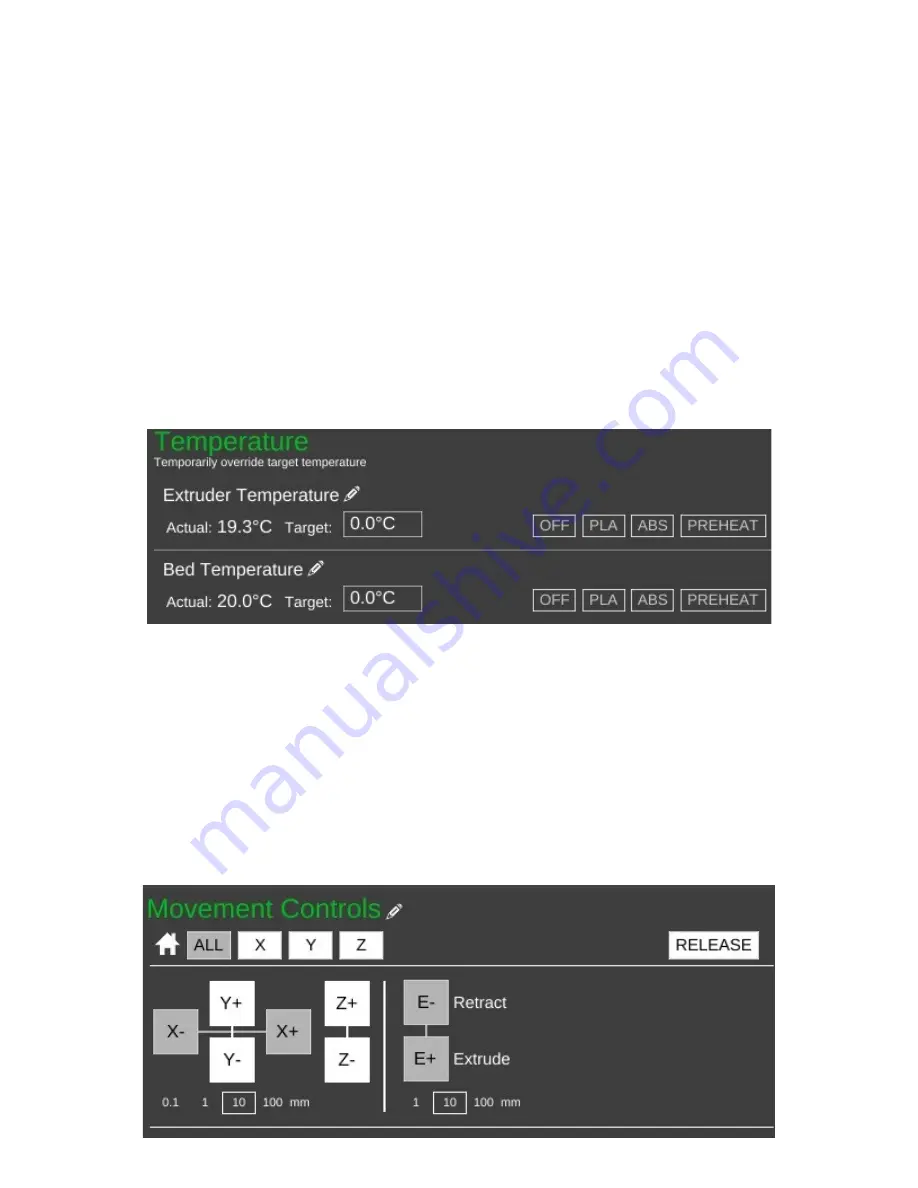
The
Temperature
pane contains everything you need to manually control the temperatures for both the hot
end and the heated bed. MatterControl provides PLA and ABS presets. You can edit them by clicking
the pencil icons. You can also enter in a temperature and heat to that value by clicking on the
SET
button that will appear as soon as you begin typing.
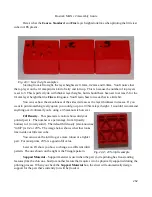
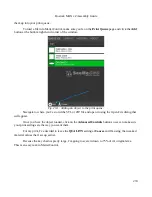
The
Movement Controls
pane contains controls that will allow you to manually position the
Rostock MAX's effector platform.
The
row of
buttons
to the
right of
the
272
Fig. 22-19: Temperature control pane.
Fig. 22-20: Movement controls pane.
Summary of Contents for Rostock MAX v2
Page 25: ...Rostock MAX v2 Assembly Guide Melamine Parts Sheet 1 25 ...
Page 26: ...Rostock MAX v2 Assembly Guide Melamine Parts Sheet 2 Melamine Parts Sheet 3 26 ...
Page 27: ...Rostock MAX v2 Assembly Guide Melamine Parts Sheet 4 27 ...
Page 171: ...Rostock MAX v2 Assembly Guide 171 Fig 14 8 Spool holder support installed ...


